


- Apr 18, 2017
 0
0- by A2 Marketing Team
These days, online security is more important than ever. Not only are people spending more and more time online, but they’re also sharing tons of private information. Attackers have more opportunities than ever to compromise data, which means that you need to step up your security efforts.
One of the simplest and most effective ways to do this is by using HyperText Transfer Protocol Secure (HTTPS), which enables you to encrypt any data that goes in and out of your site. This means you’ll secure your users’ information and get a chance to validate your identity with a Secure Sockets Layer (SSL) certificate.
In this article, we’ll dive into what makes HTTPS trustworthy, its benefits, how it relates to SSL, and how to enable the protocol. We’ve got a lot of ground to cover, so let’s jump straight in!
An Introduction to HTTPS and Its Benefits
HTTPS is basically a secure version of HTTP, which is a protocol for transferring data over the web. If you’re browsing a site with HTTPS enabled, your experience should remain the same, but all the data you send will be encrypted.
In most cases, HTTPS goes hand-in-hand with SSL certificates, which are used to verify a site’s identity. Let’s put it this way – if someone decided to set up a phishing site that looked exactly like Google, they could encrypt transmissions using HTTPS to make it look more believable. However, they wouldn’t be able to set up an SSL certificate for it, which means their ruse wouldn’t hold up.
Foiling attackers and phishers isn’t the only benefit of enabling HTTPS for your website. You also get to enjoy the following perks:
- Improved Search Engine Optimization (SEO). Google favors sites that place an emphasis on security by enabling HTTPS. Doing so might not rocket you to a top results page spot overnight, but it can give you a small boost.
- Increased trust from your users. For a lot of people, knowing that you’re taking steps to secure their data might be enough to improve their opinion about your site. It’s a win-win situation.
Now that you know what HTTPS is and how it relates to SSL certificates, let’s talk about enabling it for your websites.
How to Enable HTTPS Through a Web Host
By now you know that SSL certificates and HTTPS go hand in hand. That means you’ll need to set up the former if you want to enable the latter correctly.
Depending on your web host, there are two ways you can go about this:
- Get a third-party SSL certificate and set it up through your hosting cPanel.
- Find a provider that offers options to set things up on your behalf.
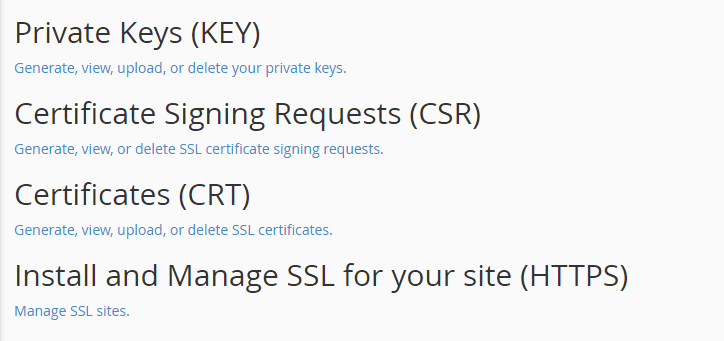
If you’re going to opt for the first route, you can use the SSL/TLS option on your A2 Hosting cPanel to assist you through the whole process:
On the other hand, we also offer free SSL certificates by default alongside all our plans, as well as HTTPS support.
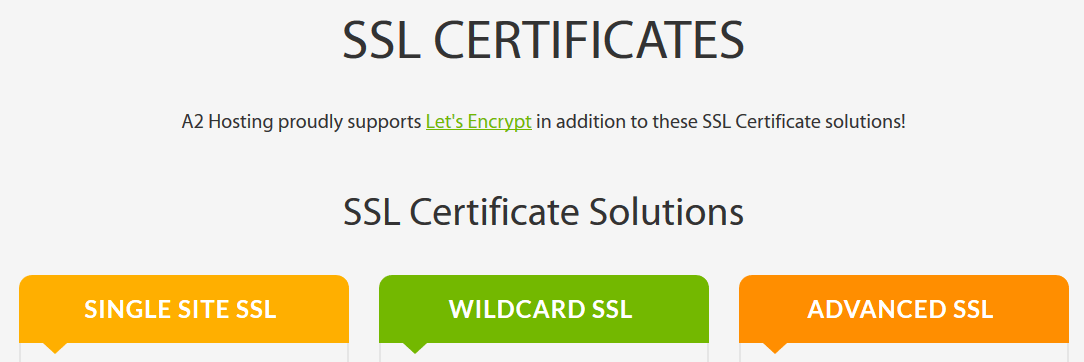
That means you can enjoy the benefits without worrying about enabling HTTPS manually.
How to Enable HTTPS Within WordPress
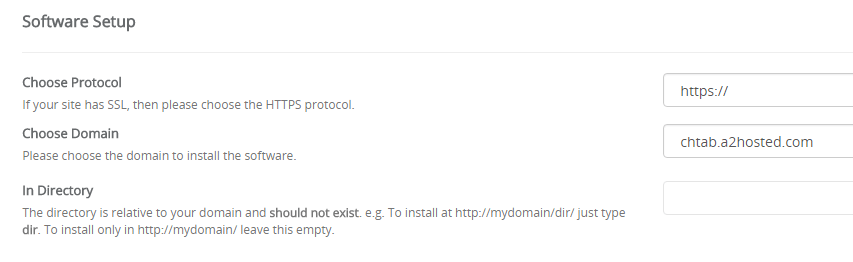
If you’re a WordPress user, there are a couple more steps you have to go through to enable HTTPS for your site. For those of you setting up new sites, all you need to do is specify the HTTPS prefix under the Choose Protocol field during the setup process:
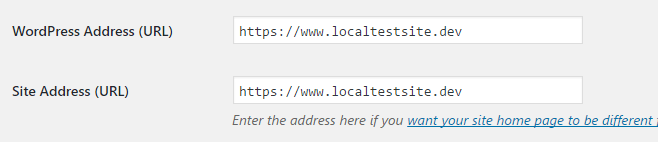
On the other hand, if you already have a website up and running, you’ll need to update a couple of fields on the Settings tab within your dashboard. They are WordPress Address (URL) and Site Address (URL), and you need to make sure they’re both using the HTTPS prefix:
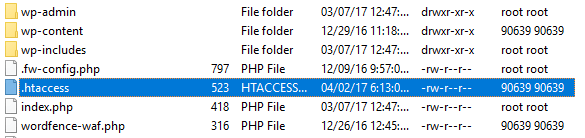
Afterward, you’ll need to access your site’s root directory (usually named either public_html or www) using an FTP client – we recommend FileZilla. Inside that folder, you’ll find a file called .htaccess, which handles your installation’s permalink structure and redirects (among other functions):
You’ll need to modify this file by right-clicking on it and choosing View/Edit, which will enable you to modify it using a text editor:

Now, add the following lines to your file and save the changes when you’re done:
<IfModule mod_rewrite.c>
 RewriteEngine On
 RewriteCond %{SERVER_PORT} 80
 RewriteRule ^(.*)$ https://www.yoursite.com/$1 [R,L]
 </IfModule>
This code snippet will create a redirect so that any user who tries to access your site using HTTP will be forced to use HTTPS instead. It sounds drastic, but it’s the best way to ensure that your visitors’ data remains safe at all times.
Conclusion
In today’s online landscape, security is paramount. The good news is, you don’t need to set up complex defenses or hire paid solutions to secure your users’ data. A lot of times, all it takes to provide a safe experience is to obtain an SSL certificate and enable HTTPS.
Now that we’ve pointed you in the right direction, there’s nothing stopping you enabling HTTPS for your website. On top of upgrading your site’s security, using HTTPS can also provide you with a modest SEO boost. Plus, users may feel more at ease while using your site, improving their overall experience.
Image credit: Pixabay.
