How to install Jetpack on a managed WordPress site
Jetpack is a popular WordPress plugin created by Automattic, the team behind WordPress. The plugin brings many of the most powerful features available on WordPress.com to self-hosted WordPress sites and contributes greatly to the maintenance, marketing, and appearance of WordPress powered blogs and websites.
Table of Contents
Activating Jetpack
Installing Jetpack to your Managed WordPress (MWP) account is a fast and simple process. To do this, follow these steps:
- Log in to the Customer Portal.If you do not know how to log in to the Customer Portal, please see this article.
- On the menu bar, click , and then click
- Locate the specific MWP account you want to enable Jetpack on, and then click .
- Under the box, click .
- When the next page appears, click WordPress in the left navigation bar.
- Identify the specific WordPress install you want to enable Jetpack on and click .
- Under example.a2hosted.com/wordpress, select Jetpack should be under Installed Plugins already if this is a newer account. If it is not, follow the steps below.
- Click , and then search for Jetpack. Select for Jetpack. The plugin installs (this may take a few minutes.)
- In the WordPress section of the Plesk control panel, next to Remove, click . The Jetpack configuration page appears:
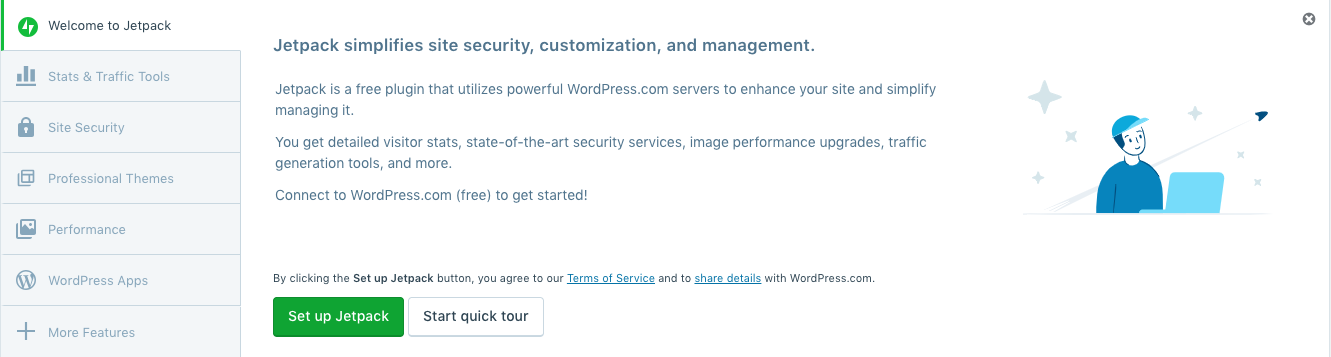
- Click .
During the next step, you are prompted to log in to your WordPress.com account. If you do not already have one, you must sign up for one.
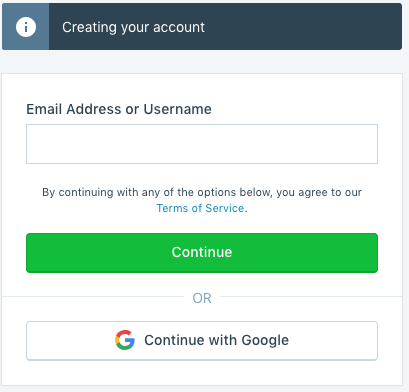
- Once logged in, you are asked to choose from several options such the specific account plan you would like and what features you want to be enabled (e.g. stats.) Jetpack finishes the setup process. You are redirected back to your WordPress install. From here you are all set with the activation process and can continue to customize and configure Jetpack.
Having issues?
If you're coming across issues installing Jetpack, contact A2 Hosting’s customer support LiveChat, where a customer support representative will be able to lend further guidance on resolving the situation.
Article Details
- Product: Managed WordPress with Plesk
- Level: Beginner
Grow Your Web Business
Subscribe to receive weekly cutting edge tips, strategies, and news you need to grow your web business.
No charge. Unsubscribe anytime.
Did you find this article helpful? Then you'll love our support. Experience the A2 Hosting difference today and get a pre-secured, pre-optimized website. Check out our web hosting plans today.