How to activate Cloudflare
This article describes how to activate Cloudflare for your web site.
Table of Contents
Activating Cloudflare
To activate Cloudflare for your web site, follow these steps:
- Go to https://www.cloudflare.com, and then click Sign Up. A new page appears:
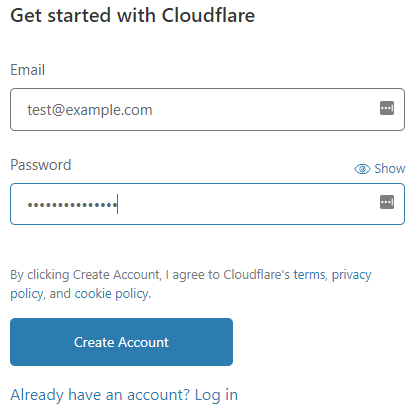
- In the Email text box, type an e-mail address.
- In the Password text box, type a password.
- Click to continue.
If you already have a Cloudflare account, you do not need to follow this step. Log in to Cloudflare with your existing account instead. - The Welcome to Cloudflare page appears. At the top of the page, click Add site.
- in the Enter your site text box, type the domain to be proxied by Cloudflare, and then click Add site.
Select a plan, and then click . Cloudflare scans the domain's DNS records.
If you are unsure which plan to use, start with the Free plan.- Review the DNS settings and make sure they are correct. Make any necessary changes, and then click Continue.
- The next page displays the Cloudflare nameservers to use for your domain. Make a note of the nameservers.
Change the domain's nameservers at the registrar to the nameservers provided by Cloudflare in step 6.
The exact procedure to do this depends on the registrar for your domain:
- If you registered your domain with A2 Hosting, please see this article.
- If you registered your domain with GoDaddy, please see this article.
- If you registered your domain with OpenSRS, please see this article.
For all other registrars, please see their own documentation for information about how to change a domain's nameservers.
Cloudflare is active once the nameserver changes have propagated. This usually takes 24 hours or less.
Use the Cloudflare site to manage all of the Cloudflare settings for your account. For information about how to do this, please visit https://support.cloudflare.com.
More Information
For general information about Cloudflare, please visit https://www.cloudflare.com.
Article Details
- Product: Managed Dedicated Server Managed VPS without root accessReseller HostingShared Hosting
- Level: Beginner
Grow Your Web Business
Subscribe to receive weekly cutting edge tips, strategies, and news you need to grow your web business.
No charge. Unsubscribe anytime.
Did you find this article helpful? Then you'll love our support. Experience the A2 Hosting difference today and get a pre-secured, pre-optimized website. Check out our web hosting plans today.