How to manage WordPress using the cPanel WordPress Toolkit
This article describes how to quickly and easily manage your WordPress site using the WordPress Toolkit in cPanel. The WordPress Toolkit provides a convenient, easy-to-use interface directly within cPanel that you can use to configure and manage WordPress websites.
Managing WordPress sites
To manage an existing WordPress site using the WordPress Toolkit, follow these steps:
- Log in to cPanel.If you do not know how to log in to your cPanel account, please see this article.
- Open WordPress Toolkit:
- If you are using the Jupiter theme, on the Tools page, in the Domains section, click WordPress Toolkit:

If you are using the Paper Lantern theme, in the DOMAINS section of the cPanel home page, click WordPress Toolkit:

- If you are using the Jupiter theme, on the Tools page, in the Domains section, click WordPress Toolkit:
The WordPress Toolkit page appears with a list of installed WordPress sites:
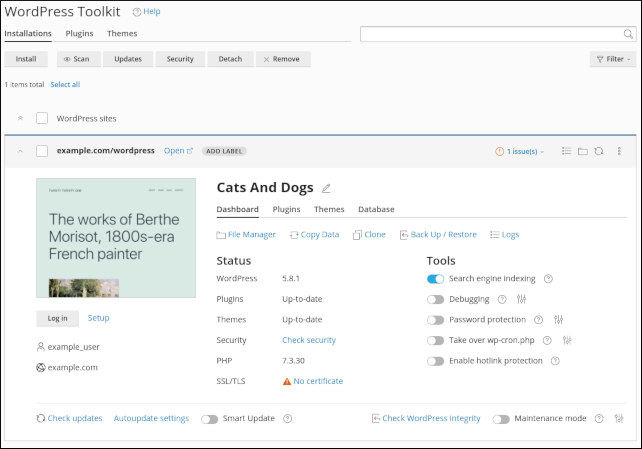
There are several options available for installed sites:
- To view the site, click Open.
- To log in to the site, click Log in.
- To change various site settings, such as the login URL, login password, administrator's e-mail address, and site language, click Setup.
- To view and manage the files for your site in the cPanel File Manager, click File Manager.
- To copy files from one WordPress installation to another, click Copy Data.
This feature is only available on WordPress Toolkit Deluxe.
- To view logs for the site, click Logs.
- To place the site in maintenance mode, click the Maintenance mode slider. To customize maintenance mode settings, such as the maintenance message that appears to site visitors, click the
 icon.
icon. - To enable or disable search engine indexing, click the Search engine indexing slider.
You may want to disable search engine indexing if your site is still under development or otherwise not ready for public viewing.
- To enable or disable WordPress debugging, click the Debugging slider.
- To enable or disable password protection, click the Password protection slider.
When this option is enabled, all site visitors must provide a username and password to access the site.
- To enable or disable search engine indexing, click the Take over wp-cron.php slider.
Use this option to disable the WordPress built-in pseudo-“cron” routine. For more information, please see this article.
- To enable or disable hotlink protection, click the Enable hotlink protection slider.
Hotlink protection prevents other websites from displaying, linking, or embedding your images, and as a result using your bandwidth. For more information, please see this article.
For information about additional site management options, see the following sections.
Checking site security
With WordPress Toolkit, you can check your site's security, and even fix issues, all from one convenient interface. To do this, follow these steps:
- From the WordPress Toolkit main page, in a site list entry, under Status, click Check security. WordPress Toolkit begins scanning your site.
- When the scan is complete, WordPress Toolkit displays a list of issues found and suggested improvements:
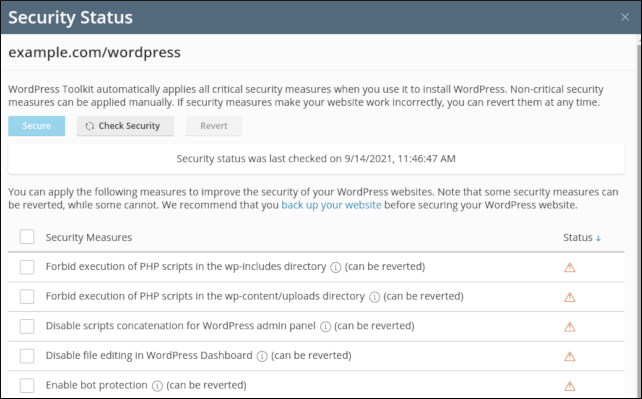
To resolve an issue immediately, select the check box next to the issue, and then click Secure.
This feature is only available on WordPress Toolkit Deluxe. If you do not have WordPress Toolkit Deluxe, you can fix these issues manually.- You can also check the integrity of WordPress application files. To do this, click Check WordPress integrity, and then click Verify Checksums. WordPress Toolkit checks the files on your account against the reference checksums at wordpress.org to ensure that no files have been tampered with.
Updating WordPress
WordPress Toolkit makes updating your site—and keeping it updated—simple. To do this, follow these steps:
- From the WordPress Toolkit main page, in a site list entry, click Autoupdate settings. Select how you want to handle updates for WordPress core, plugins, and themes, and then click OK.
- Click Check updates. WordPress Toolkit checks for available updates:
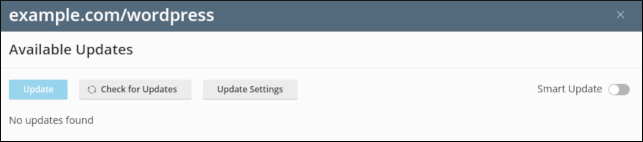
- If WordPress Toolkit finds any available updates, review and select them, and then click Update.
To enable Smart Update, click the Smart Update slider.
This feature is only available on WordPress Toolkit Deluxe. Smart Update enables you to test an update without actually affecting the site. Smart Update does this by creating a full clone of the website, running a number of preliminary checks, updating the cloned website, and running the checks again to see if the update breaks anything. The results include before-and-after screenshots that you can compare to make an informed decision about whether or not to proceed with the update on your “live” site.
Cloning WordPress
You can clone (create an exact copy of) an existing WordPress installation. This can be helpful during development, or for testing out a new theme, plugin, or site design.
To clone a site, follow these steps:
- From the WordPress Toolkit main page, in a site list entry, click Clone.
- You can clone a site to a new subdomain, or use an existing domain or subdomain.
- To change the database name, type the new name in the Name text box.
- Click Start. WordPress Toolkit begins cloning the site.
- When cloning is complete, click Close. You now have an exact copy of your site.
Backing up and restoring WordPress
WordPress Toolkit makes backup and restore management easy. To back up and restore your site, follow these steps:
- From the WordPress Toolkit main page, in a site list entry, click Back Up / Restore.
- To generate a backup, click Back Up:
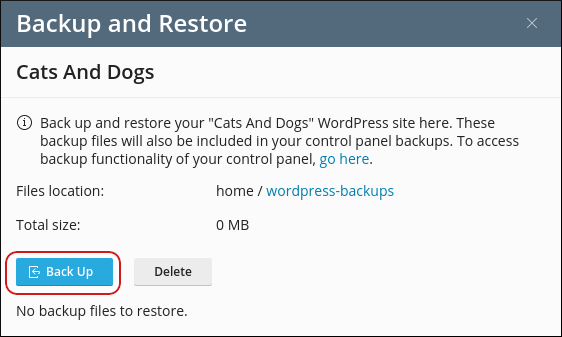
After you have created at least one backup, you can restore, download, or delete it:
- To restore a backup, click the restore icon:

To download a backup, click the download icon:

To delete a backup, click the delete icon:

- To restore a backup, click the restore icon:
Detaching WordPress
You may want to remove (detach) a WordPress installation from WordPress Toolkit. When you do this, you can no longer use WordPress Toolkit to manage the installation. To do this, follow these steps:
- From the WordPress Toolkit main page, in a site list entry, click the
 icon, and then click Detach:
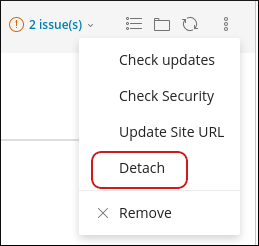
- In the Detaching WordPress Websites dialog box, click Detach to confirm. WordPress Toolkit detaches the installation.
Deleting WordPress
You may want to delete a WordPress installation altogether. To do this, follow these steps:
- From the WordPress Toolkit main page, in a site list entry, click the icon, and then click Remove:
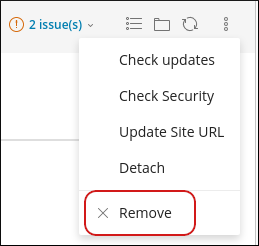
- Select the components you want to remove, and then click Yes. WordPress Toolkit deletes the items you specified.
More Information
- For more information about WordPress Toolkit, please visit https://www.cpanel.net/wp-toolkit.
- For more information about WordPress, please visit https://wordpress.org.
Article Details
- Control Panel: cPanel
- Level: Beginner
Grow Your Web Business
Subscribe to receive weekly cutting edge tips, strategies, and news you need to grow your web business.
No charge. Unsubscribe anytime.
Did you find this article helpful? Then you'll love our support. Experience the A2 Hosting difference today and get a pre-secured, pre-optimized website. Check out our web hosting plans today.