How to set up Gmail to access an A2 Hosting e-mail account
This article demonstrates how to set up Gmail to access an A2 Hosting e-mail account. With Gmail access, you can view and manage both incoming and outgoing messages for your A2 Hosting account from the Gmail interface.
To set up Gmail to access an A2 Hosting e-mail account, follow these steps:
- Make sure you have already created at least one e-mail account for your domain. If you have not done this, please see this article to learn how to create an e-mail account using cPanel.
- Log in to the Gmail account.
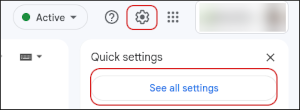
- Click the Gmail settings icon, and then click See All Settings:
 The user interface displayed in these images may differ slightly from the version you have installed.
 Click the Accounts and Import tab:

On the Accounts and Import tab, in the Check mail from other accounts section, click Add a mail account:

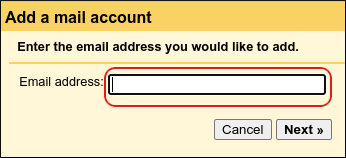
In the Email address text box, type the A2 Hosting e-mail address that you want to access from Gmail (for example, [email protected]), and then click :
Click Import emails from my other account (POP3), and then click Next:

In the Username text box, type the full e-mail address of the A2 Hosting account (for example, [email protected]):
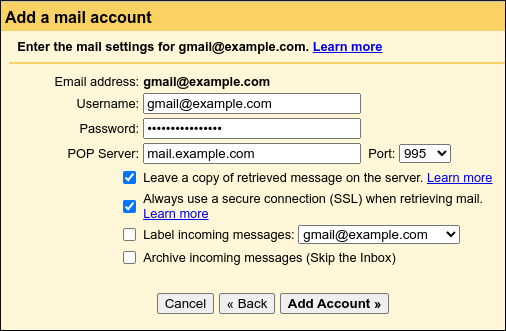
- In the Password text box, type the password for the A2 Hosting account.
- In the POP Server text box, type mail.example.com, where example.com represents your domain name.
- In the Port list box, select 995.
If you want to keep copies of messages on the A2 Hosting server, select the Leave a copy of retrieved message on the server check box.
If you do not select this option, Gmail will download messages and automatically remove them from the A2 Hosting account.- Select the Always use a secure connection (SSL) when retrieving mail check box.
- If you want to apply a label to messages, select the Label incoming messages check box and select a label.
- If you want to automatically archive new messages, select the Archive incoming messages (Skip the Inbox) check box.
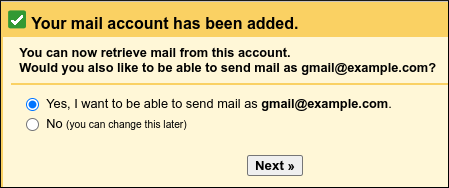
- Click . You should receive a Your mail account has been added message. If you do not receive this message, verify the information you provided in steps 6 to 11, and then try again.
You can now retrieve messages from the A2 Hosting account.
- If you want to be able to send messages for the account from Gmail, click Yes and go to the next step.
- If you do not want to send messages for the account from Gmail, click No, click Finish, and then you are done.
- If you selected Yes in the previous step, you must configure the outgoing mail server settings. Click Next.
In the Add another email address you own dialog box, in the Name text box, type the name you want to appear on messages that you send from the account:
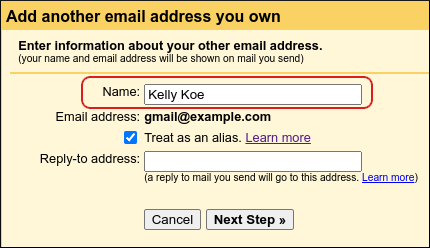
If you want to treat the account as an alias, select the Treat as an alias check box.
For detailed information about what this option does, please see https://support.google.com/a/answer/1710338.- To specify a different reply-to address, type it in the Reply-to address text box.
- Click Next Step.
In the SMTP Server text box, type mail.example.com, where example.com represents your domain name:
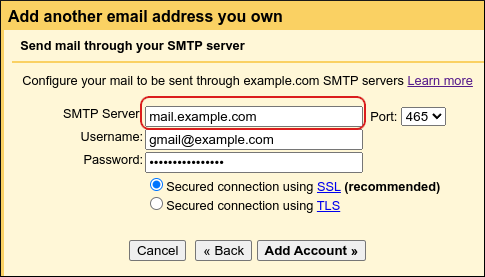
- In the Port list box, select 465.
- In the Username text box, type the full e-mail address of the A2 Hosting account (for example, [email protected]).
- In the Password text box, type the password for the A2 Hosting account.
- Select the Secured connection using SSL option.
Click Add Account. You should receive a confirmation message:
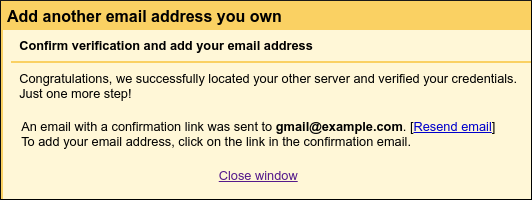
Check the inbox of the A2 Hosting account (for example, [email protected]). There should be a message from Gmail that resembles the following:
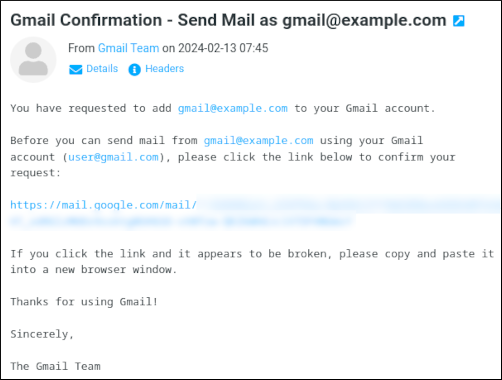
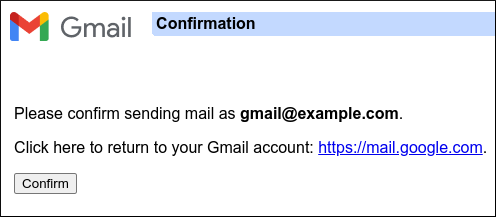
In your web browser, go to the link shown in the message. The following message appears:
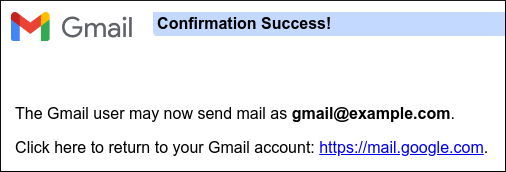
Click Confirm. The following confirmation message appears:
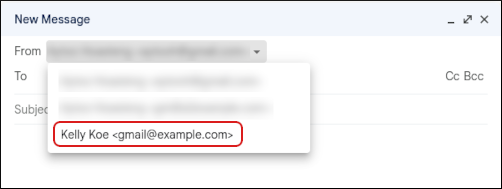
You are now ready to send email for your A2 Hosting account through Gmail. To do this, when you compose a message select the correct identity in the From list box:
Article Details
- Product: All accounts
- Level: Beginner
Grow Your Web Business
Subscribe to receive weekly cutting edge tips, strategies, and news you need to grow your web business.
No charge. Unsubscribe anytime.
Did you find this article helpful? Then you'll love our support. Experience the A2 Hosting difference today and get a pre-secured, pre-optimized website. Check out our web hosting plans today.