How to change the favicon in WordPress
A favicon ("favorite icon") helps represent a website's identity. It is a small image that usually appears on a web browser tab next to the site’s URL, bookmark bar, or history. This article explains how to add a custom favicon to WordPress that leaves an icon mark for your site visitors.
Adding a favicon to a WordPress site
To add a favicon to a WordPress site, follow these steps:
- Log in to your WordPress site with an administrator account.
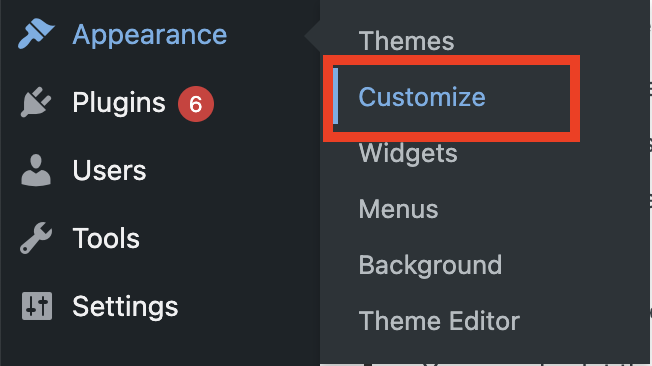
- On the Dashboard in the left sidebar, click Appearance, and then click Customize:
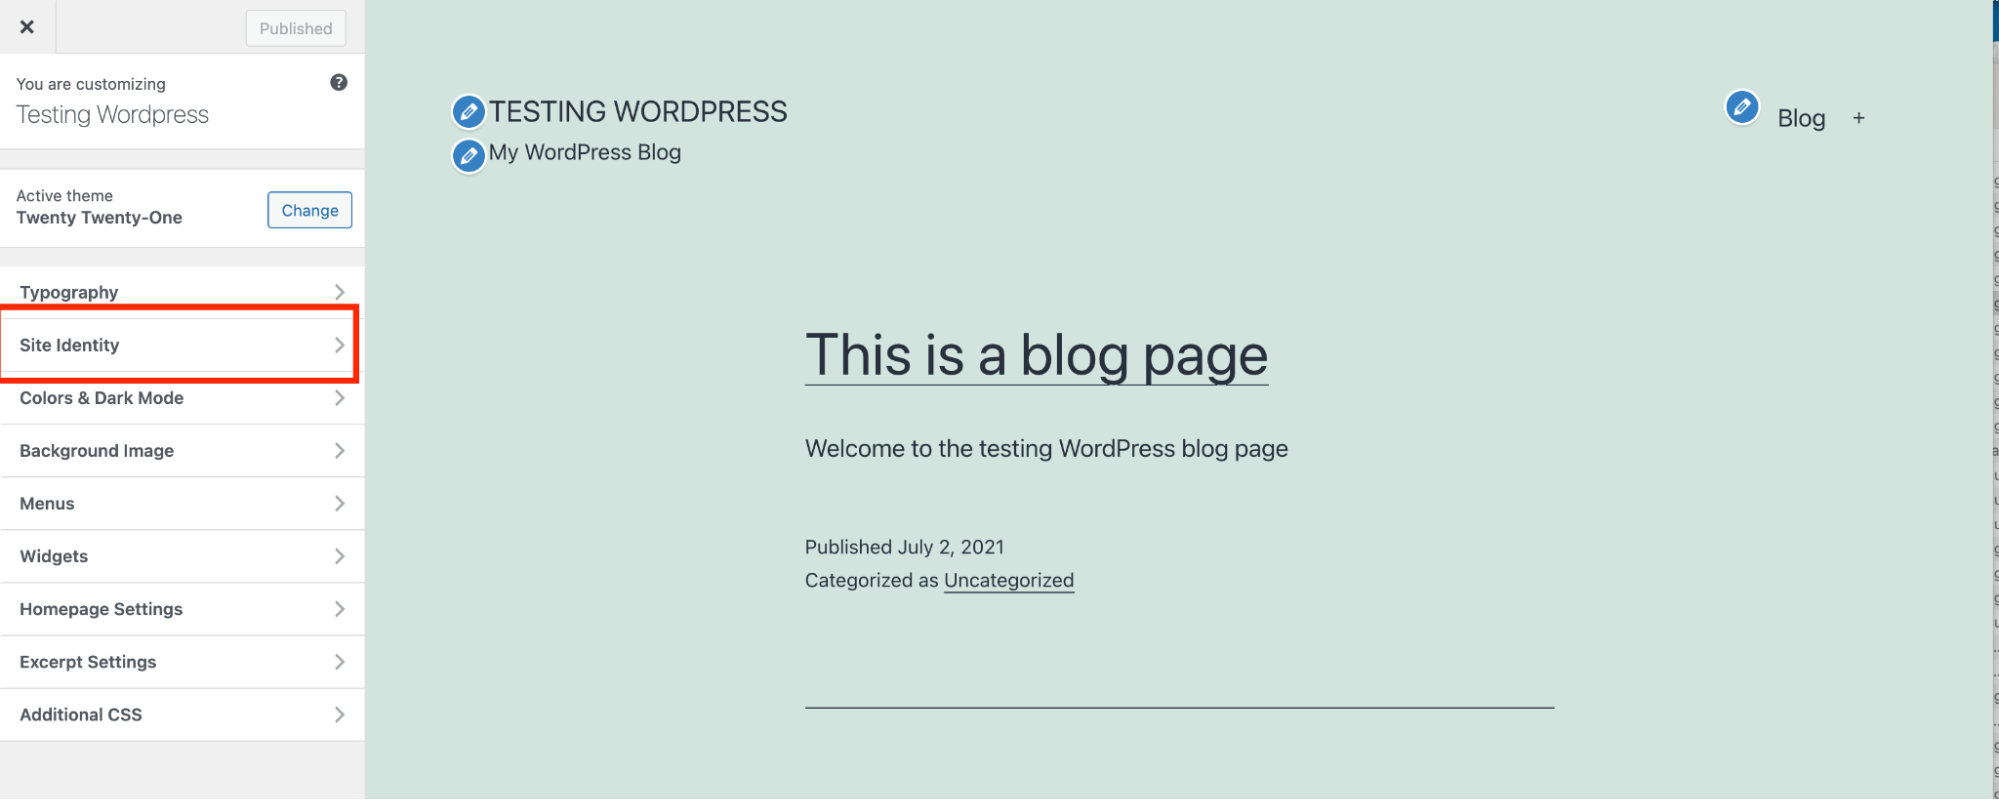
Click the Site Identity tab:
Under Site Icon, click Select site icon to upload the icon image:
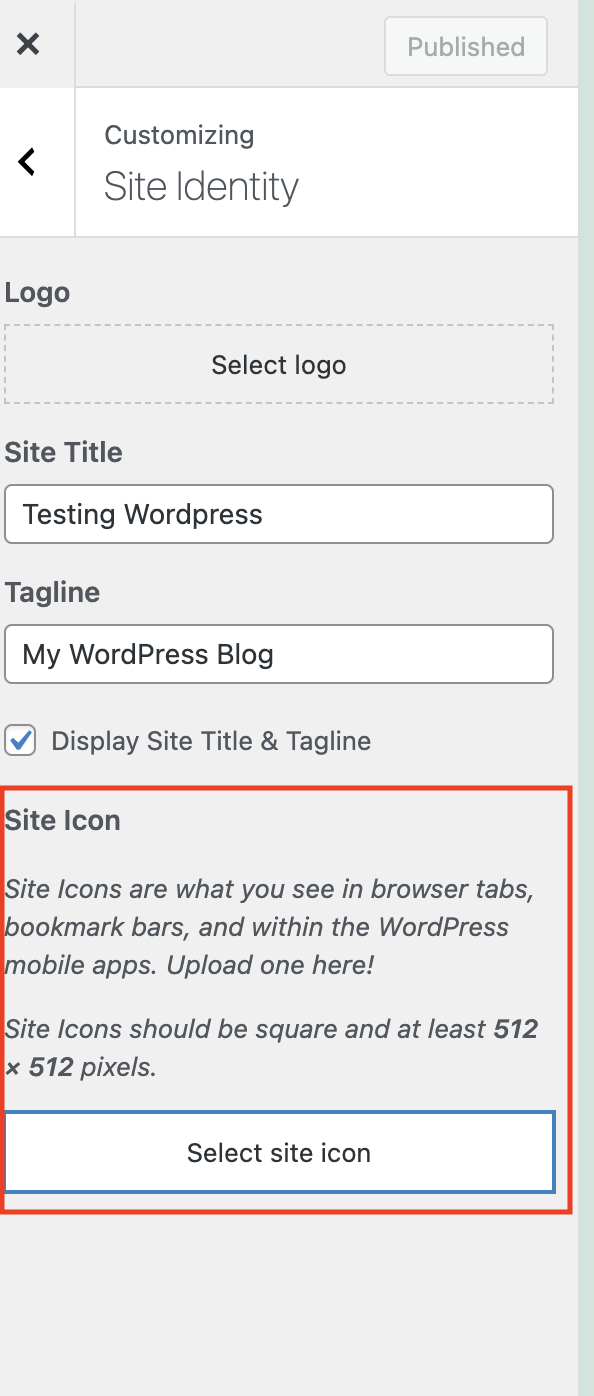
- Click Select Files, and then select the favicon file on your local computer.
- Click Select.
- If you want to crop the image, click Crop image. Otherwise, click Skip cropping.
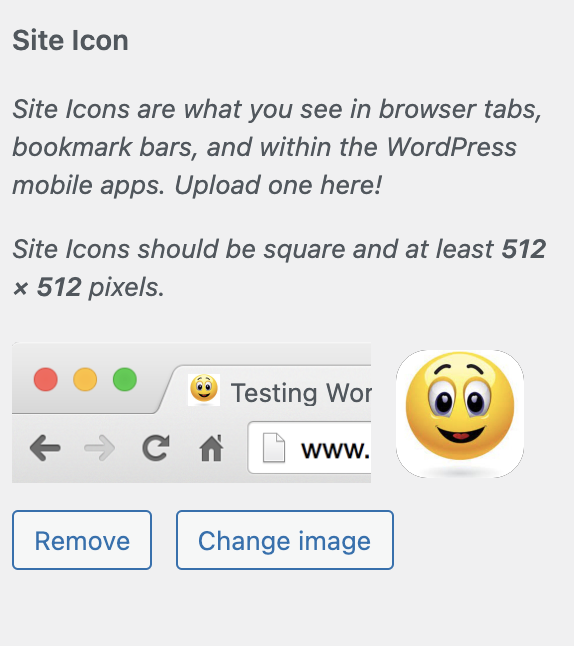
WordPress updates the favicon for your site with the new image file:
More Information
For more information about favicon files, please visit https://en.wikipedia.org/wiki/Favicon.
Article Details
- Product: All accounts
- Level: Beginner
Grow Your Web Business
Subscribe to receive weekly cutting edge tips, strategies, and news you need to grow your web business.
No charge. Unsubscribe anytime.
Did you find this article helpful? Then you'll love our support. Experience the A2 Hosting difference today and get a pre-secured, pre-optimized website. Check out our web hosting plans today.