Website Icon: How to Create Custom Web Icons (3 Steps)

A lot of websites use icons as part of their design. If you’re planning on doing the same, it might seem like your only options are either spending time trying to find decent free options or hire someone to design them for you.
Another alternative is to create your own custom icons. Fortunately, you can do this even if you don’t have a background in web design. With the right tool, you’ll be able to create and customize icons into something that fits your website’s style perfectly.
In this article, we’re going to talk about why you might want to create your own custom icons. We’ll then teach you how to do it using the Futuramo service. Let’s start designing!
Why You Should Consider Creating Your Own Custom Website Icons
If you don’t have a background in web design, adding icons to your site could be a struggle. Fortunately, there are plenty of free icon resources online, such as Font Awesome and Flaticon, where you can find thousands of vector icons and logos for free use.
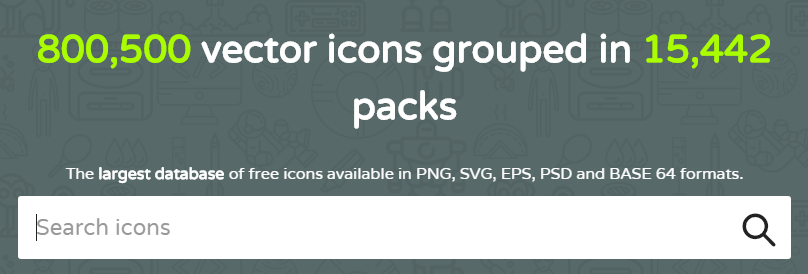
This can be extremely helpful if you need some quick options, as they give you hundreds of icons to choose from. However, the fact they’re free means a lot of other sites could be using them, which could make your site look generic or cheap. It might also be a struggle to find icons that match your website’s style.
Another option is commissioning icons from a professional designer. This can yield great results but also costs money, potentially hundreds of dollars. This option is only recommended if you require a lot of very specific designs and can afford the extra expense.
Fortunately, these days you can also create your own custom icons easily using various online services. These tools are usually simple enough even for beginners and inexperienced designers to use, and could be the easiest option to create unique icons without splashing out.
How to Create Custom Icons for Your Website (In 3 Steps)
We’re now going to show you how you can create your own custom icons using a simple online tool. There are plenty of options available, including Fontastic and Icons Flow, but for this tutorial we’ll be using Futuramo. This platform is very easy to use and enables you to pick icons from its library and customize them using a variety of tools to create something unique.
Step #1: Create a Futuramo Icons Account
To start, you’ll need to sign up for a Futuramo account. This is a versatile platform that also includes time tracking and ticketing tools, but we’re naturally going to focus on it’s icon creation tool for now. Go ahead and click on the Sign Up Free button on the homepage and fill out the form that appears:
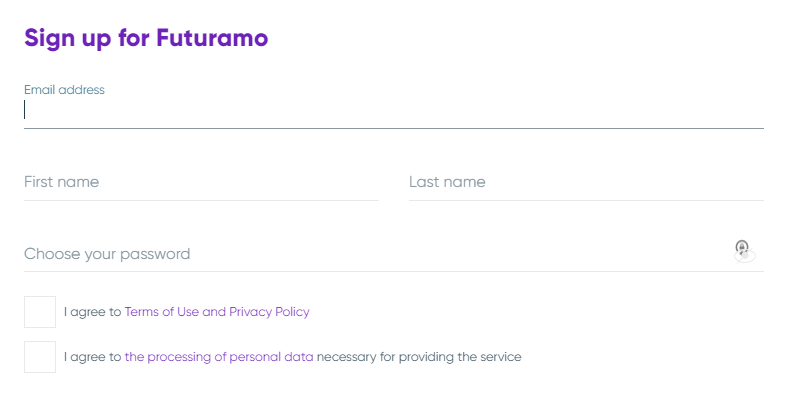
Keep in mind – Futuramo won’t ask you to choose any premium plan during signup. You’ll start off using the platform’s free tier, which includes access to over 5,000 icons. Premium plans will enable you to share your account with more users and give you access to a larger library of icons, but there’s no need to upgrade right away. Once your account is ready, you’ll land on your dashboard.
Here you can click on the Icons button in the middle of your screen. This opens a new page full of icons, which we’ll look at in the next step.
Step #2: Choose the Web Icons You Want to Use and Customize Them
Futuramo makes it simple for you to customize the web icons you want to use. To your right, you’ll see a selection of all the icons available to use. If you want to sort through them, you can click on the Sets tab to the left, and view them sorted into categories:
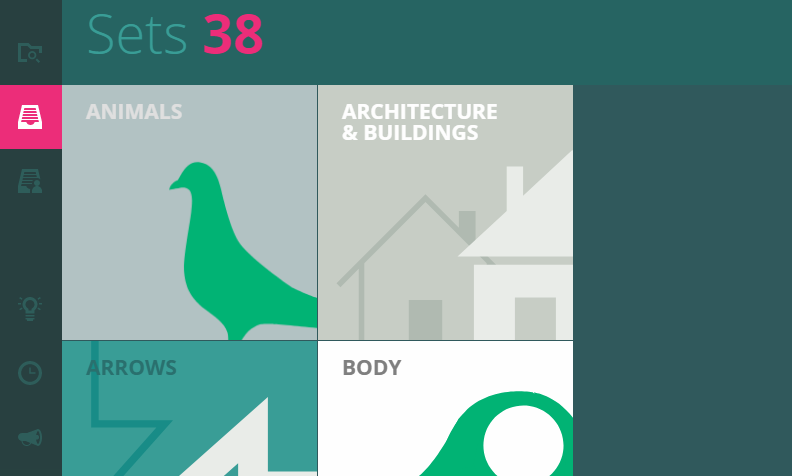
Once you find a category you like, click on it and its icons will show up to the right. Pick one to get started and click on the Add to Clipboard button at the top of the screen:
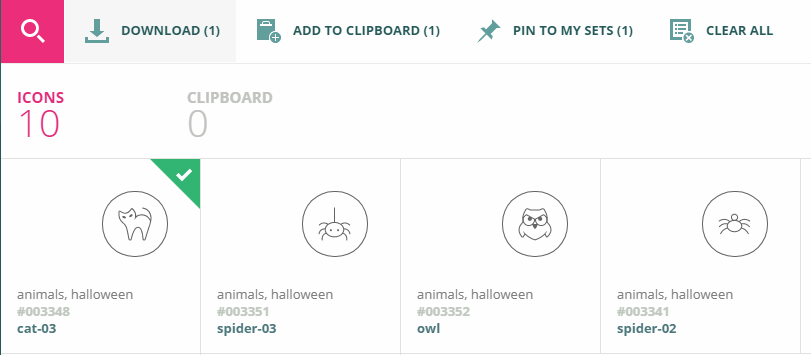
Move over to the Clipboard tab now and you’ll see the icon you chose. To the left are all the tools you can use to customize how it looks. First off, you can choose how thick you want its lines to be:
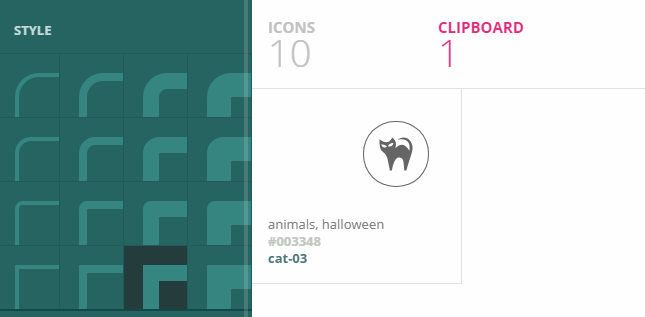
If you move down to the Size section, you can change the size of your icon using preset values or a slider:

Further down, there’s an option for how you want the icon’s frame to look, enabling yo to switch between no frame, circular, and square borders:

Finally, you can set colors for your icon and its borders using a picker tool:
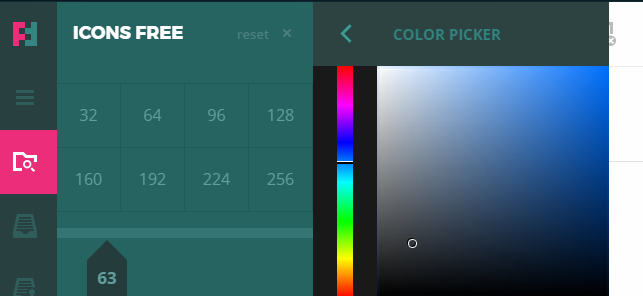
You can spend as much time as you like customizing these settings until your icon looks just the way you want. Once you have made all the changes you want, it’s time to put your new icons to use.
Step #3: Add Your New Icons to Your Website
Futuramo enables you to download your icons in multiple formats. From your clipboard, choose the icons you want to download and click on the Download button at the top of the screen:
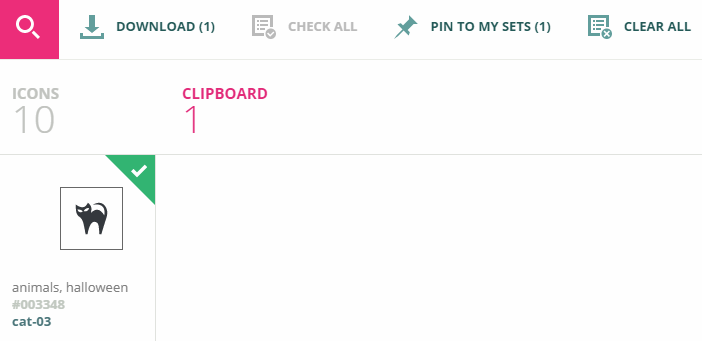
You’ll be able to choose from five formats. Which one you select depends on how you intend to use the icons. If you’re just intending to use them on your website, PNG is probably the best option due to its high quality. However, if you want vectorized versions, the various SVG formats is a great option if you know how to use them:
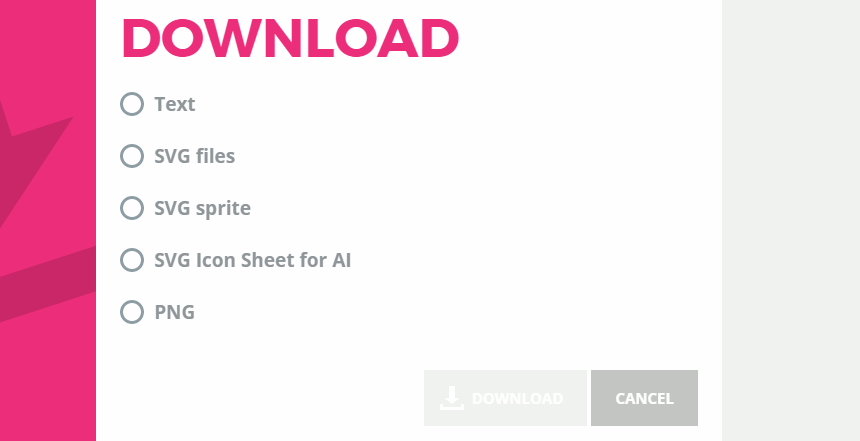
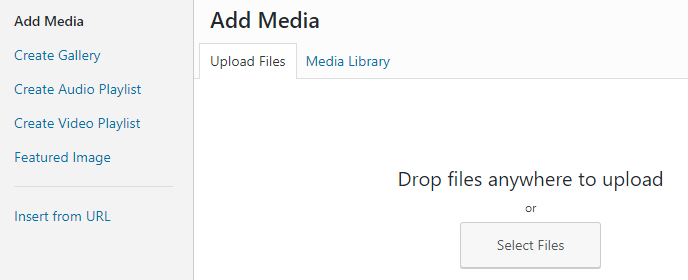
Select PNG for now and download your icons. All you need to do now is upload them to your website and insert them into the pages you want. Some platforms, such as WordPress, enable you to use a built-in media library to add images:
If you’re not using a Content Management System (CMS), you can still add icons anywhere you want using HTML. Icons are, after all, regular images so using them should be easy.
Website Icon Conclusion
Icons are incredibly versatile and useful elements when it comes to web design for your website. You can use them for a variety of purposes, such as with lists, or to separate sections of content. Chance are good that no matter what your site’s style is, using the right icons can improve it.
If you want to create your own custom icons instead of using stock options, we recommend using the Futuramo service. Here’s how to do it:
- Create a free account.
- Choose the website icons you want to use and customize them.
- Add the new icons to your website.