How To Host Online Class With Learning Management System (LMS)

There are many advantages to in-person learning. However, hosting online classes via a Learning Management System (LMS) can enable you to sell courses to a wide audience, implement a standardized employee training program, or reach your students no matter where they are in the world.
Fortunately, there are many quality LMS solutions available. With the right host, you can get your online courses up and running quickly and easily.
In this post, we’ll introduce you to LMSs and several online learning use cases. Then we’ll walk you through how to set up your own educational website and host online classes. Let’s dive in!
An Introduction to LMSs and Online Learning
Especially in the wake of the COVID-19 pandemic, many people associate online classes with kindergarten through 12th grade (K–12) distance learning. However, online classes are useful in many other situations as well.
For instance, many universities now have online programs so students from around the country or even the world can earn their degrees no matter where they are:

Some businesses also offer digital employee training programs. This enables new hires to learn the ropes on their own time and at their own pace.
Additionally, there is a significant market for online courses in various skills and hobbies. Some content creators sell online classes as part of their businesses. Others create and publish classes through platforms such as LinkedIn Learning or Skillshare:
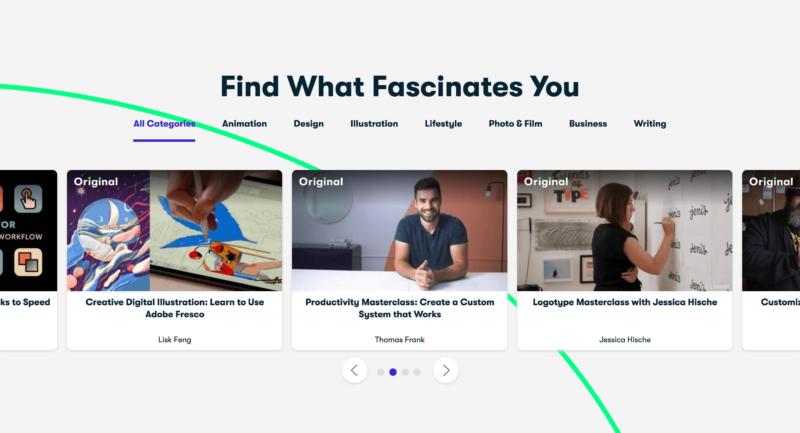
If you’re going to be hosting your classes on your own website (or your company’s or your school’s) it’s helpful to have an LMS. Similar to a Content Management System (CMS), this is a platform that is geared towards publishing and managing online courses.
A quality LMS should include features such as:
- Course registration capabilities
- Assignment publishing and submission
- Assessment and grading tools and reports
- Online discussion forums for student engagement and group projects
- White labeling/branding options so you can customize the interface
- Payment processing (if you plan to sell your classes)
While there are ways to adapt your website to accommodate online classes, it’s often easier to use an existing LMS software to do the heavy lifting for you.
How to Create an LMS and Host Classes Online (In 4 Steps)
If you already have your lessons planned, launching an online course is easier than you might think. With the right tools on hand, you can get started in just four steps.
Step 1: Purchase an LMS Hosting Plan
Like any website, your online learning platform needs a server. While you could technically use any hosting plan for your LMS, there are benefits to choosing one that is specially designed for educational sites.
At A2 Hosting, we offer a variety of LMS hosting solutions:

Our plans start at as little as $2.99 per month for a single site. All of them include extensive performance and security features to keep your students’ data safe and your assignments loading quickly.
Additionally, we offer easy, one-click installation for multiple LMS software options. This will help you get your site up and running fast while still enabling you to choose the solution that’s best suited to your needs.
Step 2: Choose and Install Your LMS Software
Speaking of LMS software, the next step in launching your online course(s) is to choose one. The best option will depend on your specific goals.
If you’re building an online program for a K–12 school or university, Canvas is a solid pick:

It’s specifically designed for elementary through university students and includes many helpful features for teachers such as digital gradebooks and the ability to monitor participation and engagement.
For businesses planning to digitize their employee training programs, Chamilo may be a better fit:
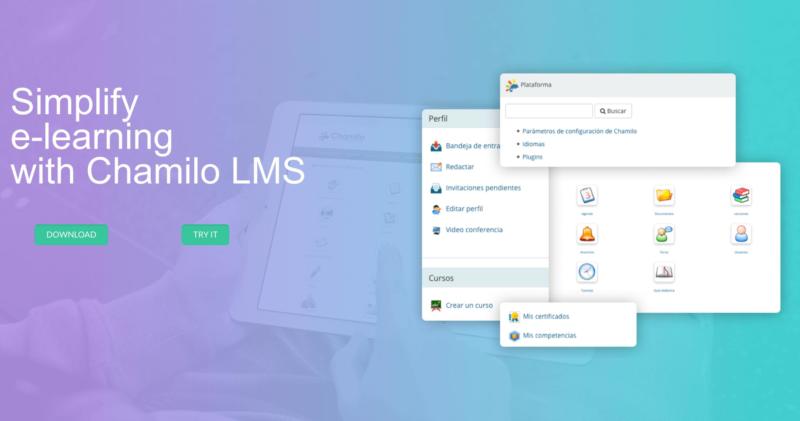
This open-source platform includes attendance tracking, gamification features, asynchronous learning, and canned reports. These tools can help automate your training process while keeping employees engaged and ensuring completion of key modules.
Finally, if you’re wanting to create courses to sell on your website, you might prefer eFront:
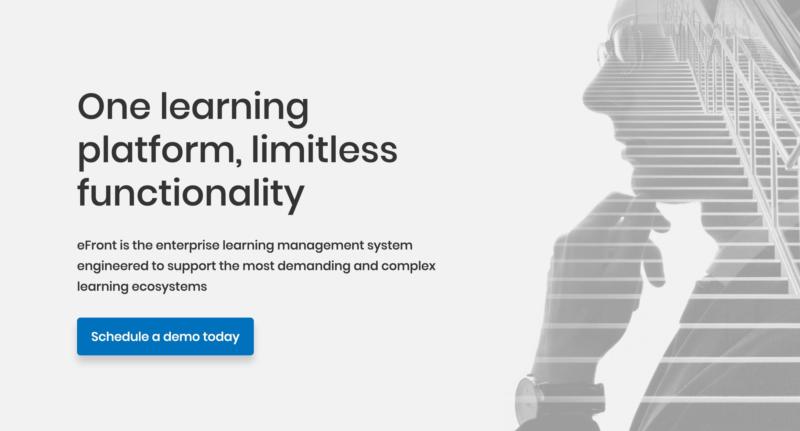
This platform is designed to accommodate large numbers of students. No matter how many customers purchase your classes, eFront should be able to scale up to deliver your lessons without issue. It also integrates with PayPal and Stripe to accept payments.
If you chose A2 Hosting to host your LMS, you can easily install any of these platforms (as well as 16 other options). Log in to your hosting account, then open cPanel for your LMS hosting plan.
Find the Softaculous Apps Installer section and scroll through the Categories until you find Educational:
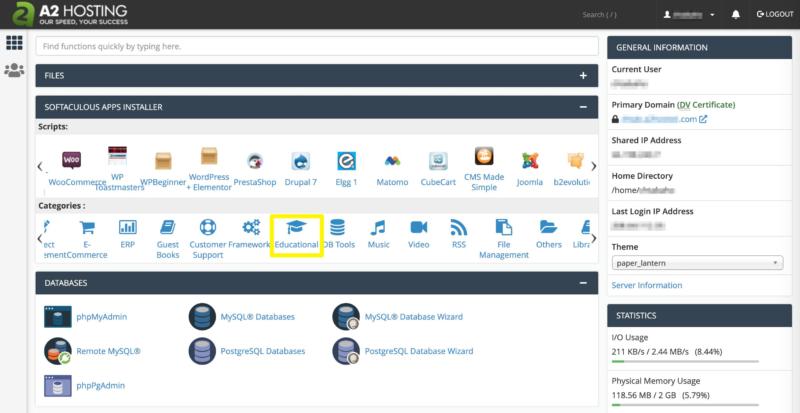
Click on the icon and you’ll be taken to a list of the available software:
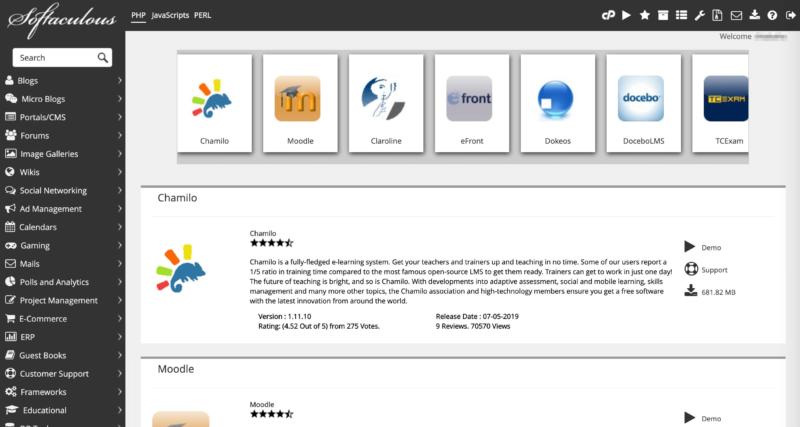
Select the platform you want to use. Then, fill out the necessary information on the following screen:
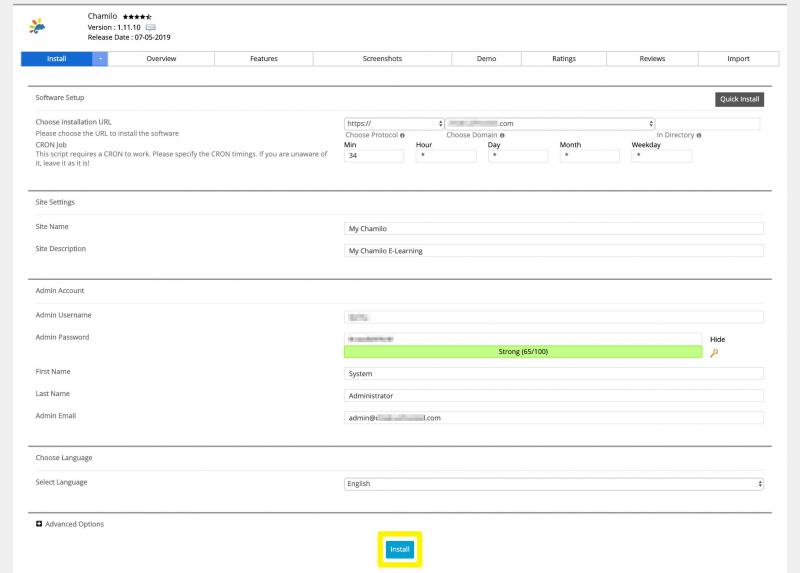
Click on the Install button to complete the process.
Step 3: Create Your Courses and Launch Your Educational Site
Once your LMS software has been installed, you should be able to access the administrator dashboard. Here you’ll be able to create lessons and courses.
This process will vary slightly depending on which platform you chose. However, generally speaking, you’ll need to create distinct lessons that include assignments and assessments. You can then add individual lessons to your courses.
Once your class includes all the necessary materials, you can publish it so that students can access it from your website:
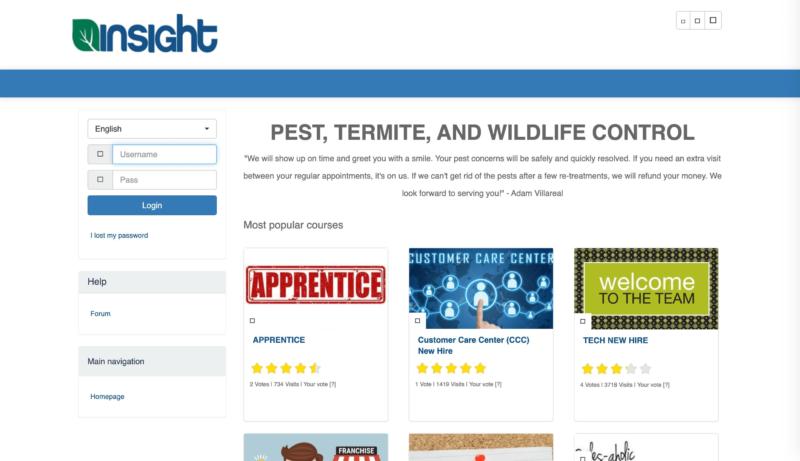
It’s recommended that you read your platform’s documentation to learn more about how to create and publish classes, as well as how to use features such as grading tools or video lessons.
Step 4: Promote Your Classes to Attract Students
Once your courses are live, all you need is students to take them. If you’re using your LMS for your school or as an employee training platform for your business, you should be able to easily reach those who need to take your course via email to let them know it’s now available.
However, if you’re selling your online courses for a profit, you’ll need to market them. There are several ways you can go about this, such as:
- Promoting your classes on social media
- Launching an email marketing campaign about your new courses
- Attracting potential students with free content such as an introductory lesson or e-book
Once you’ve had a few students complete your course, you can also ask them to rate or review it. This can provide social proof for your classes and encourage others to try them out.
Conclusion
There are many situations in which hosting classes online can be useful. Whether you need to implement an employee training program, want to sell online classes as part of your business, or are creating distance learning opportunities for K–12 or university students, a quality LMS is key.
At A2 Hosting, we can help you launch your own online learning platform in just four steps:
- Purchase an LMS hosting plan.
- Choose and install your LMS software.
- Create your courses and launch your educational site.
- Promote your classes to attract students.
Image credit: Pexels.