How to use the QUIC.cloud CDN with WordPress
This article describes how to create a QUIC.cloud account so you can use the QUIC.cloud CDN with your WordPress site.
About QUIC.cloud
QUIC.cloud is the only Content Delivery Network (CDN) available that caches static and dynamic WordPress content. Most CDNs only cache static content, but the QUIC.cloud CDN caches an entire site, including:
- Images.
- CSS.
- JavaScript.
- The dynamic HTML page itself.
The QUIC.cloud CDN is built on top of the state-of-the-art LiteSpeed server stack. By taking advantage of LiteSpeed Cache's Smart Purge technology, QUIC.cloud CDN accurately serves a site's most current content, and purges old content when necessary. Additionally, the QUIC.cloud CDN:
- Caches complex dynamic content with ESI (Edge Side Includes) support.
- Promptly and accurately purges the cache as content changes.
- Serves WordPress sites at the network edge with a low TTFB (Time to First Byte).
- Has less than 10ms average latency in North America and Europe.
- Supports HTTP/3 end to end, from the client to the backend server.
- Provides global coverage with a growing network of 79 PoPs (Points of Presence).
Enabling QUIC.cloud
To enable the QUIC.cloud CDN for your WordPress site, you must create a QUIC.cloud account. To do this, follow these steps:
- Use your web browser to go to https://my.quic.cloud/u/login.
- In the Email address text box, type your email address:
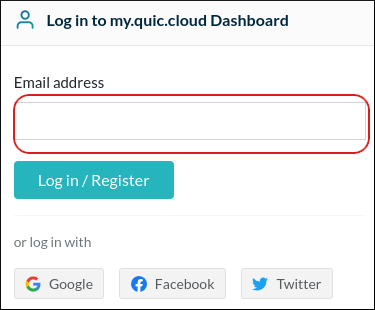
- Click Log in / Register.
In the Password text box, type the password you want to use:
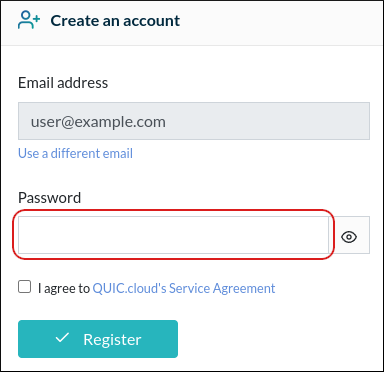
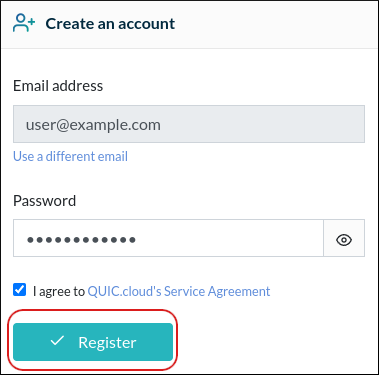
- Select the I agree to QUIC.cloud's Service Agreement check box.
Click Register:
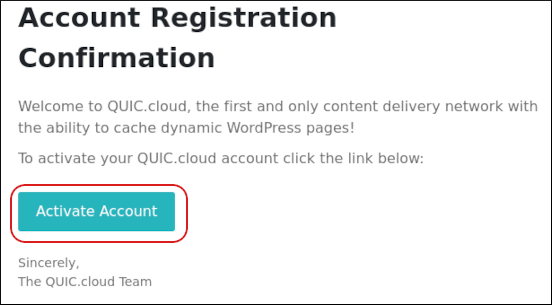
QUIC.cloud sends you a validation email:
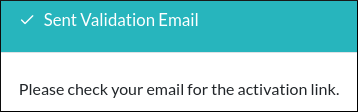
You receive the validation message at the email address you specified. In the message, click Activate Account:
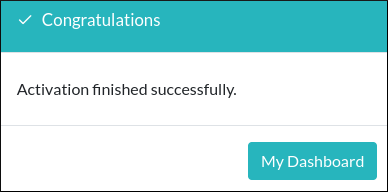
QUIC.cloud activates the account:
Linking your WordPress site to QUIC.cloud
After you create a QUIC.cloud account, you are ready to link it to your WordPress site. To do this, follow these steps:
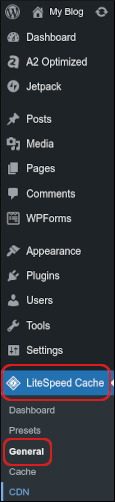
- Log in to your WordPress site as the administrator.
- In the left sidebar, click LiteSpeed Cache, and then click General:
- In the Domain Key section, click Request Domain Key.
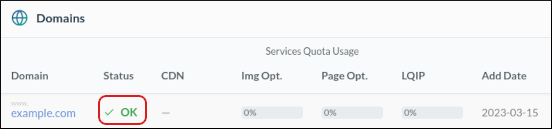
Refresh the page, and then in the Domain Key section, click Visit My Dashboard on QUIC.cloud:

Your QUIC.cloud dashboard appears, and in the Domains section your domain is listed with an OK status:
More Information
For more information about QUIC.cloud, please visit https://www.quic.cloud.
Article Details
- Product: Turbo Web Hosting
- Level: Beginner
Grow Your Web Business
Subscribe to receive weekly cutting edge tips, strategies, and news you need to grow your web business.
No charge. Unsubscribe anytime.
Did you find this article helpful? Then you'll love our support. Experience the A2 Hosting difference today and get a pre-secured, pre-optimized website. Check out our web hosting plans today.