How to configure Jetpack backups on Managed WordPress
This article describes how to configure backups using the Jetpack plugin on Managed WordPress.
- This article is specifically about backups in Jetpack. For general information about Jetpack on Managed WordPress, as well as how to activate Jetpack for your account, please see this article.
- The information in this article applies to cPanel-based Managed WordPress hosting accounts. If your Managed WordPress account uses Plesk, please see this article.
Table of Contents
Configuring backups
To configure backups in Jetpack, follow these steps:
- Log in to the WordPress site where Jetpack is activated.
- In the left sidebar, click Jetpack. The Jetpack page appears.
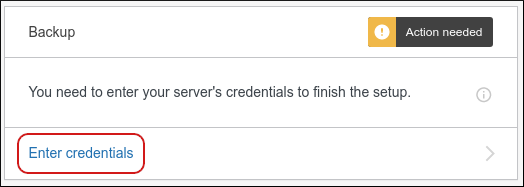
- Under Security, in the Backup section, click Enter credentials:
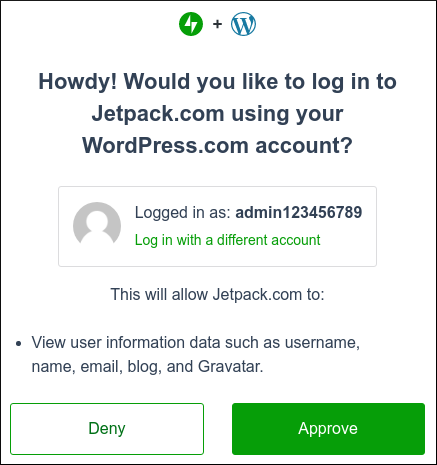
Click Approve to log in to Jetpack.com with your existing WordPress.com account:
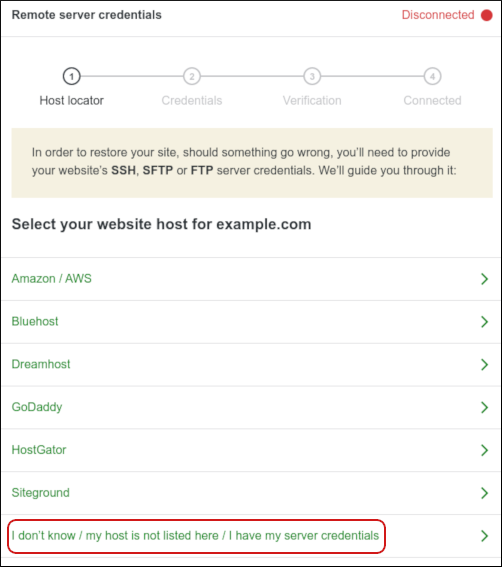
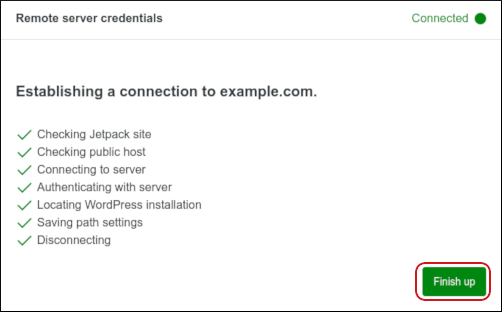
- On the Jetpack site, the Remote server credentials page appears.
Click I don't know / my host is not listed here / I have my server credentials:
Specify your server credentials:
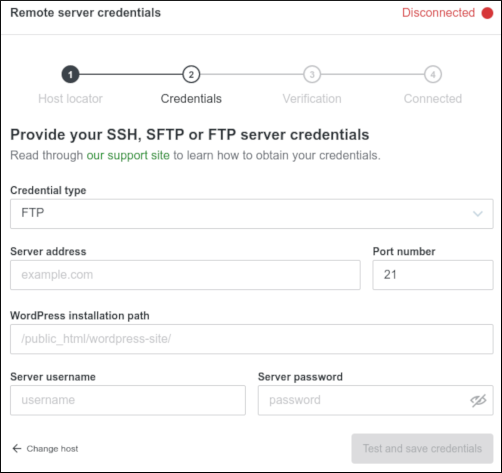
- In the Credential type list box, select SSH/SFTP.
- In the Server address text box, type your domain name (for example, example.com).
- In the Port number text box, type 7822.
- In the WordPress installation path, type the path to your WordPress site.
By default, this should be the /public_html directory. If you installed WordPress in another directory, specify that directory instead.
- In the Server username text box, type your cPanel username.
- In the Server password text box, type your cPanel password.
If you do not want to provide your password, you can use SSH keys instead. For information about how to set up SSH keys for your account, please see this article.
- Click Test and save credentials. If the test succeeds, go to the next step. If the test does not succeed, review the account information you provided in step 7, and then try again.
Click Finish up:
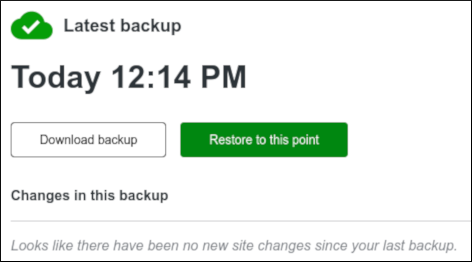
In the left sidebar, click Backup to view when the last backup occurred:
- To download the backup to your local computer, click Download backup.
- To restore the site using the backup, click Restore to this point, select the items you want to restore, and then click Confirm restore.
More Information
For more information about Jetpack, please visit https://jetpack.com and https://wordpress.org/plugins/jetpack.
Article Details
- Control Panel: cPanel
- Product: Managed WordPress with cPanel
- Level: Intermediate
Grow Your Web Business
Subscribe to receive weekly cutting edge tips, strategies, and news you need to grow your web business.
No charge. Unsubscribe anytime.
Did you find this article helpful? Then you'll love our support. Experience the A2 Hosting difference today and get a pre-secured, pre-optimized website. Check out our web hosting plans today.