- Dec 03, 2019
 0
0- by A2 Marketing Team
Email marketing is a powerful tool to keep your website’s users engaged. However, creating, planning, and sending out emails takes up a lot of time, especially as your campaigns grow more sophisticated.
The solution is to automate at least one aspect of that process. With email automation, you can set up campaigns in advance and configure precisely when they go out. You’ll be able to use specific times or actions as triggers, and you can send a single message or a fully-scheduled campaign.
In this article, we’re going to talk a bit more about what email automation is and when it makes sense to use it. Then we’ll go over three simple steps to get you started. Let’s get to work!
What Email Automation Is (And When to Use It)
A lot (if not most) of the emails you get are likely automated. That doesn’t mean a human didn’t write them, but it does mean that someone created and configured them so they’d be sent out automatically.
Consider welcome emails, for example:
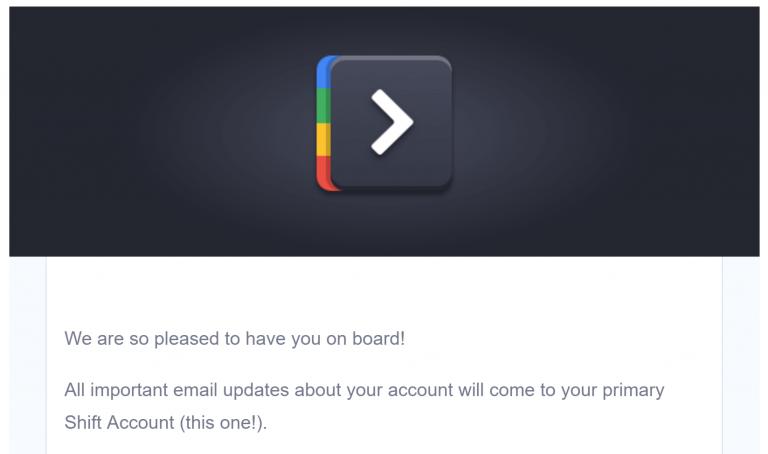
There isn’t a guy waiting patiently by his computer to welcome every person that joins his email list. Instead, you joining the mailing list becomes a ‘trigger’, which causes a pre-written message to be sent out.
Email automation is a lot more complex than simply scheduling campaigns in advance, however. In practice, there’s a broad range of triggers you can use for automation. You could set up an email to go out when:
- Someone hasn’t opened your emails for a while
- A customer makes a purchase
- A subscription is due to be renewed soon
Of course, those are just a few examples. What email automation options you can use will depend mainly on the marketing provider you choose. Most reputable Email Marketing Providers (EMPs) give you plenty of choices.
How to Get Started With Email Automation (In 3 Steps)
Before you can automate your emails, you’ll need to sign up for an EMP. Let’s take a look at how that process works.
Step 1: Sign Up for an Email Marketing Tool
A lot of EMPs don’t offer automation functionality with their free plans. This means that many users who are just starting to build their email lists miss out on a powerful feature.
We’ve talked about some of our favorite EMPs for small businesses in the past. For this tutorial, we’re going to use MailChimp, which does offer automation functionality for its free users:
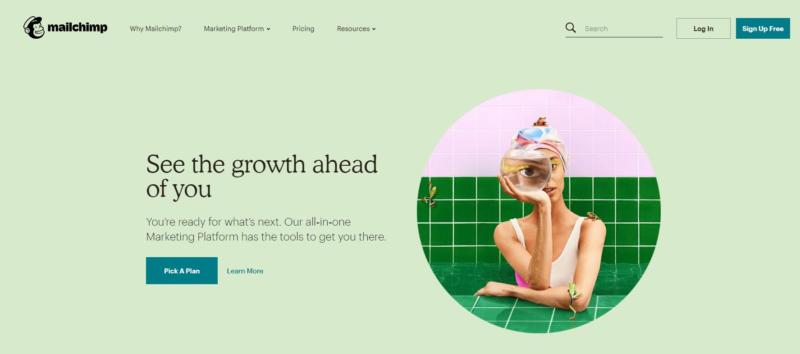
The sign-up process will vary a bit depending on which EMP you use, but it should be straightforward. If you want to follow along, go ahead and sign up for an account now, and then move to the next step.
Step 2: Create a New Campaign and Select a Trigger
Once you have a MailChimp account, you can access your dashboard. It includes an option to create a new email campaign right at the top:
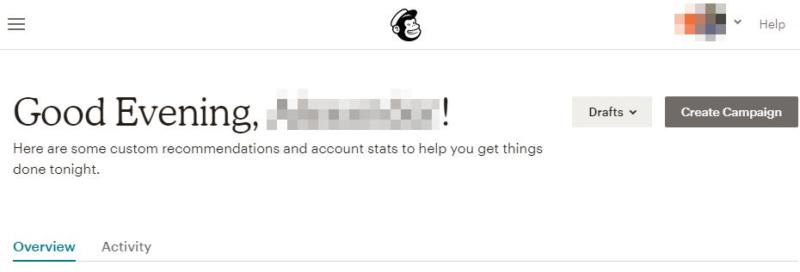
On the next screen, you can choose what type of campaign to set up. Let’s go with Email:
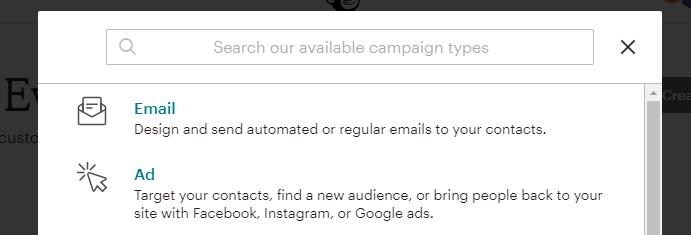
First, you’ll choose what kind of email campaign you want to design. The options include regular and plain-text emails, as well as automated messages. We’ll go with the latter option.
Next, MailChimp enables you to configure what you want your campaign’s trigger to be. There are a lot of options here, so take your time to get acquainted with them all:
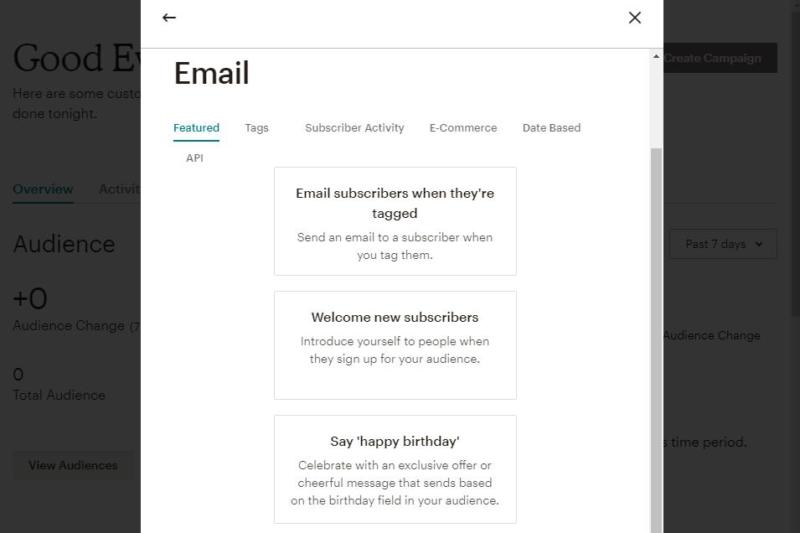
We’re going to keep things simple, and select the Welcome email option, in order to demonstrate how automation works.
Finally, select an internal name for the campaign, and choose which list of subscribers you want to target:
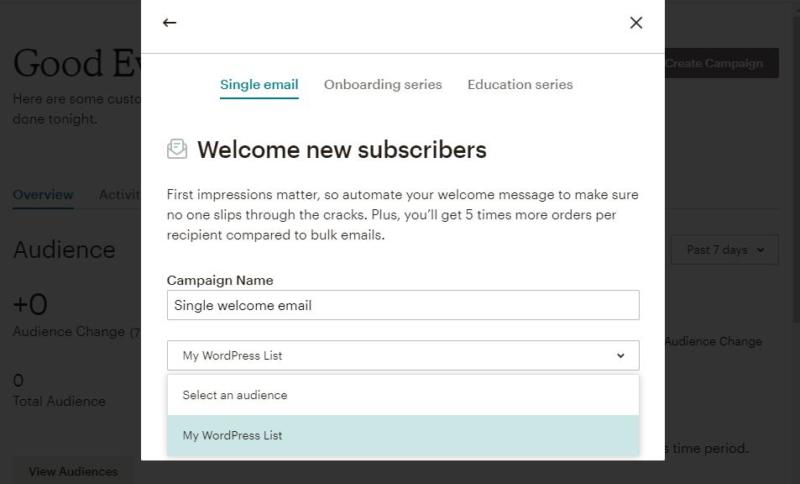
Note that MailChimp also enables you to choose if you want to design a single email or a full series. You can always add more emails to your campaign later, however, so let’s go with Single email for now.
Step 3: Put Together Your First Automated Message
At this point, you’re ready to start working on your welcome email. To get the ball rolling, you can configure from which account the email will be sent, and give it a subject:

There’s also an option that enables you to further customize your email’s trigger. To access it, select Edit Delay And Recipients:

From this screen, you can set a delay for your welcome email. By default, it will send automatically when someone joins your list:

Some websites use a one-day delay, so as not to overwhelm new users too quickly. Feel free to tinker with your email’s delay. When you’re ready, save your changes and click on the Edit Design button:

This is where the magic really happens. MailChimp will set you up with a welcome email template to help you hit the ground running. However, you can edit any aspect of its design and content to suit your needs:
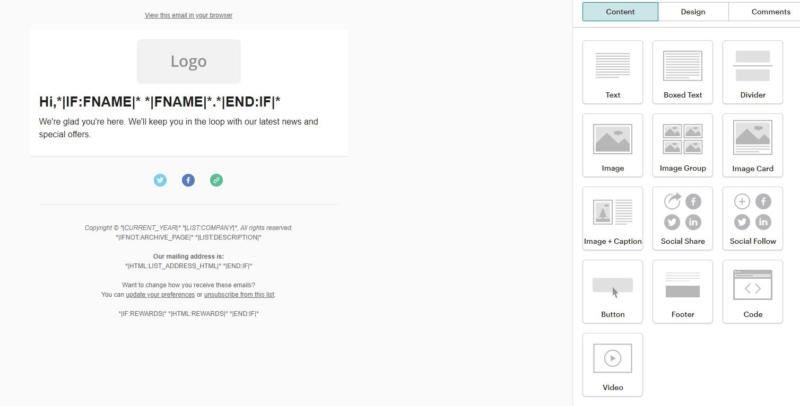
The MailChimp editor is fairly intuitive. You can drag around elements, click on them to add customizations, and include new elements from the menu to the right.
At the very least, you’ll probably want to add your logo to the email, as well as links to your social media profiles:

When you’re ready, hit the Save and Continue button at the bottom of the screen. Then, return to your email campaign’s overview page. From there, you can ‘turn on’ the campaign by selecting the Start Sending option:

You’ll should see a success message that looks like this, which means you’re good to go:
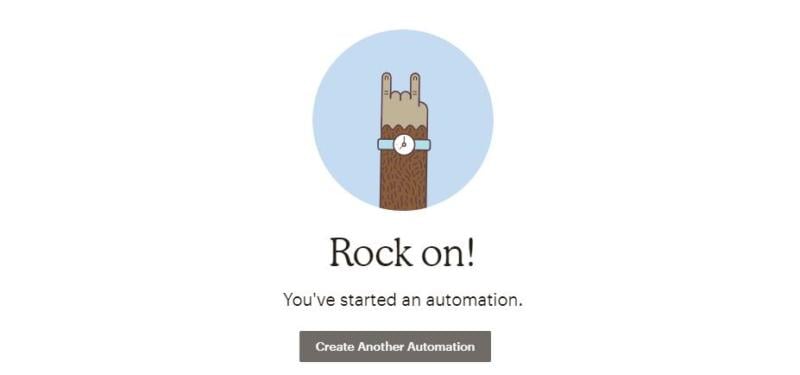
Now every time someone joins your email list, they’ll receive the message you just designed. It’s a small touch, but considering that this is your first step in the world of email automation, it’s not a bad start.
At this point, you can go ahead and play with some of the other trigger options MailChimp has to offer. Chances are you’ll find several triggers that can make your job easier.
Conclusion
The sooner you get started with email marketing, the easier it will be to build a sizable list of subscribers. Then, you can use that list to send out all kinds of automated messages, keeping your audience up to date and informed.
To get started with email automation, you can follow these three steps:
- Sign up for an email marketing tool.
- Create a new campaign and select a trigger.
- Put together your first automated message.
Image credit: Pixabay.
