- Jun 04, 2018
 0
0- by A2 Marketing Team
Most web hosting plans provide you with multiple ways to access your website. More powerful plans may even enable you to interact with your server directly. This often involves learning how to use Secure Shell Access (SSH).
At its core, SSH is a method of connecting to your server and interacting with it using direct commands instead of a graphical interface. This way, you can save a lot of time when it comes to executing simple tasks such as editing files and modifying permissions.
In this article, we’re going to talk more about SSH and how it works. We’ll then teach you how to access your A2 Hosting server using an SSH client in three short steps. Let’s get to it!
What Secure Shell Access Is (And How It Works)
Secure Shell Access (SSH) is a protocol for connecting to a server, enabling you to transfer files and perform certain actions. At first, this may sound like using File Transfer Protocol (FTP). However, the two methods are quite different, since:
- SSH uses the command line to control your server remotely. With SSH, you can give direct commands to your server.
- SSH provides you with more options. With FTP, you’re limited to interacting with your files in basic ways. SSH, on the other hand, enables you to do whatever you want as long as you know the right commands.
If you’ve ever run the cmd application in Windows, then you’re familiar with the command line. Almost every Operating System (OS) enables you to interact with it directly, by typing direct instructions using the command line. Some, such as Linux, provide you with more control over what you can do than others.
Fortunately, you don’t need to be a developer to use the command line. We’ll talk more about it later, but for now, let’s discuss how to access your website via SSH.
How to Access Your Server Using SSH (In 3 Steps)
If you’re using Linux or OS X, you can use SSH with a remote server right from your command line. However, Windows users will need to download an application or client that supports this type of connection. That’s the method we’ll be showing throughout this tutorial.
Step 1: Choose and Install an SSH Client
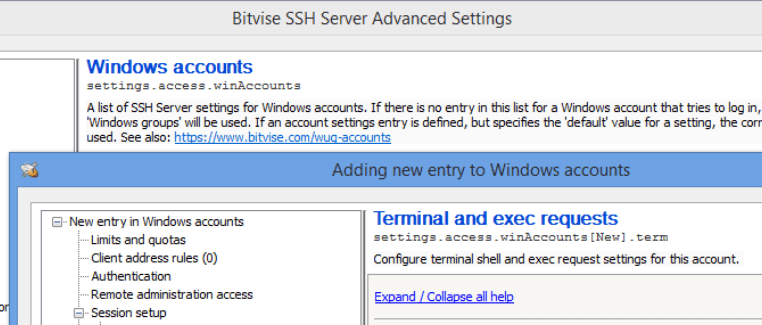
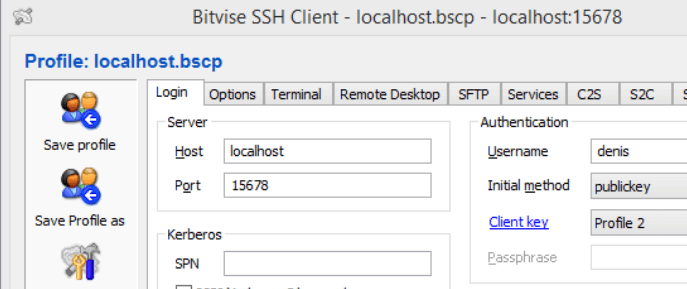
SSH clients enable you to connect to your server using the protocol. If you’re a Windows user, you have plenty of options to choose from. Once you connect to your server via SSH and enter the command line, however, every client works much the same.
Two popular choices are Bitvise and WinSCP. The former stands out, thanks to its vast array of configuration options and a classic Windows interface:
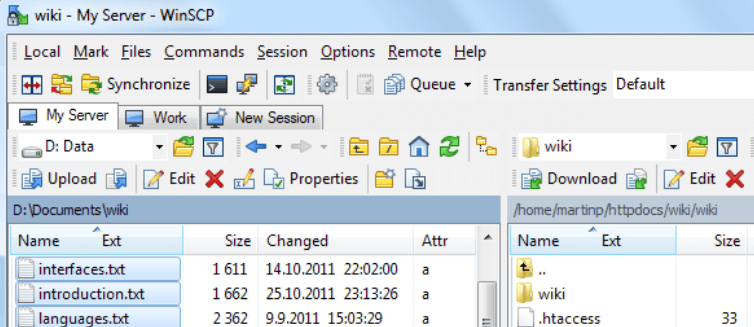
WinSCP, on the other hand, feels more modern. However, keep in mind that this is primarily an FTP client, so it’s more optimized towards file management rather than SSH connections:
Finally, we have PuTTY, which is by far the most feature-packed SSH client we’ve used:

We recommend taking a few minutes to check out these clients, then download and install the one that suits you best. We’ll be using PuTTY for the rest of this tutorial, but the process of connecting to your server via SSH is similar for all three clients.
Step 2: Connect to Your Server Using Your SSH Credentials
Before we launch into the technical details, remember that not every type of hosting plan will enable you to connect to your server via SSH. Shared hosting, for example, almost never offers this level of control over your server.
However, if you’re using a Virtual Private Server (VPS) or a dedicated server, SSH access should be possible. You’ll need your server’s IP address and your admin password to make the connection. First, you’ll want to launch the PuTTY client:
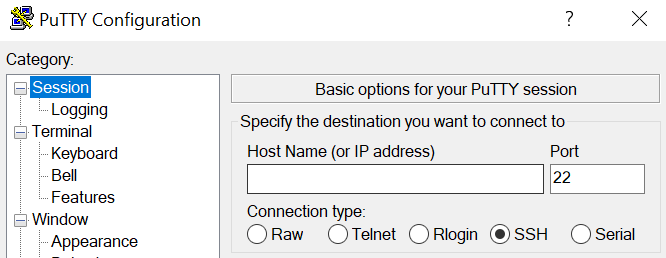
The important section is the one right below where it says Specify the destination you want to connect to. Within this section, you can choose which type of connection and port to use, and indicate your server’s host name or IP address.
Set the connection type to SSH, and if you’re using A2 Hosting, change the default port to 7822. As for your host name, you can use the following format instead of an IP address:
Replace yourusername with your A2 Hosting username, and domainname.com with your site’s domain. The result should look something like this:
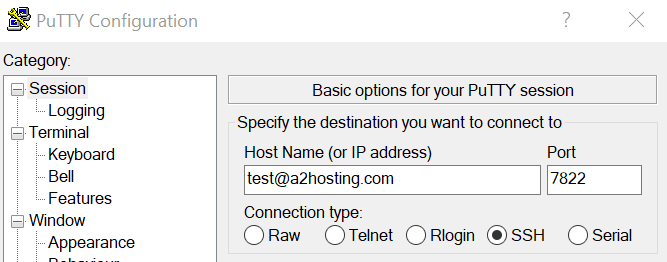
Now click on the Open button at the bottom of the page, and a command line window will appear. If you entered your credentials correctly, you should see a password prompt:

Enter your account password, and that’s it! You have full access to your server:

Now, let’s talk about what you can do here.
Step 3: Interact With Your Server Using the Command Line
The command line can seem intimidating at first. There are a lot of commands you can use to interact with your server, but most of them are quite simple. With a little practice, you should be able to memorize them and get used to the lack of a graphic interface.
Right now, your command line should be waiting for you to enter your first input. So let’s try something simple, and type ls:

This will list all the files in the directory where you’re currently located, which should be your root folder at the moment. If you want to navigate to another directory, type cd followed by the directory’s name:

In this example, we navigated to the email_patch directory. Once inside that folder, we can interact with its files. For example, we could use the Nano editor to make changes to them, by typing nano file.txt:

Using a text editor within the command line requires a bit of practice, but it’s a handy skill to learn. When you’re ready to leave your server’s command line, type exit and PuTTY will close the connection automatically.
For now, we recommend that you check out some of the other commands you can use, and practice them when you get the chance. That way, you’ll be ready to use the command line when you need to!
Conclusion
With SSH, you get a direct line to your server and can make any changes you want with a few keystrokes. This is often more efficient than using a control panel. Fortunately, you’ll find that using SSH and the command line is not as difficult as you might have imagined.
If you just upgraded from shared hosting and you haven’t used SSH yet, here’s how to get started with it:
- Pick an SSH client, such as PuTTY, and install it.
- Connect to your server using your credentials.
- Interact with your server using the command line.
Image credit: Pixabay.
