


- Jan 12, 2017
 0
0- by A2 Marketing Team
WooCommerce is the preferred e-commerce solution for a lot of WordPress users, and it’s easy to see why. It packs tons of customization options and advanced features, which makes it perfect for more experienced users. E-commerce newbies, however, might not have such an easy time setting up their first store.
While WooCommerce can be overwhelming at first, it’s not that complicated once you get the hang of the basics. If you take the time to learn the ropes, you can have a store up and running in no time at all.
In this article, we’ll guide you through the process of installing and configuring WooCommerce. We’ll then dive into its extension system, before wrapping things up by setting up the first product of your store. Let’s get started!
Step #1: Install WooCommerce
WooCommerce is a free WordPress plugin that enables its users to create and manage online stores. Despite being a plugin, it is flexible enough to power a broad range of e-commerce sites.
There are practically endless examples of robust online stores built using WooCommerce, one such store being Magna Tiles:

WordPress enthusiasts will be glad to know that installing WooCommerce is as simple as for any other plugin. The platform also ships with a detailed setup wizard, which holds your hand through the entire process including choosing a currency and selecting your payment processors.
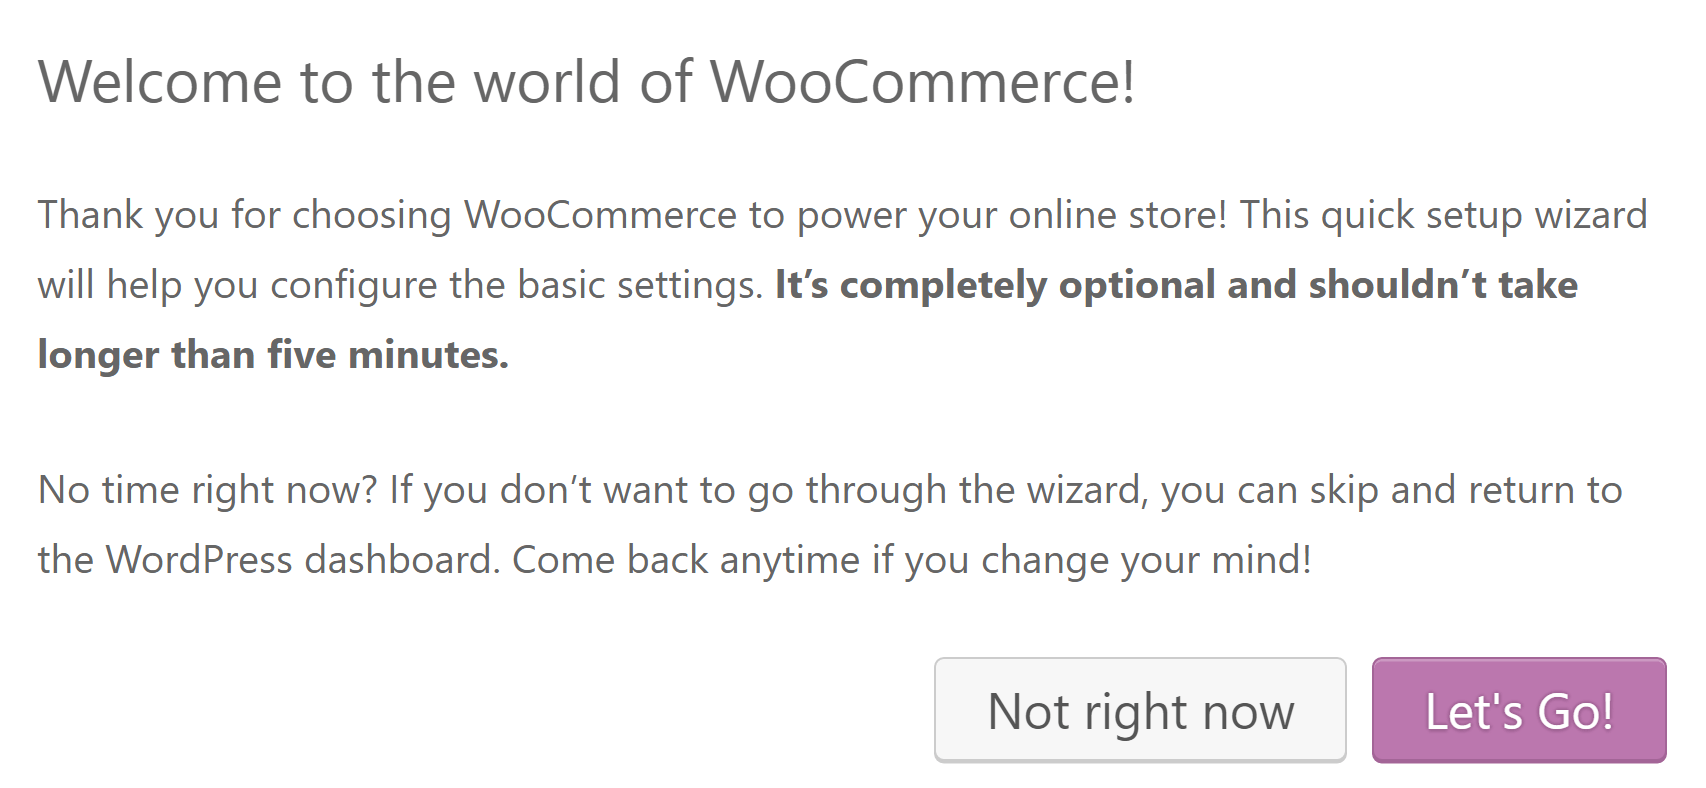
Although the setup wizard is highly intuitive, you might want to check out this complementary guide – if only to make sure that you fully understand what each setting means. Our hosting service is, of course, compatible with WooCommerce. Plus, our fast loading speeds can offer a valuable advantage over the competition.
Step #2: Choose (And Install) Your Extensions
Every online store is unique, and WooCommerce can’t cater to all of them out of the box. Extensions are similar to WooCommerce as plugins are to WordPress. They build upon the original platform, and add exciting new features to help you create better stores. This enables you to heavily customize the default functionality, and saves you from having to deal with unnecessary features.
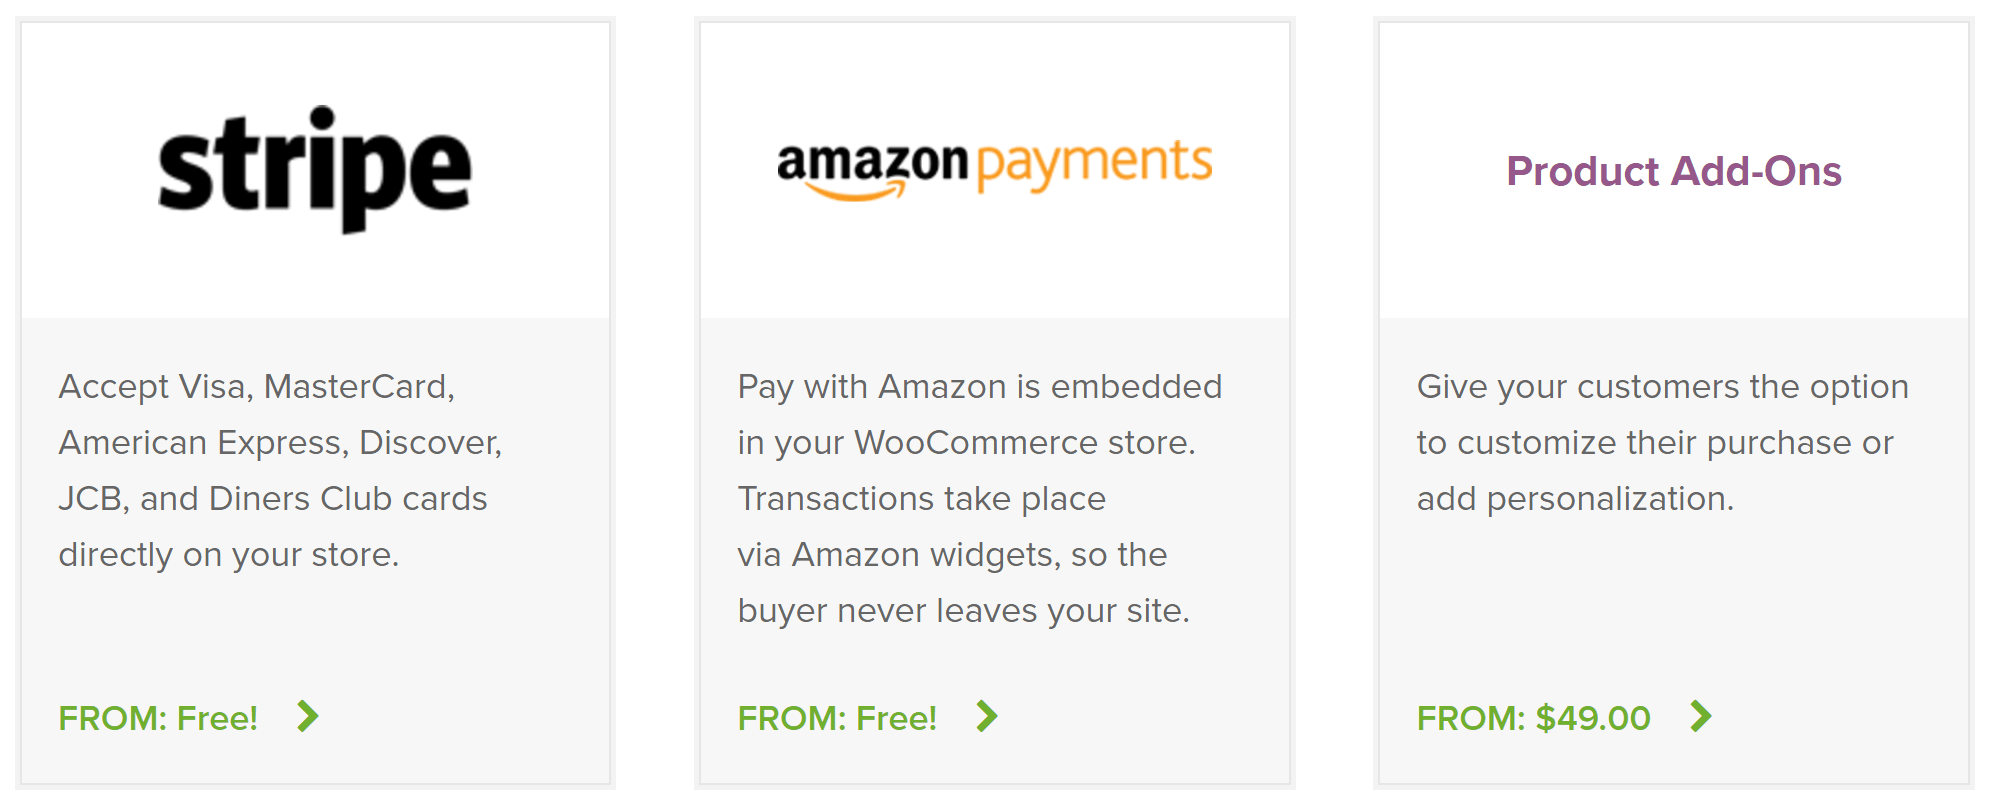
WooCommerce offers extensions for everything from additional shipping features to payment gateways and bookkeeping. Here’s a small peek into what the official WooCommerce extensions section looks like:
If you’re new to WooCommerce, chances are you don’t know what kind of extensions you might find useful. This guide to ten WooCommerce extensions that will help you build a better store is a great place to start looking.
Before you go crazy and start installing extensions, it’s worth noting that not all of them are free. Many adhere to per site licenses, which can be quite pricey. If you’re going to rely on a premium extension to power one of your site’s critical functions, you’ll have to factor its license cost into your budget. To give you an idea, here’s an example of a particularly expensive WooCommerce extension:

Once you’ve decided which extensions you’d like to add to your store, head to Plugins > Add New on your dashboard. WooCommerce extensions aren’t available using the search function, so you will need to download a ZIP file from the WooCommerce extensions library. You can then add them as you would any other plugin, by uploading the files:

Step #3: Add Your First Product
Now that our store is configured and our extensions are set up, all that’s left to do is add our products. This will transform our bare WooCommerce store into something more professional looking, like Printing New York:

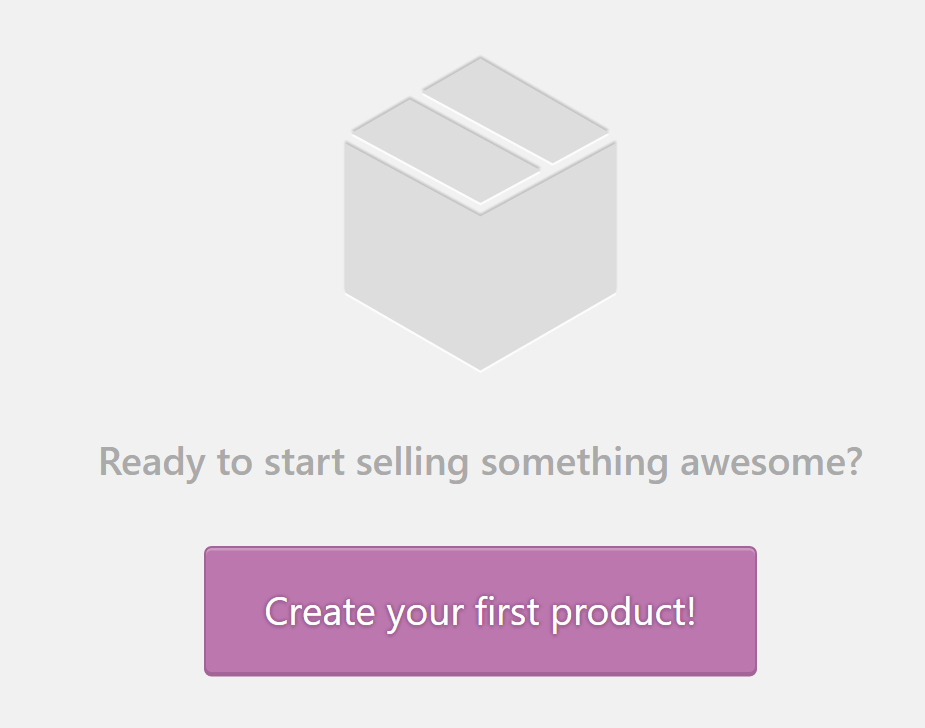
After installing WooCommerce, a new Products tab will appear on your dashboard. Click on it, then select the Create your first product! option when it appears:
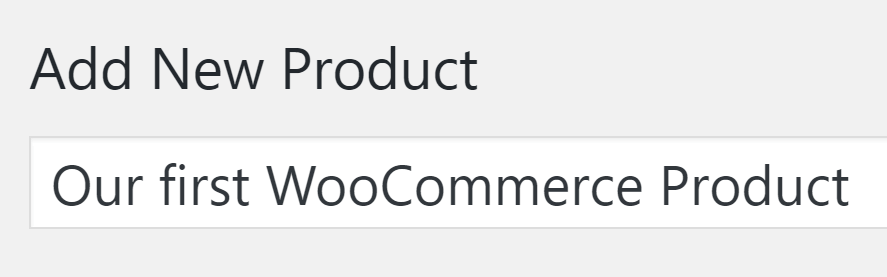
On the next screen, pick a title for your product:
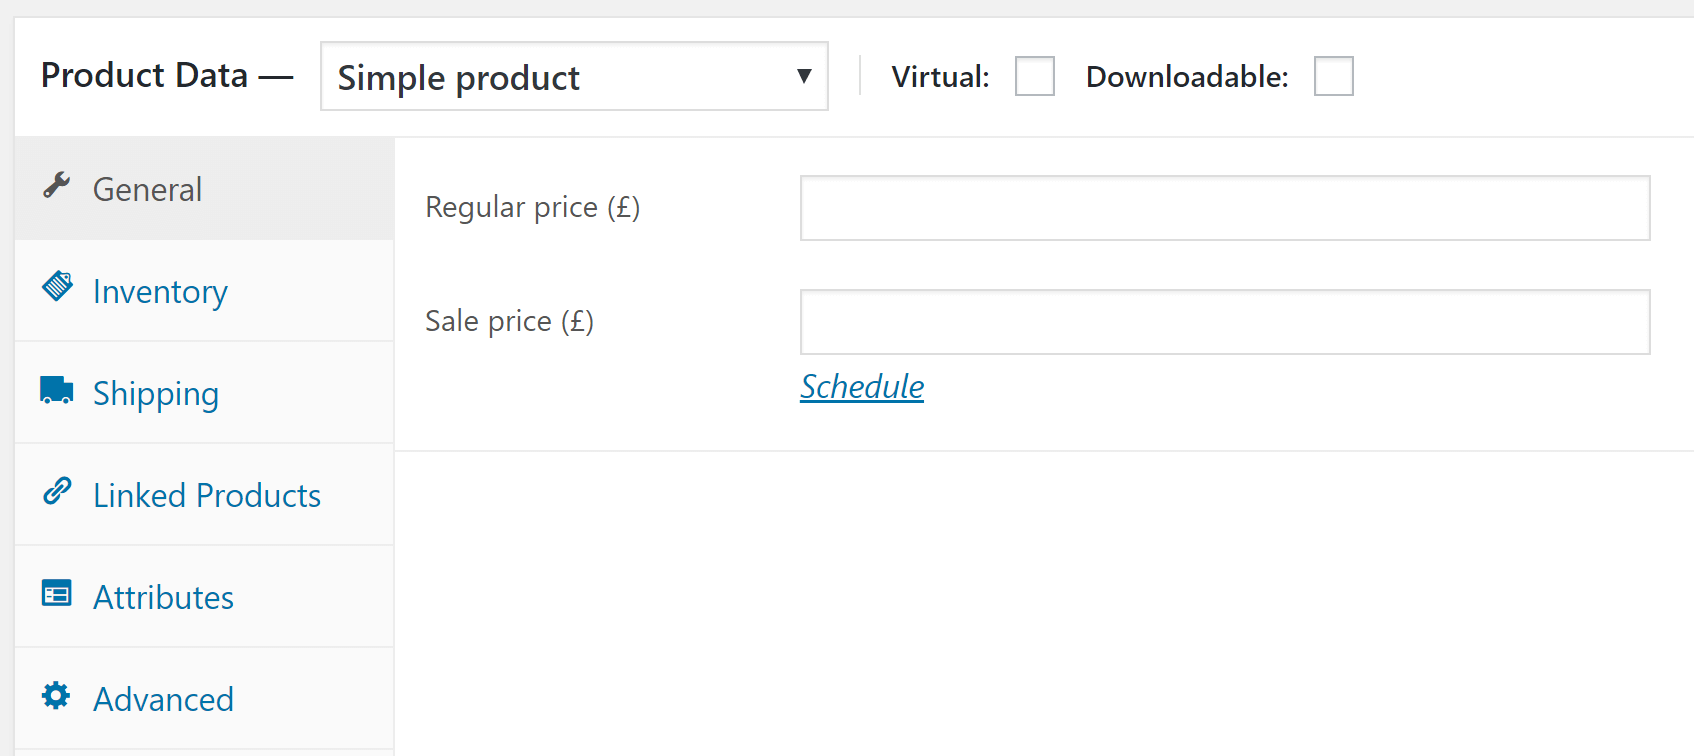
Then, fill the corresponding description field directly below and move on to the Product Data section. This section includes several individual tabs, and it enables you to specify which type of product you’re selling. The default option is Simple Product, which refers to a physical piece that requires shipment. Choose a regular price and a price during sales periods:
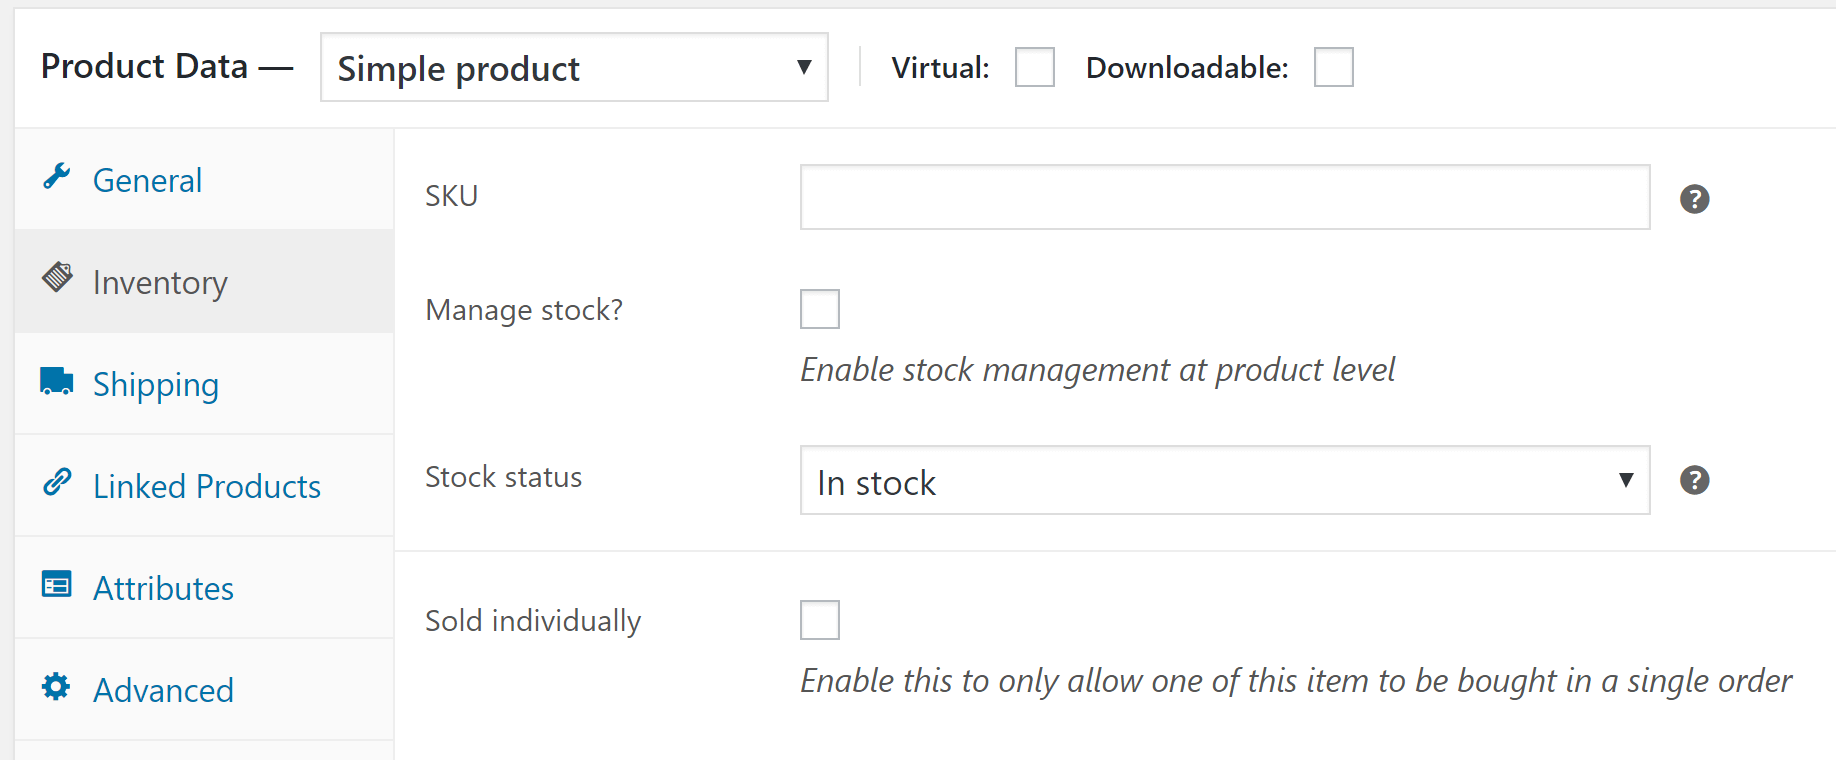
Now move on to the Inventory tab. Here, you can specify your product’s unit number and enable WooCommerce to keep track of stock for you. If you want to log how many units you’ve sold on your own, keep the Manage Stock? option disabled:
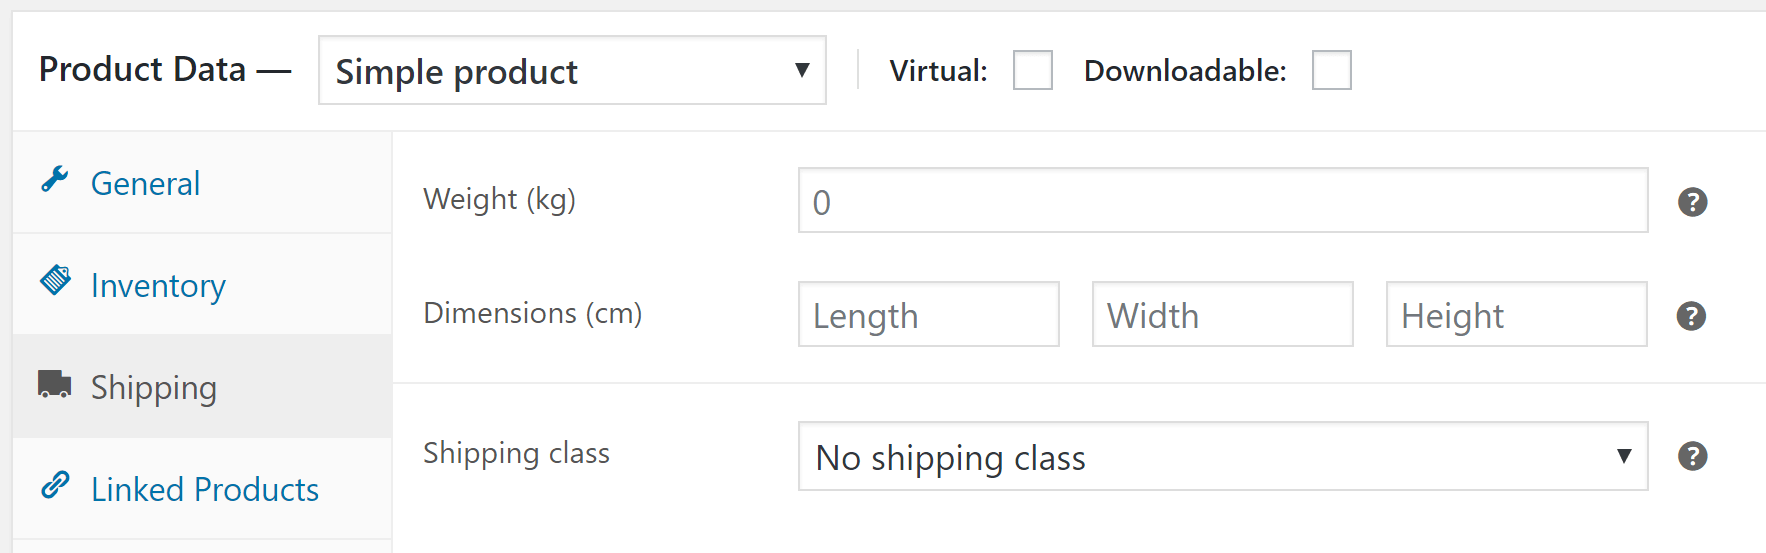
The last major settings we need to deal with refer to shipping. All you have to do is click on the corresponding tab, and enter the dimensions of your product. The rest of the shipping process depends on which extensions you’ve enabled, or whether you chose to go the manual route.
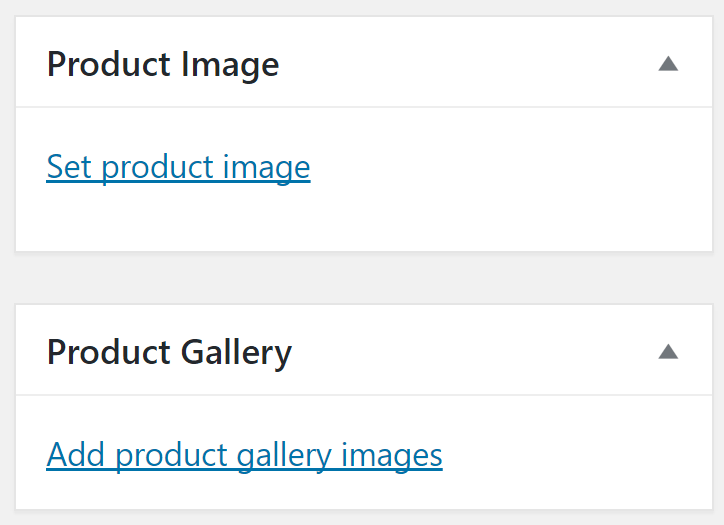
Before wrapping up, you should add a featured product image, and additional images to its dedicated gallery. It’s hard to overstate how important these elements are since they will represent each of your products:
Once you’re done, scroll back up and hit the Publish button – your first product is now live!
Conclusion
Diving into the waters of e-commerce and setting up your first WooCommerce store can be intimidating. There are lots of steps to mastering the platform, but as long as you have a firm grasp on the basics, your e-commerce career is off to a solid start.
If you’re ready to dip your toes into WooCommerce, here’s what you need to do to set up your first store:
- Install WooCommerce.
- Choose (and install) your extensions.
- Add your first product.
Need WooCommerce Hosting? Click here now!
Image credit: Pixabay.
