How to Customize Your WordPress Login Screen
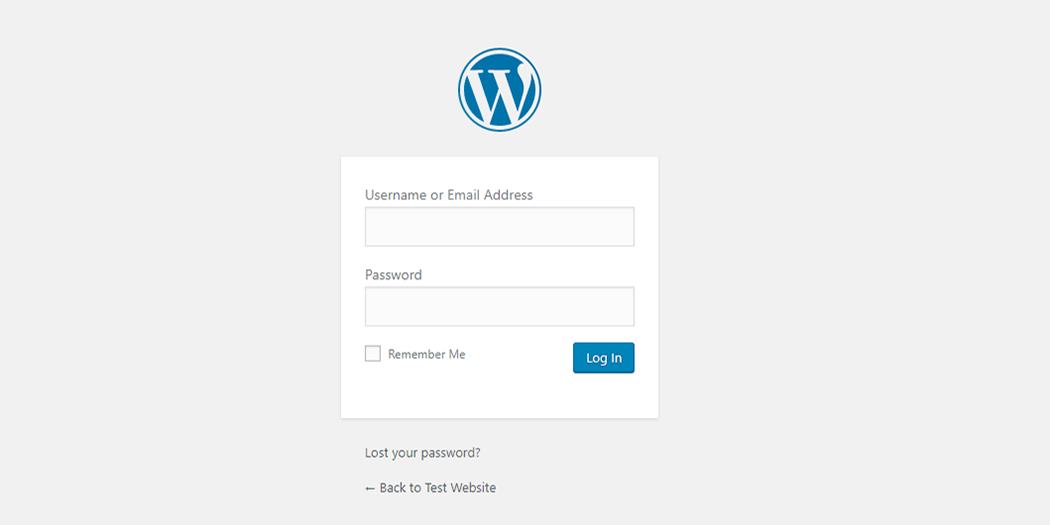
Your login screen is one of the most important pages on your website. It protects your dashboard from unwanted intrusions, and it includes all the features you need right out of the box. However, it’s a bit lacking when it comes to customization options, and most WordPress login pages tend to look exactly the same.
Fortunately, WordPress itself is almost endlessly customizable. With the right tools, you can change nearly every aspect of the platform, including the way your login screen looks and works. Some of these changes can even increase its security level, which is excellent news.
In this article, we’re going to talk about why and when you’d want to customize your WordPress login screen. Then we’ll teach you three ways to do it using different tools. Let’s get to work!
Why (And When) You’d Want to Customize Your WordPress Login Screen
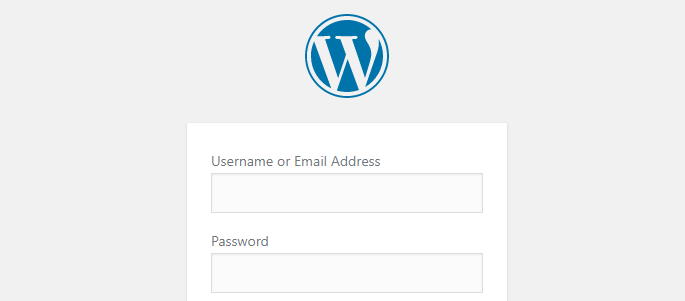
In most cases, people don’t spend too much time on login pages. That means they don’t pay much attention to how these pages look or what features they might offer. However, when you’re in charge of a website, it’s always a smart idea to customize every aspect to make it fully your own.
Here are a few reasons why this includes login screens:
- A non-generic login screen can make your website seem more professional. It doesn’t take much to help your login page stand out visually.
- It’s an opportunity to reinforce your brand. For example, you can replace WordPress’ logo with your own.
- You can increase your login screen’s security. WordPress login pages are normally only as secure as your users’ credentials, but you can make them safer with some basic changes.
As a rule of thumb, if you’re going to have multiple users logging in and out of your website, it makes sense to customize your login screen. Multi-author blogs, for example, can significantly benefit from security improvements to minimize the odds of a hacker breaking in.
Another time it makes sense to customize your login screen is if you’re building a website for a client. In that case, you’ll want to white label the entire site, which means to ‘rebrand’ the platform so that it matches the client’s style. This includes the front and back ends of the site, as well as the login page.
How to Customize Your WordPress Login Screen (In 3 Ways)
In this section, we’re going to teach you how to use three unique plugins to customize your WordPress login page. Keep in mind that there are plenty of other tools you can use to accomplish the same results, but we opted for the three plugins we found to be the most user-friendly. As always, remember to back up your site before making changes. Let’s get to it!
1. Change Your Login Page’s Style
If you want to change the way your WordPress login screen looks, we recommend using the Customize WordPress Login Page plugin:

This straightforward tool enables you to tweak almost any aspect of your login screen’s style, from logo to background and more. In other words, it’s the perfect way to brand your login page (or white label it for a client website).
To get started, you’ll need to install and activate the plugin. Afterward, you’ll be able to access the plugin’s control panel from Settings > Admin Custom Login:

Inside, you’ll find individual tabs for your background, login form, font, and logo designs. Clicking on any of them will display the options to customize that particular element. For example, check out the Background Design tab – all you have to do here is pick an image or a color, and you’re done:
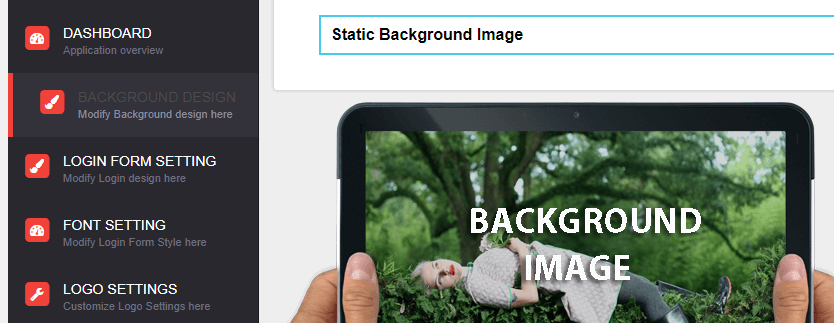
This plugin is incredibly easy to use, but if you run into any issues you can always consult its documentation. When you’re done, remember to go to the plugin’s Dashboard tab and enable the Admin Custom Login Status setting. Otherwise, your new login screen settings won’t show up:
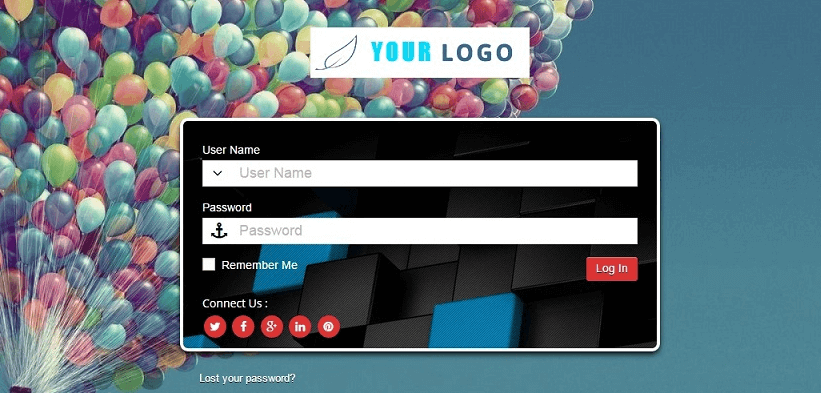
That was an easy one to get started with. Now, let’s talk about how to modify more than just your login page’s style.
2. Tweak Your Login Error Messages
By default, when you try to log into your website using the wrong credentials, WordPress will let you know what your mistake was. For example, if you enter the incorrect password for your username, here’s what WordPress will tell you:

From a practical standpoint, this approach enables you to correct your mistake quickly. However, it also makes it easier for attackers to brute force your login screen, since they’ll know exactly where they went wrong. The good news is that you can change these messages, using a tool such as the Custom Login Page Customizer – LoginPress plugin:

This tool enables you to tweak every single error message on your login screen. Just install and activate it, then go to the Appearance > Customizer tab. Inside, look for the LoginPress > Error Messages section:
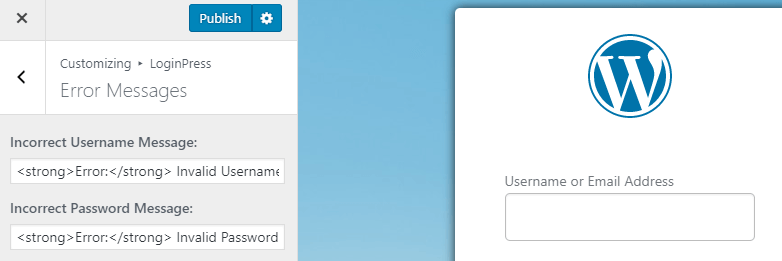
To your left, you’ll find a list of every error message WordPress is capable of displaying out of the box, and you can change all of them. We recommend focusing primarily on the Incorrect Username Message and Incorrect Password Message fields. For example, you might want to use a generic “Oops! There was an error with your credentials.” message for both.
3. Add a Social Login Feature
Finally, you may want to enable an alternative way for people to log into your site. A social login option lets you and your users access WordPress without having to remember or type in your credentials. Instead, with this feature you can use your social media accounts to register and access the website, which makes users’ lives easier.
To implement this feature, we’re going to use the Super Socializer plugin:

Along with enabling you to implement social logins, this plugin can also help you add share buttons, like counts, and other similar features to your website. To learn more about those options, check out its documentation.
For now, install and activate the plugin as always, then go to the Super Socializer > Social Login tab. Inside, you’ll find a quick toggle to enable the feature:

Once you toggle it on, a handful of fields will appear below, where you can choose the platforms you want to enable social login for:

You may notice the question mark icons next to each platform’s field. You can click on those for instructions on how to get the keys and IDs you need for each platform to work. Alternatively, you can read those instructions directly from Super Socializer’s documentation.
Conclusion
WordPress works well out of the box, but there are some aspects of the platform you can improve with a few small tweaks. Your login screen, for example, is begging for a makeover (since it looks exactly the same on every WordPress website). Changing its style can make your site look more professional, and adding certain functionality to it can increase its security.
If you’re not sure where to start improving your WordPress login page, here are three methods you can implement:
- Change your login page’s style using the Customize WordPress Login page plugin.
- Tweak your login error messages with the Custom Login Page Customizer.
- Add a social login feature using the Super Socializer plugin.
