- Jul 27, 2018
 0
0- by A2 Marketing Team
As your website grows, you’ll probably need to publish more content at a faster pace to keep your audience engaged. With so many things to do, it’s easy to become overwhelmed. Article deadlines can start falling through the cracks, authors may not know what they’re supposed to work on, and more.
The easiest way to stay on top of everything is to add all the tasks you need to take care of to a calendar. This is also known as a ‘content calendar’, and can be shared with all your team members to keep everyone on track. Using a content calendar can enable you to keep the quality of your creative output consistent, even when you’re drowning in work.
In this article, we’re going to talk more about what content calendars are, and discuss how using one can help you run a tight ship. We’ll then introduce you to two tools you can use to create a content calendar, before showing you how to actually build one. Let’s get organized!
What Content Calendars Are (And Why You Should Use One)
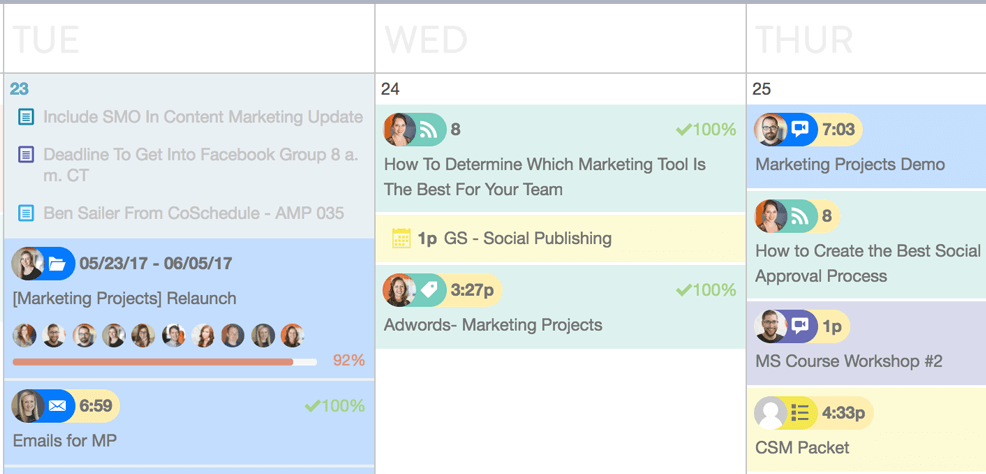
A content calendar is a schedule that includes information on when various stages of your projects are due. For example, your calendar might tell you when each post draft should be completed, when it needs to be edited, and when the final article is scheduled for publication.
This information can be simple enough to keep track of if you’re just one person, but becomes a lot more complicated when you’re part of a team. Using a calendar helps you organize your content and tasks, and makes it easier to re-assign work if needed. Content calendars are almost a necessity if you have multiple people working on your website. However, they can come in handy even if you’re on your own, since they help you stay organized and develop a better content strategy.
2 Tools for Organizing Your Content Calendar
You don’t need any advanced features to set up a basic content calendar. In fact, you can use any online calendar service you want, and just add teammates and information as needed. However, the two services below offer several advanced features that can make your job a lot easier.
1. CoSchedule

CoSchedule is one of the most comprehensive online collaboration services. It enables you to create calendars for your projects, add members, and schedule and assign tasks. CoSchedule also integrates with WordPress websites and social media accounts, enabling you to schedule both blog posts and social media publications with ease.
Key Features:
- Create content calendars for each of your projects.
- Add members to your calendars, assign tasks to them, and monitor performance.
- Schedule blog posts, social media publications, and other types of content.
- Integrate with platforms such as WordPress, Twitter, Facebook, and more.
Price: CoSchedule plans start at $40 per month for a single user, and $9 for each teammate you want to add.
2. Trello

Unlike CoSchedule, Trello isn’t built around calendars. Instead, this service enables you to set up to-do boards, lists, tables, and other methods for keeping track of what needs to be done.
With Trello, you can set dates for each task and assign them to specific members. You can also add as many people as you want to your team and have them set up their own tasks, update each one as it progresses, and much more.
Key Features:
- Use a system of boards, lists, and tables to keep track of tasks.
- Add new members to your team.
- Let members update elements on each board as they progress.
Price: Trello offers a robust free plan, and premium options start at $9.99 per user, per month.
How to Create a Content Calendar Using CoSchedule (In 3 Steps)
Now, let’s talk about how to set up a fully-featured content calendar using CoSchedule. First, you will need to sign up for a free trial. Then you can get started!
Step 1: Set Up a New Calendar For Your Website
Once you have a CoSchedule account, log in to your new dashboard. You will be prompted to create your first calendar:
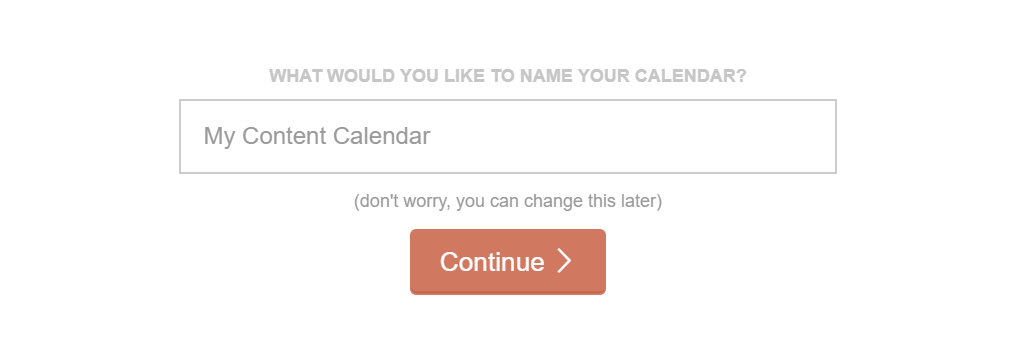
Once you’ve named your calendar, CoSchedule will walk you through a brief configuration wizard. Here you can determine how many members your team contains, and select the type of content you’re working with:
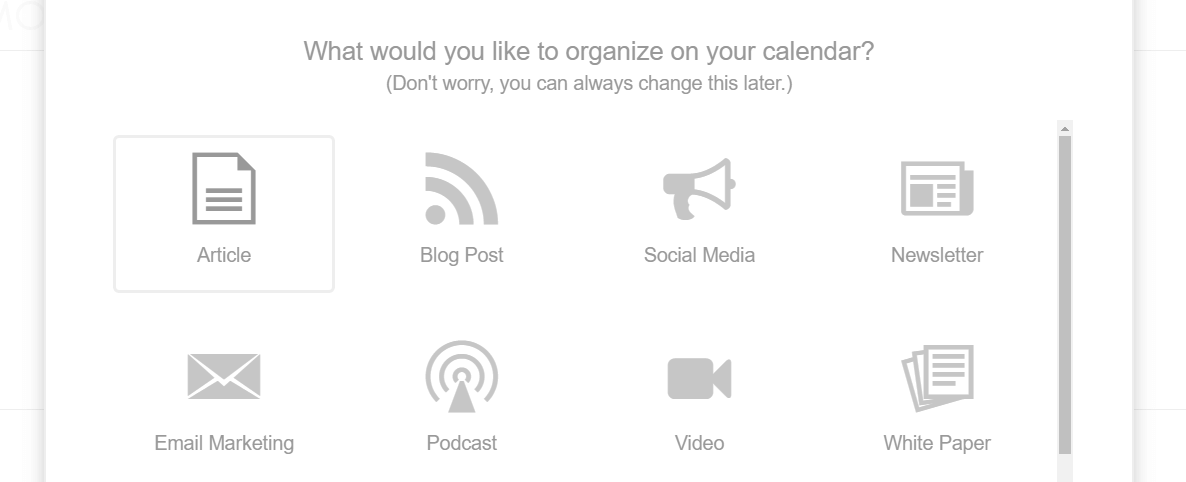
When you have completed the wizard, CoSchedule will open your calendar so you can get right to work.
Step 2: Add Tasks to Your Calendar
When you’re viewing your calendar, you can click on the plus sign next to any date to add a new task:

You can schedule posts, events, and custom tasks for any date you want. If you choose the posts option, you’ll be able to set a title and a label for each article you schedule. Plus, you can also assign posts to specific authors from this screen:

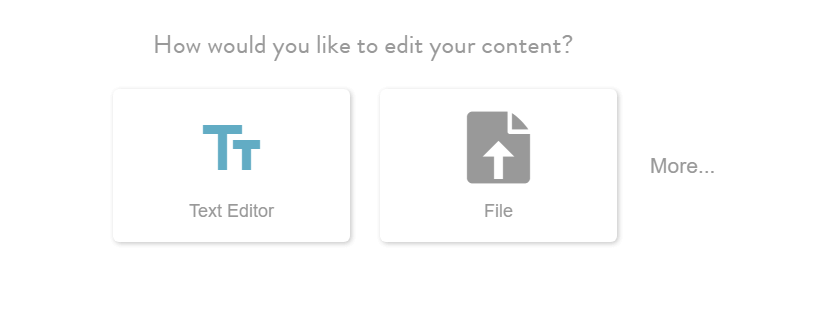
You can even write your drafts using CoSchedule’s built-in editor, or upload your content when it’s ready for publication:
That covers the basics of how to add content to your calendar. Before we wrap up, however, let’s look at how you can manage existing tasks as well.
Step 3: Manage Your Calendar’s Tasks and Contributors
One of the best things about using a content calendar is that you can move things around and reassign tasks if needed. For example, you can drag and drop entries from one day to another:

You can also re-assign tasks by clicking on them and navigating to the author option in the top right corner of the screen, where you’ll see a list of all your teammates:

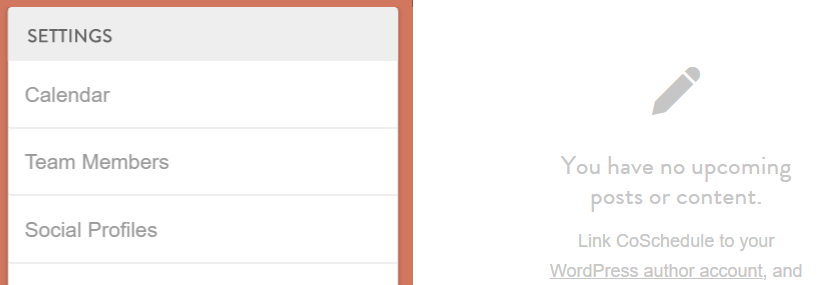
Keep in mind that you need to invite team members to your calendar before you can assign tasks to them. To do that, click on the gear icon on your CoSchedule sidebar, and choose the Team Members option under the Settings menu:
On the next screen, you’ll see a list of your existing team members and the option to invite new people:
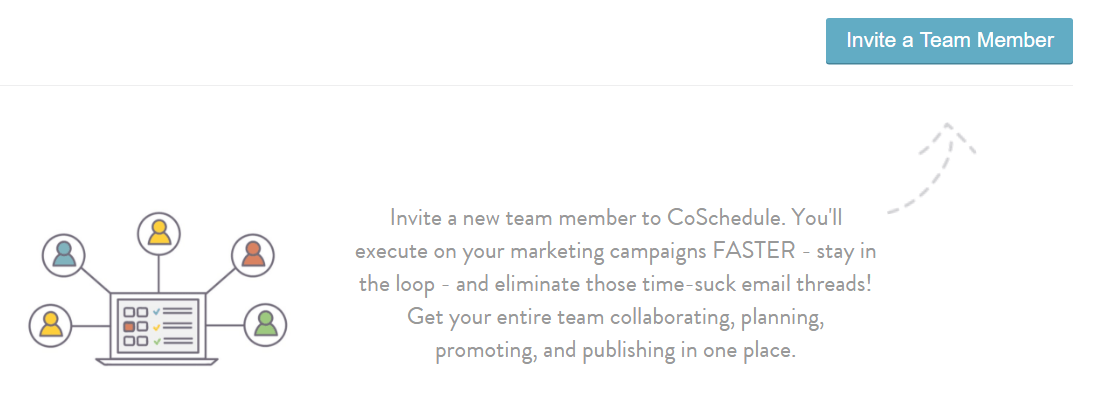
Clicking on that option will enable you to invite coworkers to your calendar using their email addresses. When they accept your invitation, you’ll be able to assign tasks to them from your calendar, and they’ll receive notifications whenever that happens. Keeping everyone updated and on the same track couldn’t be easier!
Conclusion
Calendars are incredibly simple tools, but they’re also highly effective when it comes to helping you stay on top of your duties. A content calendar is an excellent way to keep track of your content schedule, the topics you want to cover, who’s working on which projects, and so on.
There are plenty of tools that can help you manage your content calendar efficiently. Here are two of our favorite solutions:
- CoSchedule: A powerful, calendar-based tool to help you organize your content.
- Trello: This service helps you stay on top of content scheduling using to-do boards.
Image credit: Pixabay.


