How to Create and Edit Pages Using WordPress

So you have your WordPress site up and running? Now it’s time to create and publish content to drive traffic to your site! The great news is, you don’t have to be a technical wizard to publish content on WordPress. WordPress editors have made the entire process easy for you. WordPress comes with built-in tools to format, view, and publish professional-looking pages and to post quickly without writing codes. There are two versions of WordPress editors; WordPress Classic Editor and WordPress Block Editor. This blog is a step-by-step guide on working with the WordPress classic editor to create, format, view, and publish content for any beginners in WordPress.
Read How to get started with WordPress, if you need a quick guide to get started with WordPress.
Step 0: Access WordPress Admin Page
Before you actually begin the editing process, you need to have a login with content authorizing rights to create and publish your content on any WordPress site. If you are not the site administrator, then request the following from the administrator or web developer:
- A WordPress login username and password
- URL for the WordPress admin page
Step 1: Preparing the Editing Environment
The best practice is always to work with two tabs, open the live site on one tab and the editing pane on a separate tab. This way it will be easier for you to refresh your live site content once you have published the content.
Once you have your login credentials click on the WordPress site name on the top bar of the WordPress Admin page, and then right-click on the Visit Site link and open the link in a new tab:

To create, edit or view pages on the WordPress site, follow these steps:
A. On the Dashboard in the left sidebar, click Pages and then click Add Pages to view all the pages on the site:


B. Click on Add New to create a new Page:

C. Before you proceed with further steps, check the WordPress Editor edition. As mentioned earlier, you have two versions, the block editor and the classic editor.
-
- Classic Editor: You will have a toolbar on the classic editor to format your text.

-
- Block Editor: Each component is a separate block. For example, you will have a paragraph block, an image block, and so on.

**This rest of this blog’s focus is on editing using the WordPress classic editor.
Step 2: Formatting Content in WordPress
This step explains how to format your content on pages or posts with the WordPress Editor controls.
WordPress Content Formatting CheatSheet


Insert or Edit link: You can hyperlink a statement, word, or whole paragraph using the insert or edit link tool. Highlight the text and click on the link button to insert a hyperlink.

Toolbar Toggle: This allows you to expand the WordPress Classic Editor toolbar to give more formatting options:

Strikethrough: Click on the strikethrough button to strike out any obsolete text.

Horizontal line: Click on the horizontal line on any part of the page to create a horizontal line.


Step 4: Preview, Save Draft or Publish WordPress Content
Once you have completed creating your page, click on Save Draft. Next, click on the Preview button to preview the page. Make any changes, if required, and then click on the Publish button to publish the page.

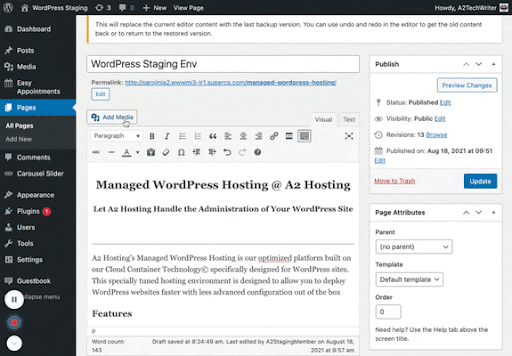
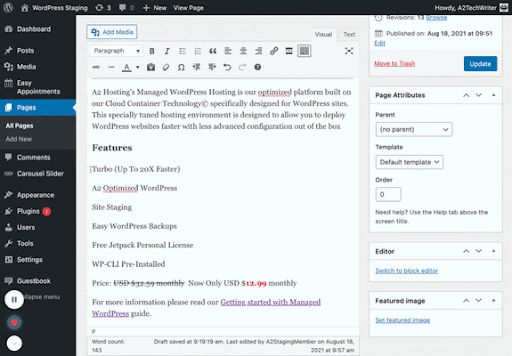
Here’s a sample page done for this blog:

Conclusion
We hope with this guide, you have a better understanding of text formatting in WordPress using the WordPress classic Editor. You should be able to use the same formatting tools for the WordPress Block Editor as well. Managing a WordPress installation can be complex. A2’s Managed WordPress Hosting simplifies every part of the process, including upgrades & patches for you, ensuring your site is secure and optimized to run as efficiently as possible.
Related Resources
Getting Started with Managed WordPress
How to Get Started with WordPress
WordPress Support for the Classic Editor