How to Transfer a Website to a New Owner (In 4 Easy Steps)

Websites are much like any other type of property, in the sense that you can transfer ownership to someone else if you’d like. However, the process can be a bit more complicated than just giving the new owner your login credentials.
Transferring a website is a multi-step process. Aside from your hosting account, you also need to hand over your domain, other connected third-party services, and more. This way, you ensure that your website will continue to work uninterrupted and the transfer won’t affect your audience.
In this article, we’re going to guide you through the four steps to transfer your website to a new owner. Let’s get to it!
Step #1: Provide Access to Your Hosting Account
The first step to transferring a website is the most straightforward. You need to provide the new owner with access to your hosting account. Without it, they won’t be able to make any changes to the site, which defeats the purpose of owning it.
This process works much the same regardless of which host you’re using. You should have a username and a password that enable you to log into your hosting dashboard:

All you have to do is update the account’s contact information to match the new owner. That means changing the associated name, email address, billing information, and all other personal details:

You can then hand over the login credentials to the new owner via email, private message, raven, or whichever medium you agree upon. Without those changes, the account will still essentially belong to you, even if someone else will have access to it. Finally, the new owner should change the account’s password, which will complete the process.
Keep in mind – if you’re using a Content Management System (CMS) to power your website, chances are you’ll also need to provide login credentials for it. Once someone has access to your hosting dashboard they might be able to change these manually, but but it might be easier to do this beforehand.
Step #2: Transfer Ownership of Your Website’s Domain
If you’re using your hosting provider to manage your website’s domain, then this step might not be necessary. After all, once the new owner takes over the hosting account, they’ll also be able to make changes to its associated domain.
However, some site owners use separate registrars to manage their domains. If that’s your case, you can either hand over your account on that platform to the new owner, or initiate a domain transfer process.
Handing over your entire account is only a valid approach if you have a single domain associated with it. Otherwise, you’ll need to transfer it. Initiating a domain transfer works differently depending on which registrar you use. However, there should be an option for it somewhere on your dashboard:

In most cases, all you have to do is enter the new owner’s email address to initiate the process. You’ll need to confirm several times you want to relinquish ownership of your domain, so be ready to receive multiple emails before the transfer is complete.
Step #3: Provide Access to All Connected Third-Party Services and Accounts
In a lot of cases, the first and second steps should be enough to complete a successful website transfer. However, a lot of websites also use third-party services to help them implement new features.
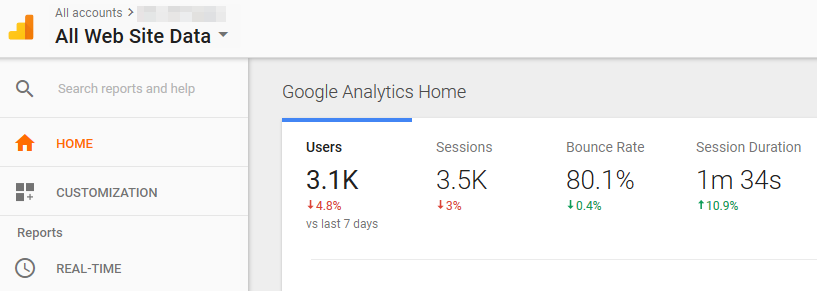
Google Analytics is one of the most popular examples of such a third-party service. It enables you to monitor your website’s metrics in-depth. However, you need to access the service’s dashboard to check out that information:
It stands to reason whoever owns your website will also want access to all the third-party services you used to build it up. With that in mind, you’ll need to make a list of all the services with external accounts you use to run your website. You’ll then need to transfer their credentials to your website’s new owner.
In most cases, this should be as simple as updating contact information and sending a list of login credentials. However, in particular cases, such as with Google Analytics, things get a bit more complicated. You probably don’t want to transfer ownership of your entire Google account since it might be associated with multiple other services. In this case, you’ll need to transfer your web property to the new owner’s Google Analytics account.
Step #4: Send Over Any Files Related to Your Website
By now, we’re almost done with the entire transfer process. All that’s left to do is tie up some loose ends in the form of files associated with your website.
Most of us accumulate a lot of files related to the websites we run throughout their lives. For example, think about your logo, which you probably have stored on your computer in multiple formats and resolutions. Chances are your website’s new owner would need those logo files, as well as any others that help him or her run things more efficiently. Other examples of files you might want to send over include:
- Custom icons you’ve used previously.
- Your website’s style guide, if it has one.
- Any other image assets you’ve used in your website’s design.
Once you identify all these files, you should pack them up nicely in a zipped file and send them via email. You can also upload them to your server via FTP while you still have access to it. That way, the new owner will be able to access them whenever needed.
Conclusion
Letting go of a website you built from the ground up can be complicated. If you run into any technical difficulties during the process, it can affect your users, which is something you want to avoid at all costs. You also want to make sure you hand over everything the new owner needs to keep the site running smoothly after you’re gone.
In our experience, these four steps will get you through the website transfer process without any hiccups:
- Provide access to your hosting account.
- Transfer ownership of your site’s domain.
- Provide access to all connected third-party services and accounts.
- Send over any files related to your website.
Image credit: Pixabay.