- Jun 03, 2020
 0
0- by A2 Support Team
As your website and business grow, so will your traffic (hopefully). If you’re still using a shared hosting plan when this happens, you could start to experience slow loading times, which could drive users away and negatively impact your bounce rates.
Fortunately, a simple upgrade to a VPS hosting plan should improve your site’s performance significantly. What’s more, you’ll have a lot more freedom with a VPS, and be able to manage it to meet the precise needs of your website.
In this post, we’ll briefly describe what a VPS is, and discuss some of its major benefits. After that, we’ll provide a step-by-step guide for configuring your new VPS. Let’s get started!
An Introduction to VPS Hosting
A VPS provides you with a virtual server environment similar to that of a dedicated server. A single physical server is divided into multiple virtual spaces, one for each website. As such, on a VPS plan you will be sharing a server with other sites, but get access to your own dedicated server resources.
In other words, a VPS provides many of the benefits of a dedicated server, but at a much lower price. That makes it an excellent choice for growing sites that still need to stick to a budget. If you are experiencing an increase in traffic, a VPS should be able to keep up, without requiring you to pay for a private server.
What’s more, VPS hosting is scalable and can grow as your business does. For that reason, it is easier to get access to more resources in the event your that your brand or content goes viral.
On top of that, you have more control over your server environment than you do with shared hosting. You’ll often have the option to choose your own Operating System (OS) and development applications, and even benefit from root server access. This means that a VPS can be as valuable for developers as it is for small to mid-sized business owners.
How to Get Your New VPS Up and Running (In 4 Steps)
Here at A2 Hosting, we offer a number of different VPS plans. Our servers are fast and reliable, and many of our plans come pre-loaded with development software to meet your needs:
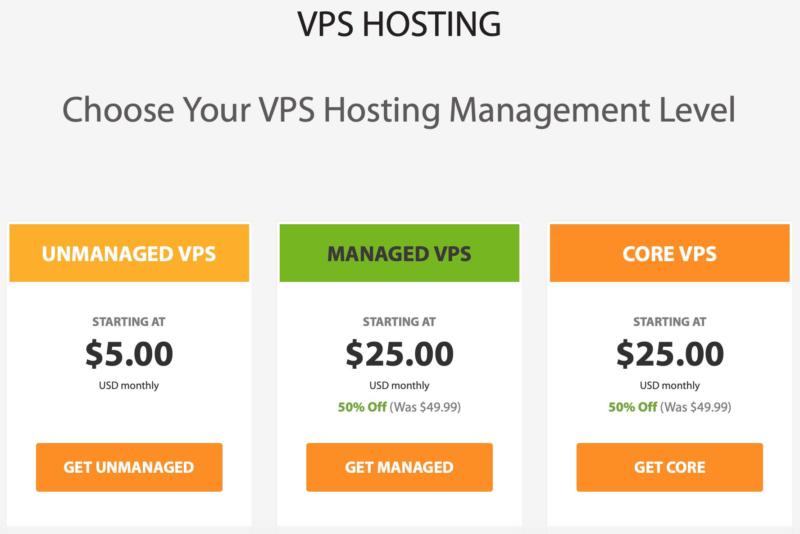
You can also choose between managed and unmanaged plans. With an unmanaged plan, for example, you’ll have completely freedom over your server environment. On the other hand, with a managed plan you can leave it to our support team to optimize your VPS for performance and functionality. If you’re on the fence, you can even select a managed plan with root access.
No matter what option you decided to go with, there are a few things you’ll need to know in order to get your VPS up and running. Fortunately, the process isn’t difficult. Just follow these four steps, and you’ll be good to go!
Step 1: Log In to Your Customer Portal
Once you’ve signed up for a VPS with A2 Hosting, you may need to access your account information. To do this, you can log in to your customer portal. Click on the orange Secure Client Login button, and you’ll be presented with the login screen:
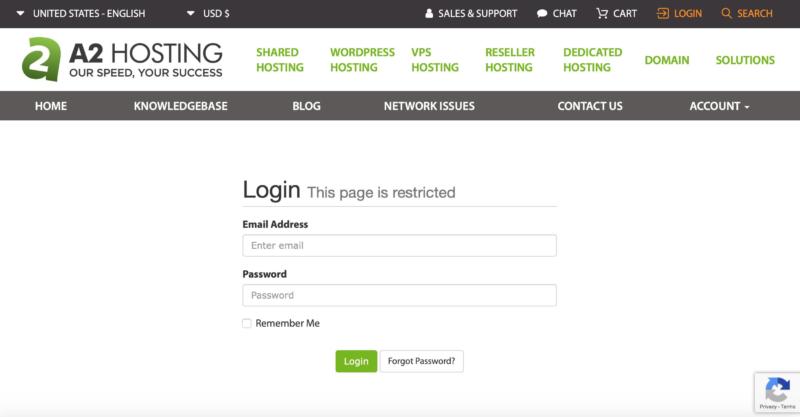
Type in your email address and password, and log in to access your customer portal:
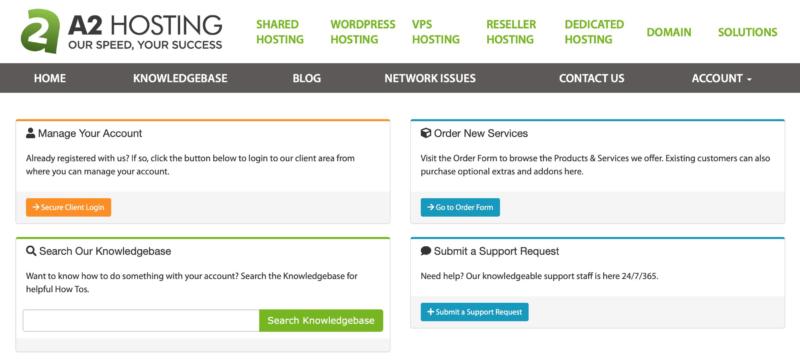
From this page, you’ll have access to a number of things. To start with, this is where you will handle billing, order new products or upgrades, and submit and view support tickets. You can also set up notifications, so you will always be up to date on the state of your server.
In other words, you can handle everything that has to do with your account from this page. This is also where you will manage your domains. As such, whether you are registering a new domain or transferring an old one to your new VPS, you’ll want to begin here — which leads us into our next step.
Step 2: Configure Your Domain for Your VPS
Next, you’ll need to set up your domain(s) to run on your new VPS. This will enable them to use your server’s resources.
To register a new domain, click on Domains at the top of your customer portal, and select Register a New Domain. From there, you can type in your desired name and select the Top-Level Domain (TLD) you want:

You can then choose how you will pay for your new domain, which is typically $14.95 per year for most popular TLDs.
If you already have a domain, however, and you would like to transfer it to your new VPS, you’ll need to go to My Domain > Manage Domain in your customer portal. From there, you can set the name servers for your VPS, using one of these options:
- dns1.name-services.com
dns2.name-services.com
dns3.name-services.com
dns4.name-services.com
Name servers are the applications that direct traffic to your VPS for your domain(s). Of course, if you’re having trouble, you can always open a support ticket and our Guru Crew will be happy to help. Either way, after you have directed your domains to run on your VPS, you’ll be free to move on to administering the server.
Step 3: Learn How to Administer Your VPS
With a VPS, you can shut down, boot, or reboot the server as needed. In addition, on an unmanaged plan you can change the root password or hostname, install the OS of your choice, and access IP information and server logs.
Managed plans make VPS administration easy. Simply log in to your cPanel (accessed from your customer portal):
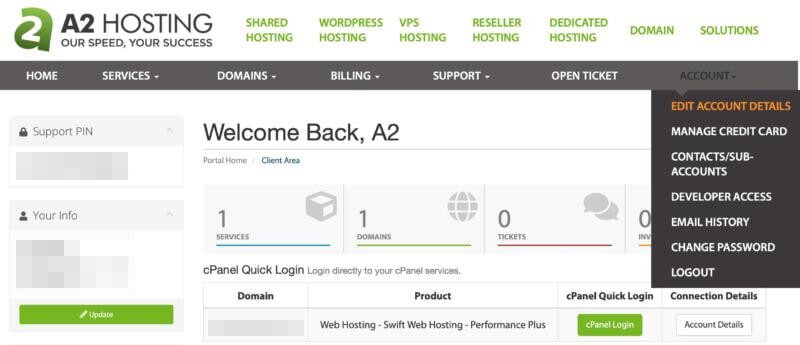
Click on cPanel Login for access. This is your control panel for your managed VPS. It enables you to manage the features of your website, such as files, email, backups, FTP, website statistics, and more.
On an unmanaged plan, you will use SolusVM to manage your VPS. This enables you access the console and change your OS. What’s more, you can shut down, boot, and reboot your server, analyze your bandwidth and memory usage, and access logs and statistics.
Whether you have chosen a managed or unmanaged VPS, once you’re comfortable administering your server, you’re ready for the next step. Now, we move on to installing software.
Step 4: Manage Your Application Installer
Our final step is mostly for unmanaged VPS plans. If you’re on a managed plan, you’re good to go. Most of our plans, for instance, come loaded with the most popular development software (PHP, MySQL, Node.js, etc.), and if there is something you need you can always contact our support team and we’ll see what we can do.
However, one of the advantages of an unmanaged plan is getting to pick and choose the applications you want for your VPS. For this, we provide Webuzo:
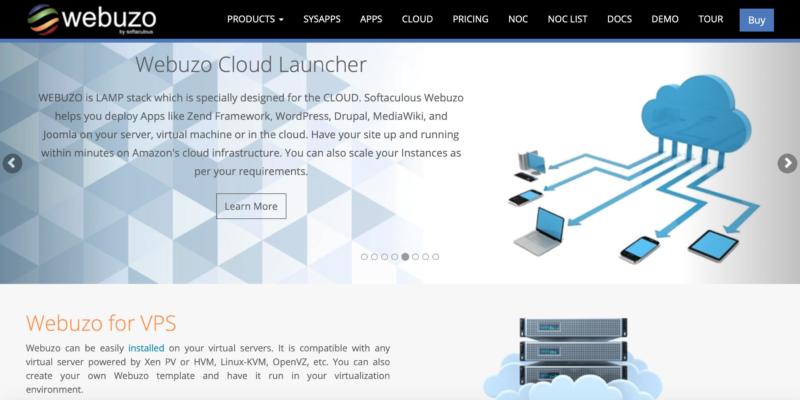
Webuzo offers an interface for installing and managing your applications. Plus, since it is developed by Softaculous, it provides easy access and auto installation for many different software packages for your website. Some of these include social sharing tools, ad management, and blogs.
Conclusion
When shared hosting is no longer enough, upgrading to a VPS is an effective way to give your website the boost it needs. After all, increasing performance without having to opt for an expensive dedicated server, is a win-win situation for most websites.
In this piece, we’ve covered four steps to help you to get your VPS up and running. They are:
- Log in to your customer portal
- Configure your domain for your VPS
- Learn how to administer your VPS
- Manage your application installer
Image credit: Gerd Altmann
