


- Sep 01, 2020
 0
0- by A2 CMS Team
Adding video content on your WordPress website is an effective way to increase customer engagement and drive traffic to your site. However, if implemented wrongly, videos can easily slow your web pages and, consequently, hurt the User Experience (UX).
Fortunately, there are several workarounds to this. One approach we recommend is to use a Content Delivery Network (CDN). The right video CDN will deliver low-latency video streaming to your site. In other words, your site visitors will be able to enjoy blazing fast video loading speed and an excellent viewer experience.
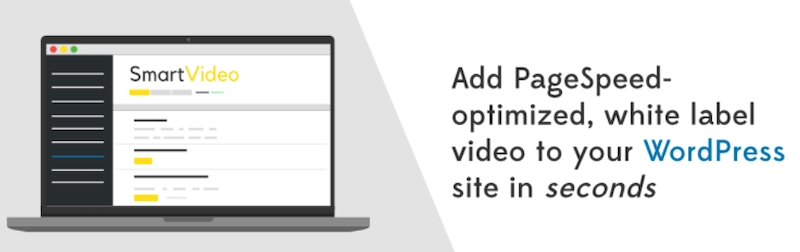
In this article, we’ll take a look at why you should pay attention to how fast videos load on your site. Then we’ll show you how to maximize your video loading speed using a WordPress plugin such as Swarmify SmartVideo. Let’s get started!
Why Your Website’s Video Loading Speed Matters
Compared to other content types, video files can easily take up a lot of site storage space. Most videos contain several frames of images with audio included, which often directly translates to large file sizes. With the improving quality of video production, files have gotten even larger.
This hike in video sizes has also affected web page sizes. For example, just between 2011 and 2017, the web page size average rose from about 1 MB to 3 MB – all thanks to the addition of video content.
This means your visitors will generally require a strong internet connection to be able to navigate your site smoothly. However, even with a solid internet connection, large video files still consume huge chunks of data.
Adding video content can affect your site and your visitors’ experience in a few ways:
- The video taking too long to start
- It failing to start completely
- An overall poor video quality
- Consistent stalling during playback and buffering
Typically, you would add videos to your WordPress site in one of two ways. You can upload them directly to the Media Library, or embed them from a third-party video hosting platform such as YouTube. However, these two options affect your website differently.
While uploading videos eats up your server resources, most video embedding services also make multiple network requests, which can slow down your site significantly. Fortunately, there are easy tricks you can use to keep your site blazing fast even with video content included.
Tips for Maximizing Video Loading Speed on Your WordPress Site
When adding video content to your WordPress site, your aim should be to deliver high-quality content and top-notch UX. To achieve this, we recommend that you use the following tips:
- Compress your video before uploading it. If you want videos to load fast on your site, the first thing to do is to reduce the size of your video files. Smaller file sizes load faster on the web and data compression can help with that. There are plenty of tools available, such as Handbrake and Wondershare. However, it is important not to sacrifice video quality in the process.
- Use only HTML5 supported formats. HTML5 is the programming language that makes it possible for developers to encode videos on the web without needing an additional plugin. In other words, when you use HTML5 supported formats, you no longer need to rely on Flash plugins, which not only reduce your page speed but also present security risks. Popular HTML5 encoders such as Converter Point support the majority of video file formats.
- Incorporate a video CDN. If you’re looking for the fastest means of delivering content to your site visitors, a CDN is simply your best bet. CDNs use a system of interconnected servers to distribute web content based on geographical proximity. Unlike third-party video hosting platforms, a typical CDN offers you more bandwidth, more control over your viewers’ experience, and the freedom to customize the player and advertising.
There are a handful of CDN plugins available in the WordPress repository. However, we recommend Swarmify SmartVideo:

The CDN is dedicated only to video. It provides instant video start and playback is accelerated in the background with zero buffering! The plugin also delivers a clean, distraction-free player that your viewers will appreciate.
How to Speed Up Your Videos With Swarmify SmartVideo (In 3 Steps)
Swarmify is a video hosting company that offers services for different types of websites. Their SmartVideo plugin is one powerful and versatile tool you can use to speed up videos on your WordPress site. Let’s take a look at how to start using the plugin in three simple steps.
Step 1: Create a Swarmify Account
To use the SmartVideo player, you first need to create a new account. On the account creation page of the Swarmify website, you can choose from three different plans.
In essence, the Small Business plan is targeted at sites with moderate traffic while the Video Pro option is for sites with greater needs. If you’re looking for even more, the custom Enterprise plan is worth considering.
Once you select your plan, you can fill in your account details on the next page:

You can now go ahead and complete your checkout on the following page. Swarmify bills you annually for the service, and there’s a 14-day money-back guarantee to keep you protected.
After completing the checkout process, you can access your Swarmify dashboard. This is where you’ll find the product key needed to complete the next step.
Step 2: Install and Configure the Swarmify SmartVideo Plugin
Now that your Swarmify account is up and running, the next step is to install and activate the SmartVideo plugin:
You can easily do this by navigating to Plugins > Add New from your WordPress dashboard and searching for “smartvideo”:
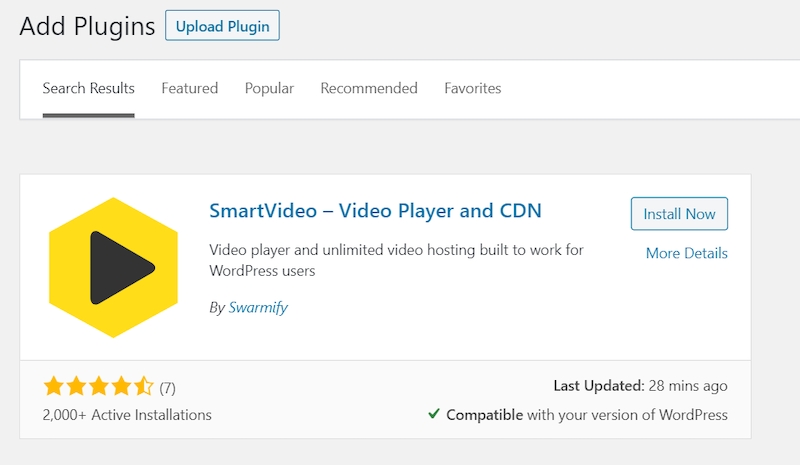
Once you find the plugin, click on the Install Now button, followed by Activate. To configure the plugin, navigate to the new SmartVideo tab on your dashboard, which will bring you to the welcome screen:
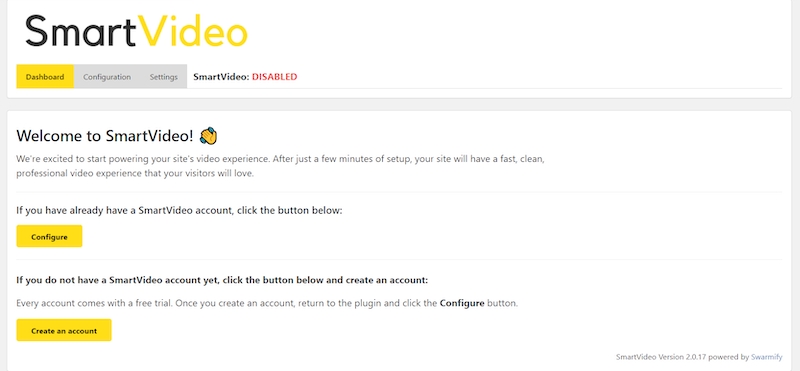
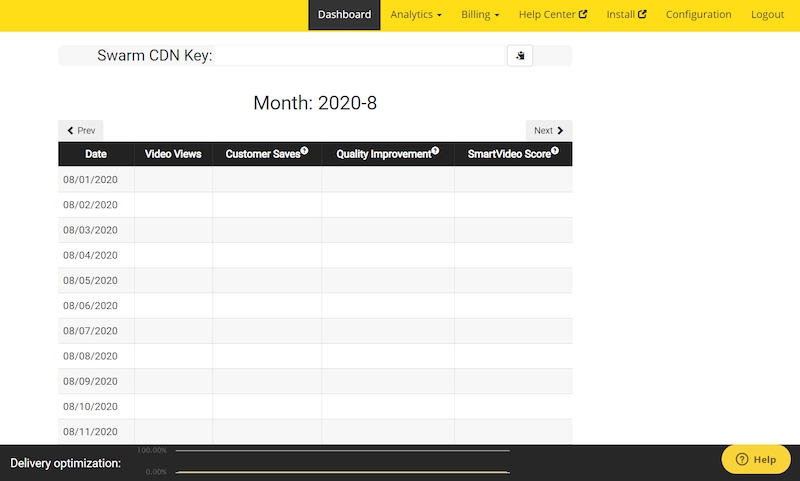
Since you already have a Swarmify account, simply click on the Configure button. On the configuration page, you’ll be requested to input your Swarm CDN key.
You can find this in the top corner of your Swarmify dashboard:
Copy the key and paste it in the corresponding field in your SmartVideo plugin settings page. Now, you can press the Enable SmartVideo button and your SmartVideo plugin is ready to use.
Step 3: Add Your First SmartVideo to Your Site
Once installed and configured, the SmartVideo plugin adds a dedicated block to the WordPress Block Editor. You can easily use this block to add a new blazing fast video to your site:

With this block, you can upload files directly from your computer or from other third-party sources. Also, the plugin immediately scans your site for embedded videos and converts them to SmartVideos automatically.
Conclusion
In your bid to drive sales and conversions on your website, you may discover that adding video content poses a challenge to your site’s performance. The good news is that a video CDN, such as Swarmify’s SmartVideo player, can help you overcome this by significantly boosting your video loading speed.
With Swarmify SmartVideo, you can maximize video loading speed on your WordPress site in three quick steps:
- Create a Swarmify account.
- Install and configure the Swarmify SmartVideo plugin.
- Add your first SmartVideo.
Are you facing issues with video loading speed on your WordPress website? You may want to consider signing up for a free trial of the Swarmify SmartVideo plugin to see how it can help!
Image credits: Needpix.com.
