WordPress Child Theme: How To Create Child Theme (In 5 Steps)
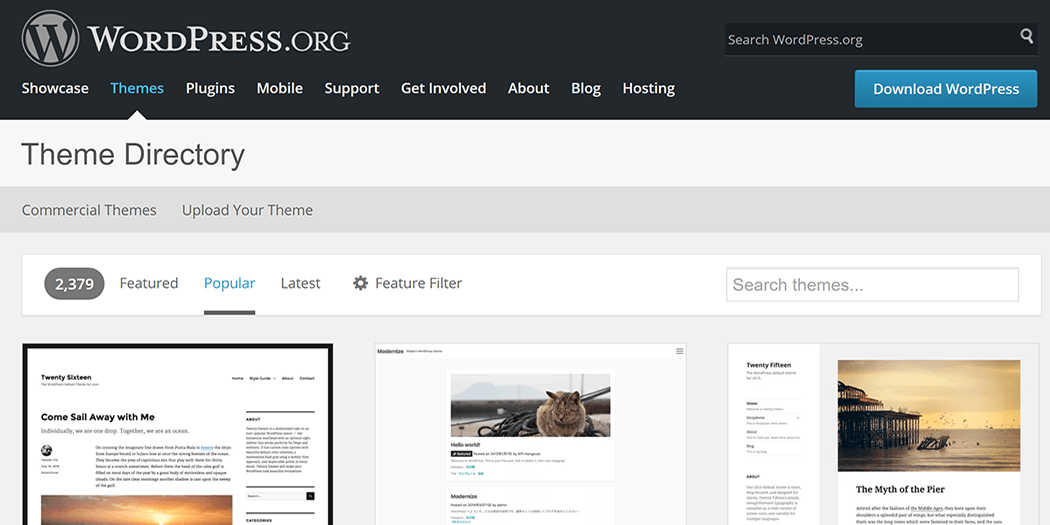
If you have a WordPress website, you can easily change the look and feel of your site via themes. A WordPress theme is an add-on that styles and structures your site’s appearance. However, if you choose a popular theme, you may notice that your website ends up looking similar to many other sites.
Fortunately, you can avoid this problem by customizing your site with a child theme. In a nutshell, this is a way to edit a theme by creating a copy of it to experiment with, so you don’t risk destroying the original theme files. This also enables you to preserve the changes you make when the ‘parent’ theme is updated.
In this article, we’ll discuss how you can create your own child theme to customize your WordPress site’s look and layout. Let’s get started!
Why You Should Consider Using a WordPress Child Theme
It’s important to have a site with a unique look. This helps to brand your business, set it apart from your competition, and make your site more memorable. However, the same theme you’re using may be in place on hundreds of other sites, making it difficult for yours to look unique.
A child theme is essentially a copy of an existing WordPress theme. This copy enables you to edit your theme and experiment with various changes, without the need to touch the original version. If you manually edit a WordPress theme directly, you risk creating permanent errors. With a child theme, on the other hand, you still retain the ‘parent’ theme as a safe backup you can return to (if you make any serious mistakes).
Using a child theme also enables you to easily edit your site’s Cascading Style Sheets (CSS). There are other ways to do this in WordPress, such as by using the Additional CSS editor. However, when you update or change your theme, anything you’ve added to that editor will be wiped out. Child themes make it possible to save your CSS edits instead.
How to Create Your Own WordPress Child Theme: A Brief Guide
Now that you know why you might want to use a child theme, let’s go over how to set one up in five basic steps. We’ll assume that you already have some knowledge of CSS, although you don’t need to be an expert to create and use your own child theme.
Step 1: Set Up Your Development Environment
First, you’ll need to set up a testing (or development) environment. This is a type of private server that runs on your computer, enabling you to test out website edits in a safe offline space. That way, you can build your child theme without affecting your main site.
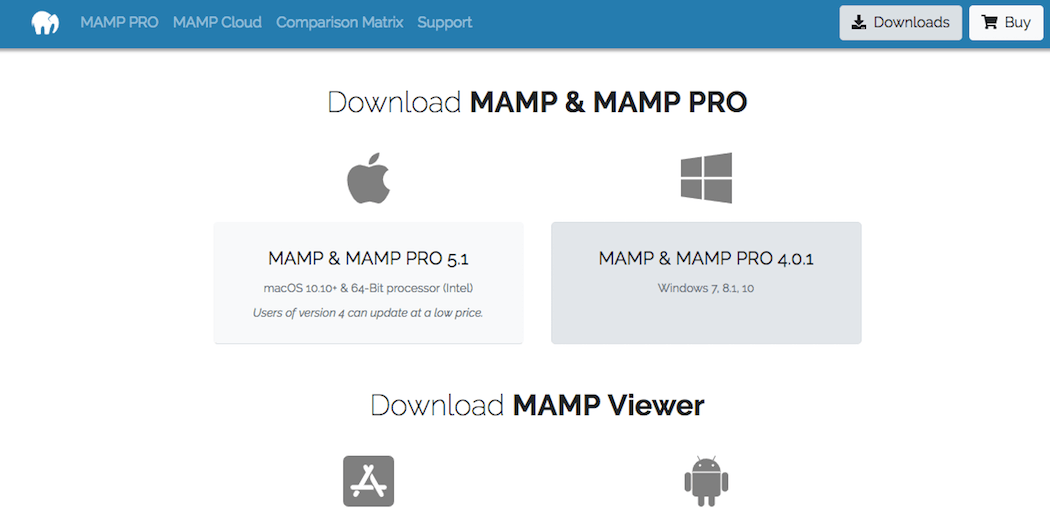
There are many desktop apps that can help you build a testing environment for WordPress websites. We’ll focus on using MAMP, as it’s free and straightforward to get started with:
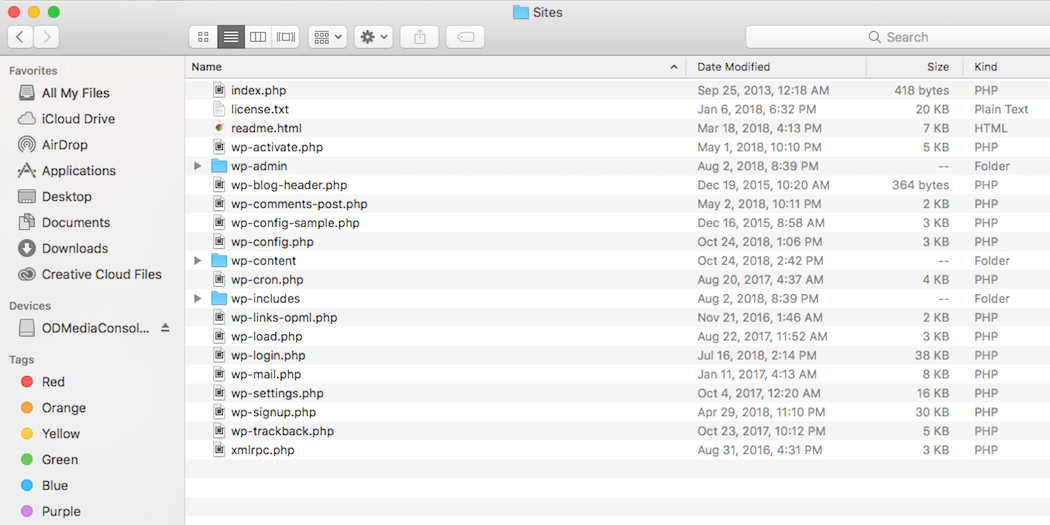
Before setting up MAMP, you’ll need to download WordPress, and unarchive the .zip file. Next, set up a folder on your desktop called “My Sites” (or something similar), and place the extracted contents into that folder:
Then, you can set up MAMP itself. To do that, you’ll first need to download the version that matches your OS from the MAMP website, and install the application on your computer.
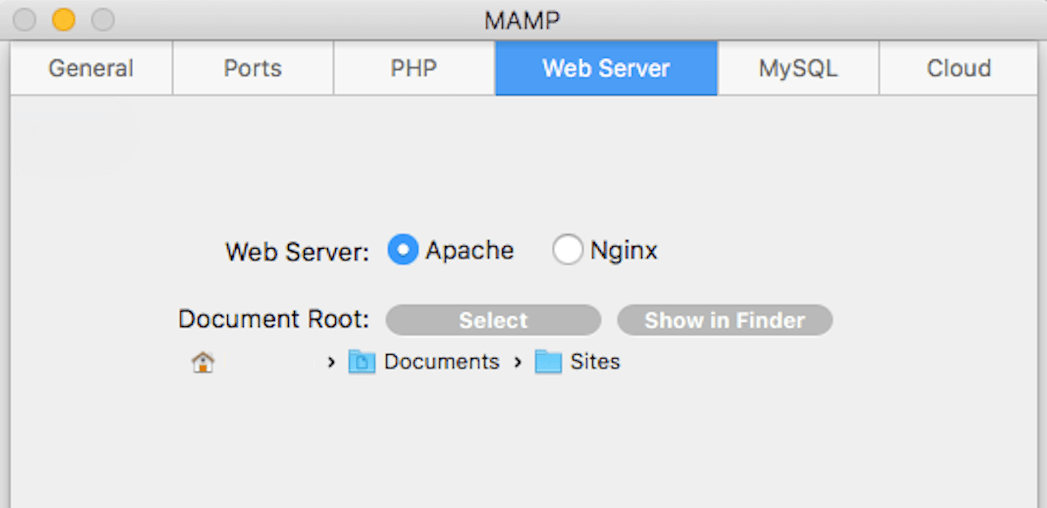
Next, you’ll need to point MAMP towards the “My Sites” folder you just set up. Open MAMP > Preferences, and then visit the Web Server tab. Choose Select, browse to the correct folder, and hit OK:
Now, navigate to localhost in your browser, and go through the WordPress installation steps. You’ll also need to create an empty database in PHPMyAdmin to use for the installation. You can find this option in MAMP by opening the Webstart page and visiting Tools > PHPMyAdmin.
Step 2: Install a Code Editor
To edit your child theme, you’ll also need a code editor:
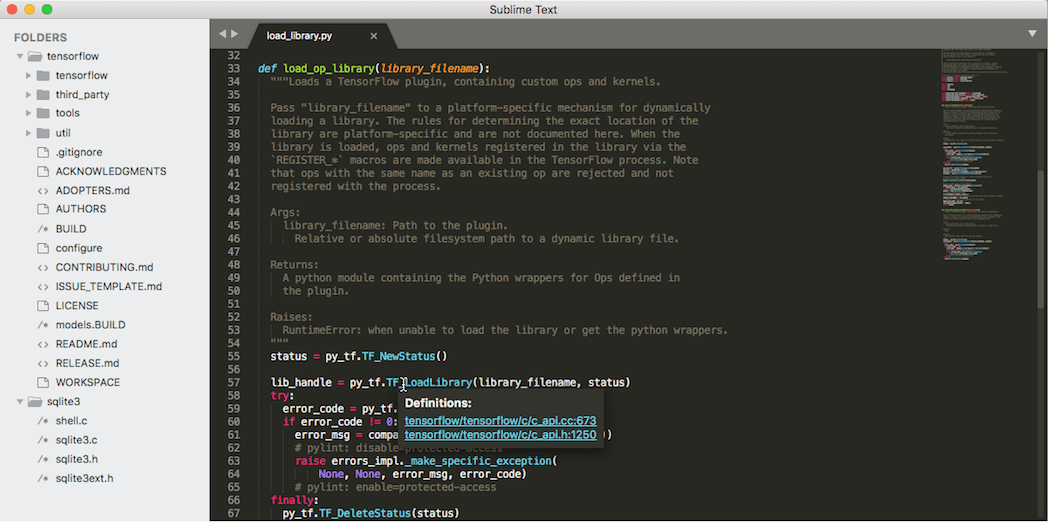
This is a rich coding environment that includes handy tools such as an automatic syntax checker. On a Mac you may already have Sublime Text installed, and that’s what we’ll be using throughout the rest of these steps. However, there are many free code editors available that can be used on any system, and most work in a very similar way.
Step 3: Copy Your Parent Theme’s Files
At this point, you’re ready to set up your child theme. First, you’ll need to install the theme you want to edit on your test WordPress site.
Then, access your WordPress installation folder in your chosen code editor. Open wp_content > themes, and create an empty folder there by right-clicking and choosing New folder:
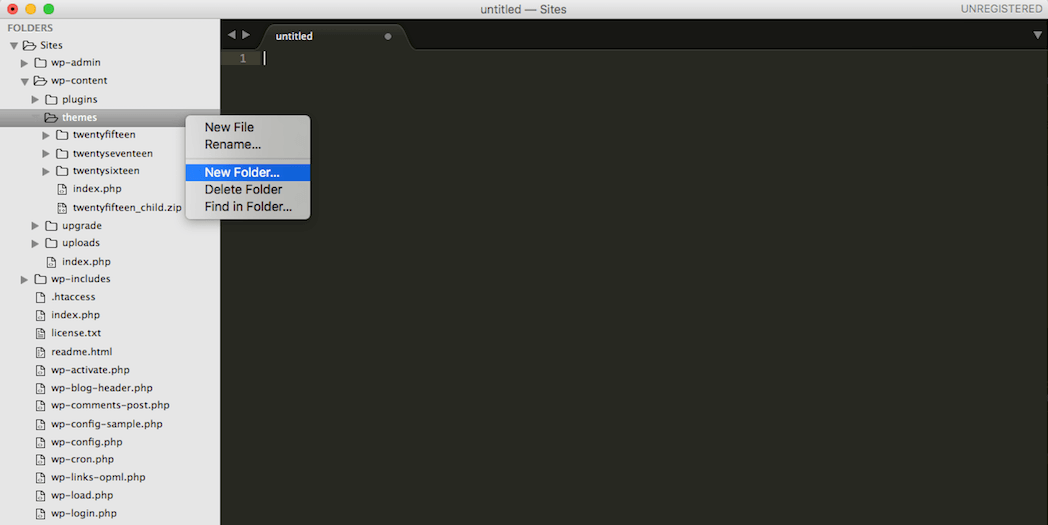
Name it themename_childtheme (replacing “themename” with the name of the parent theme’s folder), and save it.
Right now, your child theme will still be empty. To make it a copy of the parent theme, you’ll need to import the parent’s CSS. To do that, create a new file called style.css, and save it in your child theme’s folder:
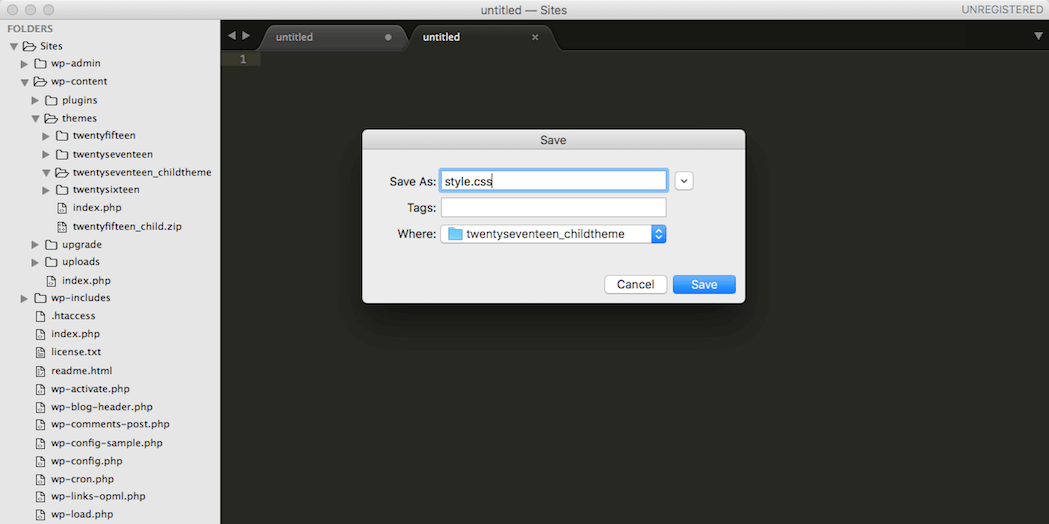
You can then import the stylesheet from the parent theme by adding CSS as shown below (replacing “TwentySeventeen” with the name of the theme in question):
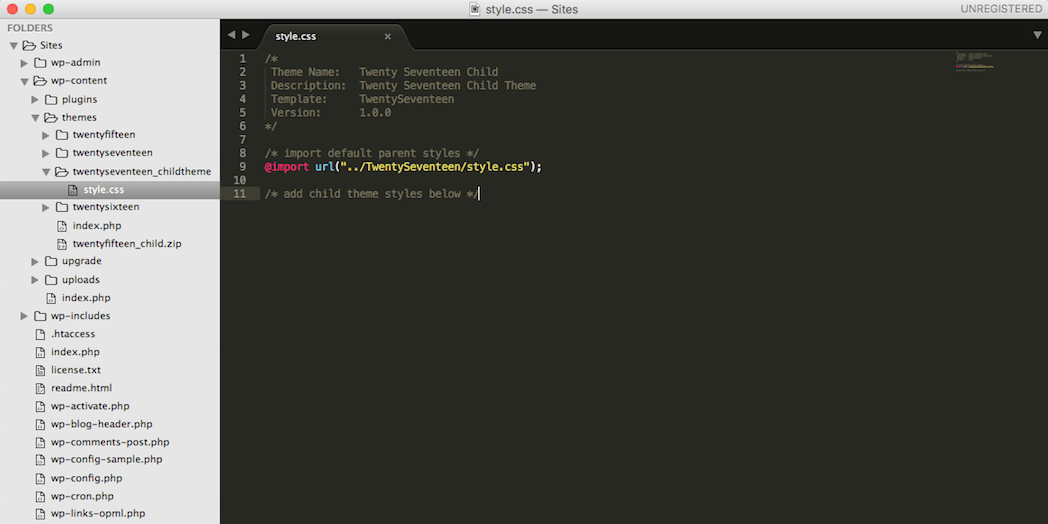
If you log into your WordPress test site now, you should see your new child theme as an option. You can activate it, and check your site out on the front end. It shouldn’t look any different yet, however, since at this point the child theme is a carbon copy of the parent.
Step 4: Edit Your WordPress Child Theme’s CSS
Now that you have your child theme’s stylesheet set up, you can begin altering it. Any changes you make to your child theme’s CSS should appear on your test site. Simply navigate to the style.css file you created in your code editor, make your changes, and save them.
You can test this functionality by changing your site’s background color. In the Twenty Seventeen theme, for example, you can do that by adding this line of CSS:
.site-content-contain {background-color:red;}

You may need to find the correct element to target in your theme by using Inspect Element in Google Chrome.
You can also edit the child theme’s PHP template files if you know the language, although that’s a bit more complicated. However, you can make many improvements just by adjusting the CSS. For example, you can define unique header styles, or even import a Google Font.
Step 5: Install Your WordPress Child Theme on Your Live Site
Once you’re done editing your child theme, the last step is to install it on your main site. Make sure to test your theme thoroughly and back up your main site first, in case any unforeseen issues occur.
Then, in your computer’s file browser, navigate to the WordPress directory you created earlier and find your child theme’s folder. Compress the entire folder to a .zip file. Next, log into your main WordPress site, go to Appearance > Themes, and choose Add New:
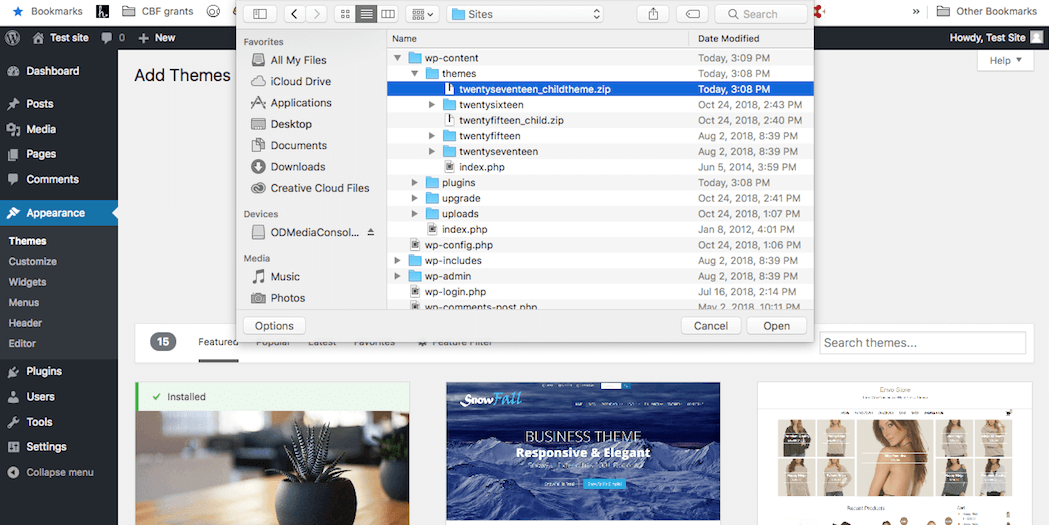
Then select Upload Theme, find your zipped child theme folder using the file browser, and install and activate it. Your child theme is now ready to go!
WordPress Child Theme Conclusion
Now that you know how to create a WordPress child theme, the options for adjusting your site’s appearance are nearly limitless. Even a few tweaks to CSS can help give your site a unique look. What’s more, a child theme will enable you to edit your site’s theme without any risk of harming the original files.
To set up your own child theme, you can simply follow these five steps:
- Set up a development environment on your computer, using a tool such as MAMP.
- Install a code editor, if you don’t already have one.
- Copy your theme’s files into a new folder.
- Make any changes you want to the child theme’s style.css file, and save them.
- Import your new child theme to your main WordPress site.
Source: Pexels.


