How to configure a domain for an unmanaged product
In order to configure a domain to resolve to your unmanaged server, you must configure a DNS A record that points to the server's IP address. The steps to do this depend on where you registered the domain.
Domains registered with A2 Hosting
If you registered your domain with A2 Hosting, or if you transferred your domain to A2 Hosting, use the following procedures to set up the domain for your server.
To set the name servers for your server, follow these steps:
- Log in to the A2 Hosting Customer Portal at https://my.a2hosting.com.
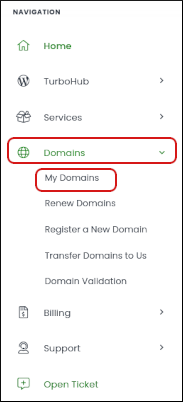
- In the Navigation sidebar, click Domains, and then click My Domains:

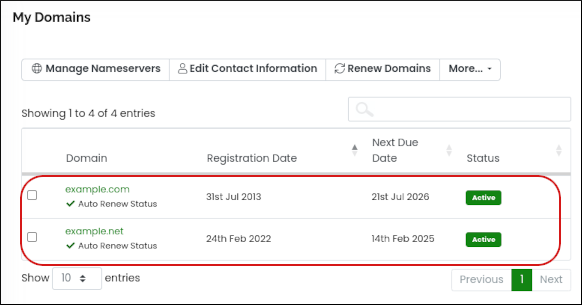
- Select the check box next to the domain you want to manage, and then click :

In the Nameserver text boxes, type the name servers that you want to use, and then click .
You can use the following name servers for your server:
- dns1.name-services.com
- dns2.name-services.com
- dns3.name-services.com
- dns4.name-services.com
- dns5.name-services.com

To create an A record that associates your domain name with the server's IP address, follow these steps:
- Log in to the A2 Hosting Customer Portal at https://my.a2hosting.com.
- In the Navigation sidebar, click Domains, and then click My Domains:

- Click the domain you want to manage:

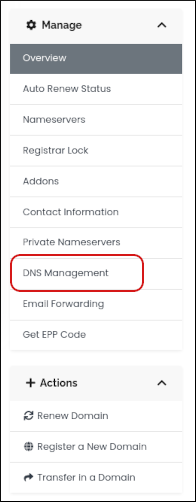
In the Manage sidebar, click :

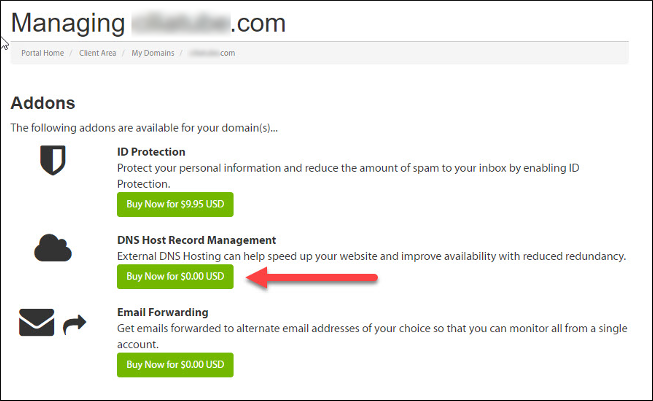
If this is the first time you are accessing DNS host management, you must complete the order process to activate the feature. To do this, click :

After you complete the order process, you can manage your domain's host records as described in the following steps.
- In the Host Name text box, type *.
- In the Record Type list box, select A (Address).
In the Address text box, type your server's IP address.
Your server's IP address is listed in the A2 Hosting Customer Portal at https://my.a2hosting.com.- Click .
Domains registered with a third-party provider
If your domain is registered with another registrar, you must use their DNS management interface to create an A record for your server:
- For information about how to manage domains registered with GoDaddy, please visit https://godaddy.com/help/manage-dns-records-680.
- For information about how to manage A records for domains registered with Network Solutions, please visit https://www.networksolutions.com/manage-it/dns.jsp.
- For information about how to manage domains registered with eNom, please visit http://www.enom.com/help/dnsdemo.asp.
- For information about how to manage domains registered with Namecheap, please visit https://www.namecheap.com/support/knowledgebase/article.aspx/767/10/how-to-change-dns-for-a-domain/
If your registrar does not have DNS management tools that allow you to create A records, you can search for free DNS management solutions that allow you to use their name servers to configure A records.
Alternatively, if you are experienced with DNS management, you can install Bind or NSD on your server and configure your own name servers. Please note that you are responsible for managing and maintaining such a configuration.
More Information
For more information about A records, please visit http://en.wikipedia.org/wiki/List_of_DNS_record_types.
Article Details
- Product: Unmanaged Dedicated Server Unmanaged VPS
- Level: Intermediate
Grow Your Web Business
Subscribe to receive weekly cutting edge tips, strategies, and news you need to grow your web business.
No charge. Unsubscribe anytime.
Did you find this article helpful? Then you'll love our support. Experience the A2 Hosting difference today and get a pre-secured, pre-optimized website. Check out our web hosting plans today.