- Jan 28, 2021
 0
0- by A2 Dev Team
Creating a professional website for your client can seem daunting, especially if you are at the beginning of your career or venturing into a new niche. Your client is entrusting you with one of their greatest marketing assets, and your input in the process can make or break the project.
Fortunately, there are solid, practical steps you can take to ensure that you deliver a successful client website. By planning each step of the process, you can guide your client through the project and deliver a website that meets (or exceeds) their expectations.
In this article, we’ll show you how to build a successful website for your client in eight practical steps. We’ll break down each phase, and include some helpful tips and essential questions to ask along the way. Let’s get started!
1. Get to Know the Client and Ascertain Their Website Goals
This step is primarily about extracting information from the client and listening for their needs. Some clients may not be sure what their exact requirements are, so it’s helpful to ask exploratory questions when they seem unclear or their proposed direction lacks an understanding of website design or technology.
Your goal in this step is to gather and clarify information. Later, you’ll have an opportunity to propose a solution and pitch your ideas and services. First, however, it’s important to be diligent to define their needs by asking lots of questions.
You may want to develop a pre-development questionnaire or client intake form that you can use as part of your process. Some questions to consider include:
- What do they do?
- How do they do it differently than their competitors?
- What do they value?
- How do they define their brand?
- Do they have brand assets already created? A brand guideline?
- Where is their business headed in the near future, and in years to come? How do these goals impact their website?
- Why are they getting a website or redesigning their website now?
- What do they want their website to accomplish?
- Do they have any “musts” for their website?
- What is the time frame to complete the project?
- Do they have a domain name already? Web hosting? (You will need access to their website hosting account and possibly their domain registrar.)
- How do they want to integrate social media, and which platforms?
- Do they require email integrations?
- Are there other forms they may need?
- What about ongoing site maintenance? Will someone on their team take care of this, or are they open to a monthly or hourly contract with you for ongoing maintenance?
- Who will be the project point of contact and decision maker?
- Do they have a preference for which website platform they want to use?
Be sure to listen for important details and take notes. You can then ask follow-up questions in areas where you need clarification.
Near the end of the meeting, take a moment to review your notes and recap the most important information, to make sure you haven’t missed points that are important to the client. They may assume that you already know certain details, or that they’ve implied these points during the conversation.
You’ll cover a lot of ground in this meeting, so don’t feel pressured to offer immediate solutions or numbers. Instead, let the client know what the next steps are – you will review their project requirements and provide them with a scope of work document.
2. Choose a Platform to Build the Website On
A website’s platform can impact several aspects of the project, including hosting, pricing, functionality, and timeline. It’s important to decide on a platform early in the process, as it is the foundation of what you’ll be building.
Your client’s website will require a Content Management Solution (CMS), and there are several options available. Each has its own benefits. Once you understand your client’s needs, you can decide which CMS will get the job done.
Here are a few leading CMS solutions:
WordPress
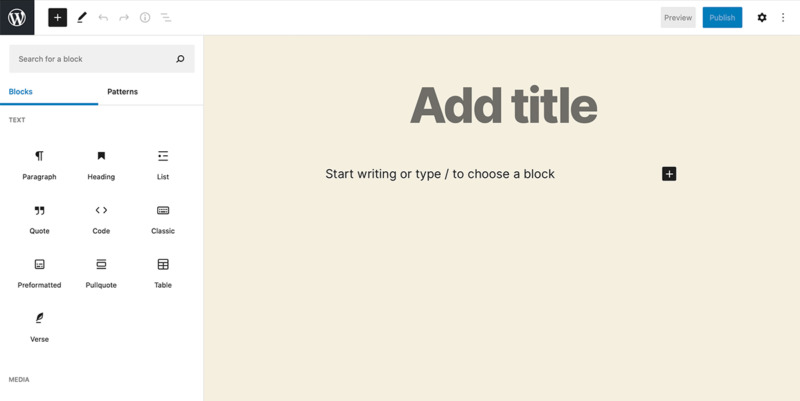
WordPress is free and open source, with lots of plugins to extend your site’s functionality. It’s easy to learn and easy to use, with a large and engaged community of support. It’s also secure and inexpensive, and upgrading to newer versions is simple.
Drupal
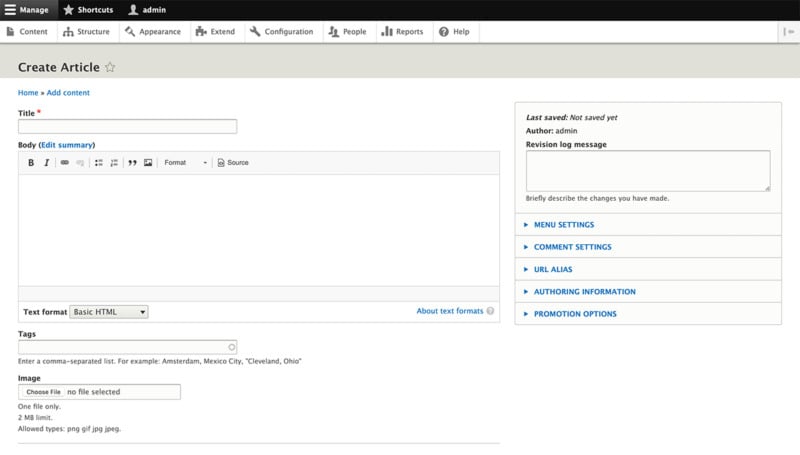
Drupal is another free and open-source option, with lots of modules for customization. It was created for developers, so it requires advanced knowledge. Drupal excels if you need to control site access and permissions, and multilingual functionality is part of its core (so you won’t need to rely on a plugin). Project costs and maintenance are usually higher than with other CMSs. Upgrading to newer versions is also more complex.
Joomla
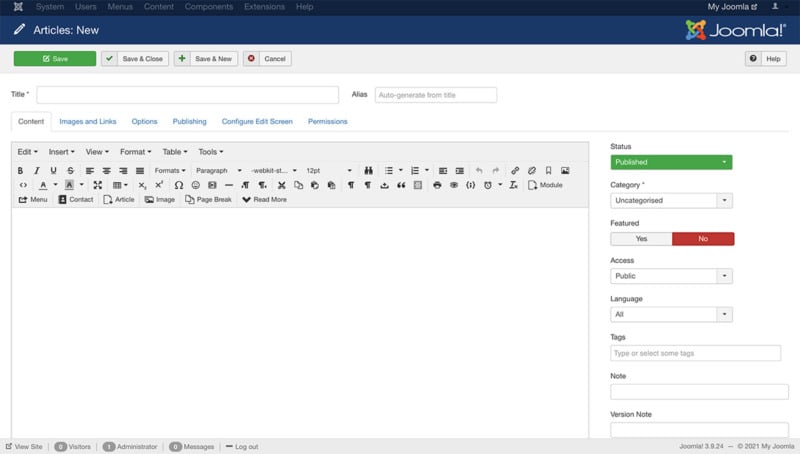
Like the previous two options, Joomla is free and open source, with lots of modules providing flexibility. As for complexity, Joomla is not as easy to learn as WordPress, but requires less expertise than Drupal. It offers more options for user access than WordPress, and you can use different templates for different areas on the site (whereas WordPress limits you to one theme).
Shopify
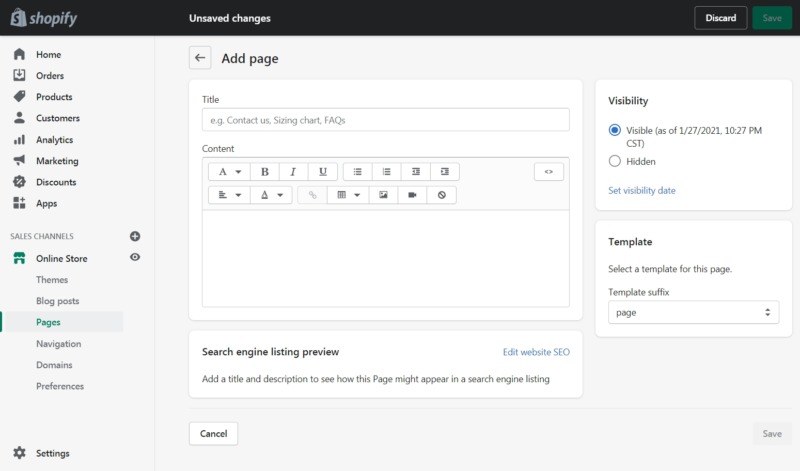
Finally, Shopify is a hosted ecommerce platform for online retailers. It’s easy to use, but lacks some flexibility, with fewer customization options. Shopify requires a monthly subscription starting at $29 per month. Note that you can also implement Shopify (and other ecommerce solutions) as a plugin or module when using another CMS, such as WordPress or Drupal.
Other considerations when choosing a CMS include:
- Your experience. Which CMS solutions have you used for site development in the past, and how extensive is your experience with each?
- Your client’s preferences. They may have employees with experience on certain platforms, or perhaps a business associate has recommended a particular CMS.
- The project needs. Which CMS will best suit the requirements of the website?
- Don’t forget to consider scalability for future website development and business expansion.
When choosing a CMS, make sure you build your site on a secure, stable platform that provides ongoing support for the future. It’s important to select the option that will provide the best outcome for each unique project, meeting your clients’ needs, and aligning with your expertise.
3. Write Up the Proposal and Determine the Scope of the Project
Once you’ve gathered all the information for the project, it’s time to put a project proposal together. This document will explicitly identify the deliverables and terms, including project costs. This is your opportunity to show the client that you’ve been listening, and you can deliver.
It’s important to include enough information to cover the essentials. You can go into more detail in the scope of work or contract. There, you’ll want to state the client’s project requirements and your proposed solution, including a project cost. It’s fine to sell your idea as the solution, but be open for renegotiating or revising as per the client’s feedback.
Once the proposal is approved, you can use it to generate a more detailed scope of work that explicitly states the project in full. This document will direct your work and your relationship with the client. It will serve to clearly state what everyone should expect.
A solid scope of work can spare you lots of stress, time, and money throughout the life of the project. Elements to address include:
- Website scale. Will this be a 10-page website, or an ecommerce site with 35 products to sell?
- Timing. What is the timeline? Does your client have a hard launch date they need to meet? Are there stages within that process?
- Process. Include workflow and approvals. What will their approval process look like?
- Assets. Which assets will they provide, and which will you need to obtain or create on their behalf?
- Access. How will you get site assets and access permissions?
- Contact. Who will be your point of contact, and are they the decision maker?
- Platform. Which CMS will be used to build the site?
- Integrations. Determine any plugins or additional functionality required to achieve the project objectives. Will they require integrations (or ongoing services) the client will be billed for by a third party?
- Accessibility. Define what accessibility functionality will be built into the website.
- Backups. Will you include a plugin to run automatically? Be sure your client has a plan for site backups.
- Security. Include an SSL certificate, and define what security measures you will implement. Be sure to research security protocols for industry standards in advance. For example, if you are building a website where Protected Health Information (PHI) is collected (such as for a medical client), make sure you’re using HIPAA compliant forms and recommended security measures.
Once you’ve agreed on the scope of work, it’s good practice to draw up a formal contract that both parties can sign. This protects both you and the client. Even if your project is small, it’s vital to clearly specify who is responsible for what. To streamline your process, you can also create templates for key documents, including your intake form, proposal, scope of work, and contract.
4. Develop a Sitemap and Visual Layout (Wireframe)
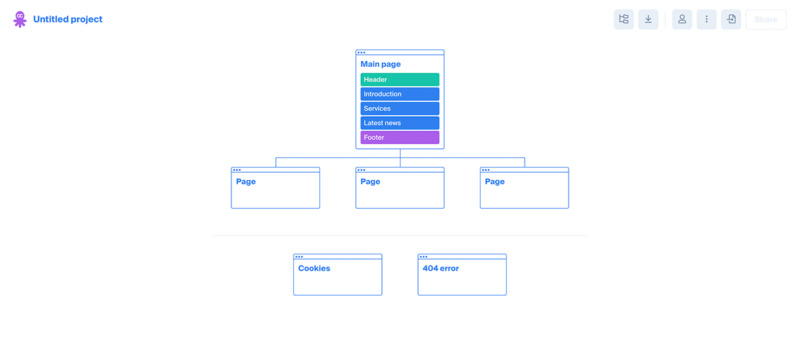
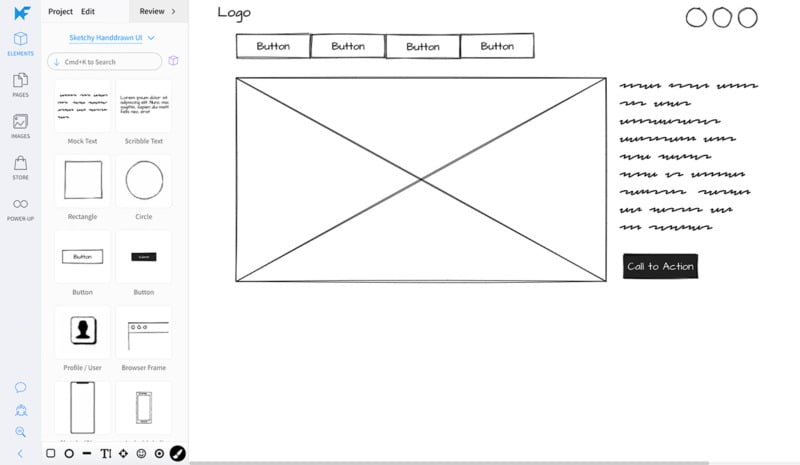
Every good design starts with a blueprint. During this phase, you’ll want to define the flow and user experience of the website with a sitemap and wireframes.
You can use online tools such as Octopus.do for building sitemaps:
Optionally, you can use a computer application such as Sketch for wireframes:
You can also use paper and pencil to sketch out these visuals – anything works as long as it gets the job done.
Don’t be afraid to take some time to complete this step. It’s much easier to redraw an element than have to redesign a website page (or ten). Along with the sitemap and page layout, at this stage you’ll want to determine the overall look and style of the site, including its:
You may want to create a style tile, to help your client visualize the website’s concept. These can also save time by ensuring that the client is in agreement with the overall look and feel. Otherwise, you may have to revise your style sheets later in the design process.
Remember to refer to your scope of work often during this phase, to make sure you’re covering all of the stipulated points. If issues arise that are integral to the project, you can express your concerns to the client immediately and schedule a meeting to evaluate and decide on the best course forward. Any tasks outside the scope of work should be signed off on by the client.
5. Collect or Create Your Website’s Content
By this point you should have a clearly-defined content plan, know who is responsible for delivering the content, and understand how that will flow throughout the website. At this step, you should be sure that everything is ready to deploy, and that you have sufficient resources for each website page you’ll build.
You can start by collecting page content elements – such as copy, Calls to Action (CTAs), videos, links, and images. Review any website content provided by the client, and suggest any areas where it might require optimization. Helpful tools like Google Docs or Dropbox can help facilitate information sharing.
For example, your client may not understand the importance of keywords or Search Engine Optimization (SEO), so you might consider providing some quality keywords to guide their content creation. Part of the project’s success – especially in the long run – will depend on having targeted content that delivers results.
Some tools to consider include Google Keyword Planner and Google Trends:

You can share these with your client as a means to help them continue creating search-optimized content.
6. Design the Website and Test It
This stage is especially fun, as it brings your hard work to life. When designing your pages, consider their content first. You can ask yourself questions such as:
- What is the purpose of the page? This should be a priority throughout the design process.
- What action should the user take when visiting this page? Make sure the CTA is clear and compelling.
You can create and use page templates to maintain consistency throughout the website and speed up your process. Make sure to adhere to your agreed-upon styles and visual elements during the design phase. This should be about the implementation of the predetermined design concept, not about creating something altogether new.
As the website takes on form, it’s especially important to provide opportunities for client feedback. Sometimes it is difficult for clients to envision how the website will look and flow, so when they do see it, they may have some objections or questions.
This can be frustrating to both you and the client. So it’s helpful to determine specifics about design revisions in advance: i.e., at what point will the client provide feedback, and how many revisions will be included in the cost? Including this information in the scope of work also helps to normalize the process of revisions, so no one is caught off guard when changes are needed.
Once the site’s design is finalized, you can perform a pre-launch checklist that might include:
- Checking copy for typos.
- Verifying that all links and buttons work properly.
- Testing all forms, and making sure notifications are routed to the correct team members.
- Testing online transactions and shopping cart functionality (if applicable).
- Checking the site on multiple devices and browsers for responsiveness and accessibility.
Once your checklist is complete, it’s time to launch!
7. Launch With Confidence
The technical aspects of this step will vary depending on how you developed the site. Whether you’ve used a local development environment or built the site on a server, it’s best to create a launch checklist for a worry-free deployment process.
When the site is ready, check the pages and links within to verify that everything is working properly. You may want to schedule the launch during the weekend, at night, or at another time when website traffic is low. Make sure you’ve cleared your calendar in advance, ensuring that you’ll be available for any problems or delays.
If problems do arise during the launch process, it’s vital to be proactive and resolve them as quickly and professionally as possible. It’s also a good idea to take note of any glitches or issues that arise during this phase. You can incorporate this knowledge into future pre-launch checklists.
You may also want to keep contact information for the web host on hand, as well as any other technical partners you’re working with. Don’t hesitate to reach out if you’re experiencing a problem. It’s rare that your issue is unique, and others have likely encountered similar issues and can share their insights to help guide you.
After you go live with the site, don’t forget to hand off any login credentials the client will need in order to access and update it. You may want to advise that they use a login user with limited permissions, however, especially until they get familiar with how the website works.
This is also an excellent opportunity to offer training services. You may want to include some free training in the project package, but you can also make extended training available as an add-on service.
8. Set Yourself Apart With Stellar Customer Service
You serve as a vital bridge between your client and the technical aspects of their website. Therefore, it’s smart to be proactive in offering support options. You may include free support for the first thirty days, or offer an add-on support package billed monthly (or annually for a discount).
Handing over the website to your client is similar to handing over the keys to a car. Keep in mind that your client may not know how to drive. At a minimum, they won’t be familiar with all the believable options, and a helpful walkthrough will facilitate a smooth transition.
Once your client is satisfied with their new website, this is the time to ask for a testimonial or review of your work. Remember to make this process as easy as possible for your client.
After that, you might consider scheduling a three-month, six-month, and annual check-in call with your client, even if you don’t have a maintenance agreement. These may present opportunities for future work, and keep you in mind for referrals. Plus, these calls will demonstrate your care and support, reflecting well on your business.
Conclusion
Building a successful client website is a complicated process, but the task can be simplified by breaking down each stage into well-thought-out steps. By following a few crucial stages, you can manage the project with professionalism and make it enjoyable for your client and yourself (or your team).
In this article, we shared eight steps for building a successful client website:
- Get to know the client and ascertain their website goals.
- Choose a platform to build the site on.
- Define the scope of the project.
- Develop a sitemap and visual layout.
- Collect or create the website’s content.
- Design the website and test it.
- Launch with confidence.
- Set yourself apart with stellar customer service.
Follow these steps and you’re on your way to a successful website launch. Of course, you’ll also need a top-quality web host!
