How to set up Airmail on Apple iOS
This article demonstrates how to set up Airmail on Apple iOS to access an A2 Hosting e-mail account.
To configure Airmail to work on iOS with your A2 Hosting e-mail account, follow these steps:
- Make sure you have already created at least one e-mail account for your domain. If you have not done this, please see this article to learn how to create an e-mail account using cPanel.
- Start Airmail. The Add Account dialog box appears:
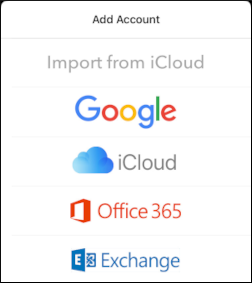 The user interface displayed in these images may differ slightly from the version you have installed.
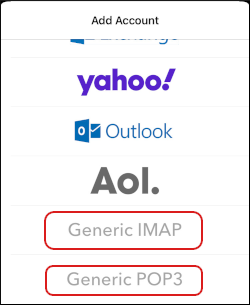
 Select one of the following protocols:
- If you want to use IMAP, select Generic IMAP.
- If you want to use POP3, select Generic POP3.
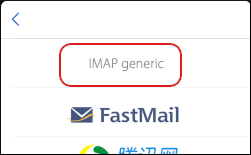
Tap IMAP generic or POP3 generic:
In the Name text box, type the name you want to appear on messages you send from the account:
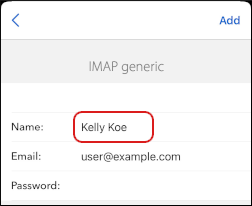
- In the Email text box, type the e-mail address of the account you created in cPanel.
- In the Password text box, type the password for the e-mail account you created in cPanel.
- Tap Add.
Under INCOMING MAIL, specify the server:
- If you are using IMAP, in the IMAP text box, type mail.example.com, where example.com represents your domain name.
- If you are using POP3, in the Pop text box, type mail.example.com, where example.com represents your domain name.
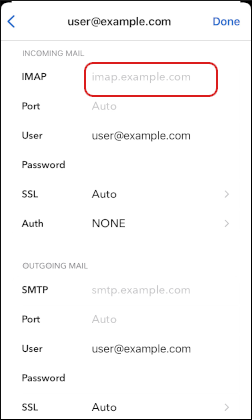
Specify the port number:
- If you are using IMAP, in the Port text box, type 993.
- If you are using POP3, in the Port text box, type 995.
- Confirm the SSL list box is set to Auto.
- Confirm the Auth list box is set to NONE.
Under OUTGOING MAIL, in the SMTP text box, type mail.example.com, where example.com represents your domain name:
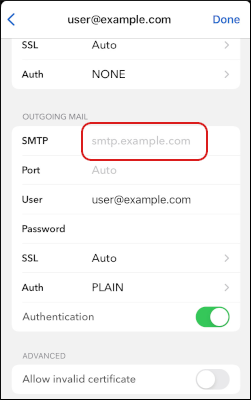
- In the Port text box, type 465.
- Confirm the SSL list box is set to Auto.
- Confirm the Auth list box is set to PLAIN.
- Confirm the Authentication slider is enabled.
- Tap Done. Airmail tests the configuration.
If the configuration test is successful, tap the slider to agree to the terms of use and privacy policy:
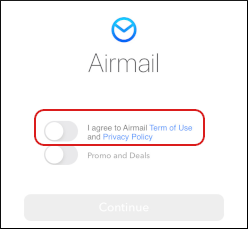 If the configuration test is not successful, check the information you provided in steps 5 to 17, and then try again.
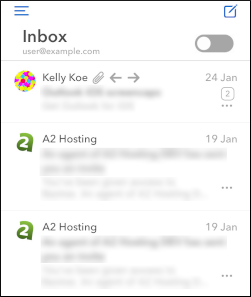
Tap Continue. Airmail downloads any messages in the account, and the inbox appears:
Article Details
- Product: All accounts
Grow Your Web Business
Subscribe to receive weekly cutting edge tips, strategies, and news you need to grow your web business.
No charge. Unsubscribe anytime.
Did you find this article helpful? Then you'll love our support. Experience the A2 Hosting difference today and get a pre-secured, pre-optimized website. Check out our web hosting plans today.