How to set up eM Client
This article demonstrates how to set up eM Client to access an A2 Hosting e-mail account.
To configure eM Client to work with your A2 Hosting e-mail account, follow these steps:
- Make sure you have already created at least one e-mail account for your domain. If you have not done this, please see this article to learn how to create an e-mail account using cPanel.
- Start eM Client:
- If you are starting eM Client for the first time, go to step 3.
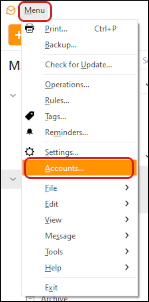
- If you have started eM Client before, click the Menu menu, click Accounts, and then click Add account. Go to step 3.
In the Email text box, type the e-mail address of the account you created in cPanel:
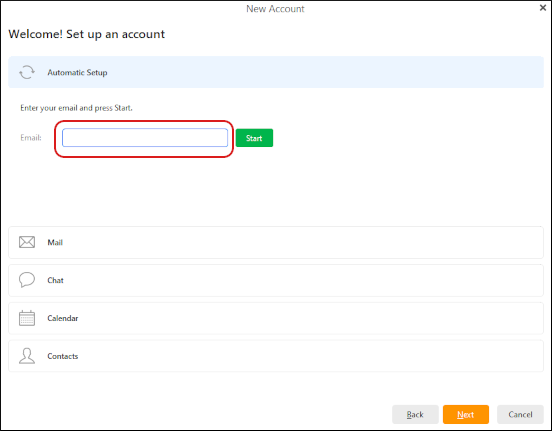 The user interface displayed in these images may differ slightly from the version you have installed.
- Click Start. eM Client automatically detects the server settings.
Under Account details, specify the following:
- In the Your name text box, type the name you want to appear on messages you send.
- In the Account name text box, type a descriptive name for the account.
This name is only used in eM Client to distinguish the account from other accounts. It does not affect email messages in any way.
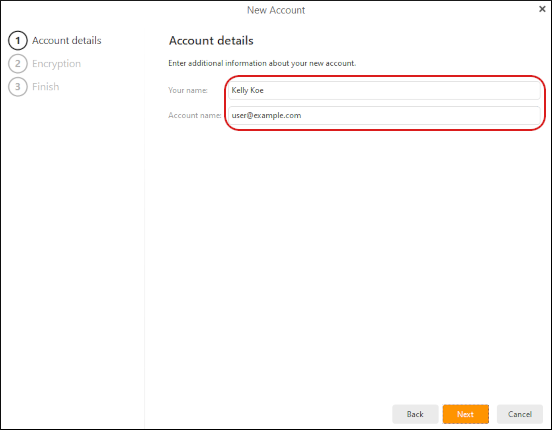
- Click Next.
Under Set up encryption, click Continue without encryption, and then click Next:
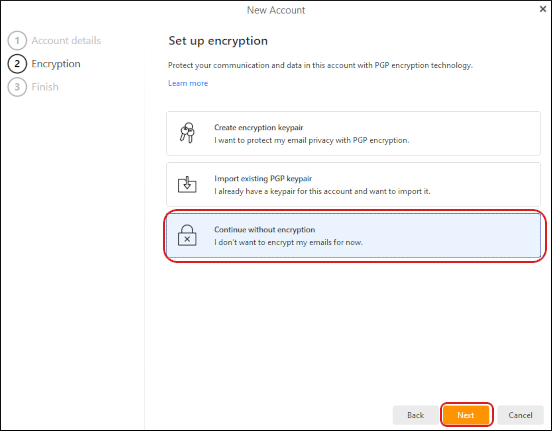 Email encryption setup is beyond the scope of this article. For more information about encryption, please visit https://www.emclient.com/email-encryption.
Under Almost there!, in the Sync Options section, in the Message sync time period list box, select how far back you want to fetch existing messages. To retrieve all messages for the account, select All time:
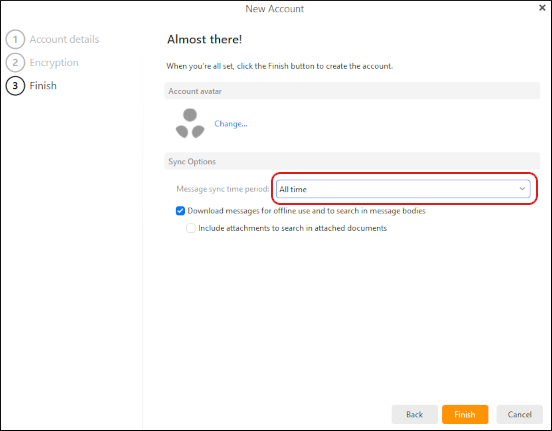
- To download messages for offline use, select the Download messages for offline use and to search in message bodies check box.
- Click Finish.
The Password required dialog box appears. In the Password text box, type the password for the e-mail account you created in cPanel:
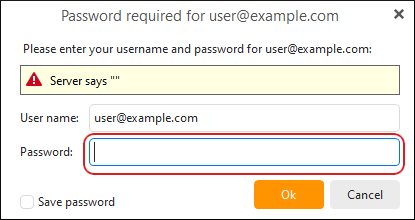
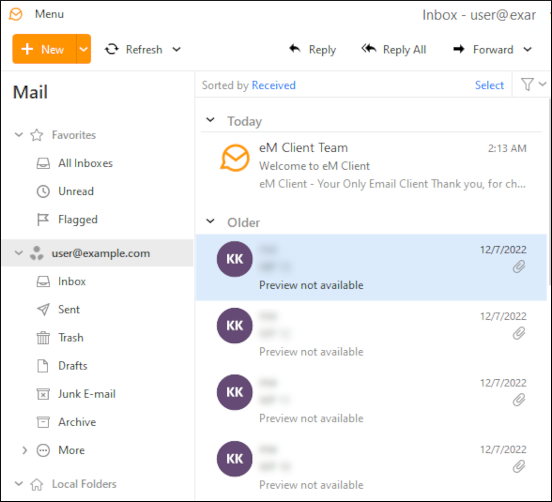
Select the Save password check box, and then click Ok. eM Client downloads any messages in the account, and the inbox appears:
More Information
For more information about eM Client, please visit https://www.emclient.com.
Article Details
- Product: All accounts
Did you find this article helpful? Then you'll love our support. Experience the A2 Hosting difference today and get a pre-secured, pre-optimized website. Check out our web hosting plans today.