How to edit the WordPress footer
This article describes how to edit the WordPress footer. The footer appears at the bottom of every page on your WordPress site. Typically, the footer contains essential information about your site, such as contact information, useful links, and more.
There are several ways you can edit the footer:
- Use the Theme Customizer.
- Use a plugin.
- Edit the theme code directly.
Method #1: Use the Theme Customizer
If your theme supports it, the easiest way to modify the footer is to use the Theme Customizer in WordPress. However, not every theme supports this, so you may have to use another method.
To edit the footer using the Theme Customizer, follow these steps:
- Log in to WordPress as the administrator.
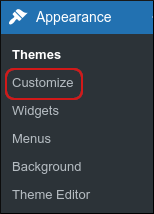
- In the left sidebar, click Appearance, and then click Customize:
In the left sidebar, look for an option named Footer, Bottom of Page, or something similar.
The exact name varies by theme— if you cannot find a suitable option, then the theme does not support editing the footer in the Theme Customizer.- Edit the footer, and then click Save Changes.
Method #2: Use a plugin
If your theme does not support editing the footer in the Theme Customizer, you can use a plugin instead. There are several plugins that enable you to change the footer. To view the collection of footer-related plugins in WordPress, please visit https://wordpress.org/plugins/tags/footer.
The following procedure demonstrates one way to edit the footer by using the Insert Headers and Footers plugin:
- Log in to WordPress as the administrator.
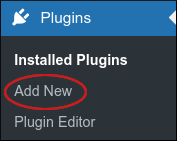
- On the Dashboard in the left sidebar, click Plugins, and then click Add New:
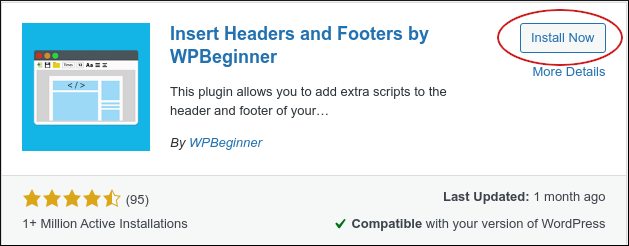
- On the Add Plugins page, in the Search plugins text box, type insert headers and then press Enter.
Locate the Insert Headers and Footers section, and then click Install Now:
- When installation is complete, click Activate.
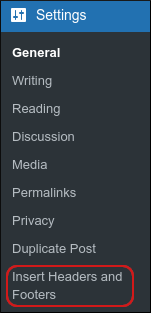
On the Dashboard in the left sidebar, click Settings, and then click Insert Headers and Footers:
Scroll down to the Scripts in Footer section:

Make your changes, and then click Save.
You can also use this plugin to edit the site's header.
Method #3: Edit the theme directly
You can also edit the footer by editing theme files directly. Although this method is more complicated than the two methods described above, it gives you complete control over the footer's appearance.
To edit the footer directly in the theme files, follow these steps:
- Log in to WordPress as the administrator.
- In the left sidebar, click Appearance, and then click Theme Editor:
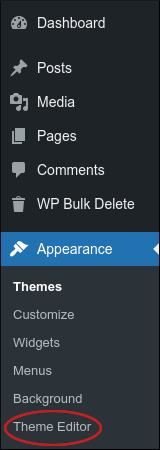
- In the Theme Files sidebar on the right side of the page, click Theme Footer (footer.php).
- Make your changes to the footer code, and then click Update File. The changes take effect immediately.
Article Details
- Product: All accounts
- Level: Beginner
Grow Your Web Business
Subscribe to receive weekly cutting edge tips, strategies, and news you need to grow your web business.
No charge. Unsubscribe anytime.
Did you find this article helpful? Then you'll love our support. Experience the A2 Hosting difference today and get a pre-secured, pre-optimized website. Check out our web hosting plans today.