How to add Google fonts and change the fonts in WordPress
Styling your content with fonts adds a unique way to represent your web content attractively. There are many ways to change fonts on WordPress, including Global Styles, CSS scripts. Easy Google Fonts plugin allows you to choose over 600+ google fonts and stylesheets for the selected google fonts, and it works with any WordPress Theme.This article shows you how to install the Google Fonts plugin to change font families and styles without coding. Google Fonts has a vast repository of open source font families available in 135 languages.
Installing Easy Google Fonts plugin to add custom fonts to WordPress Themes.
To add custom fonts and change fonts on WordPress, follow these steps:
- Log in to your WordPress site with an administrator account.
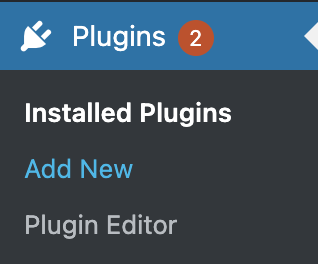
- On the Dashboard in the left sidebar, click Plugins, and then click Add New:
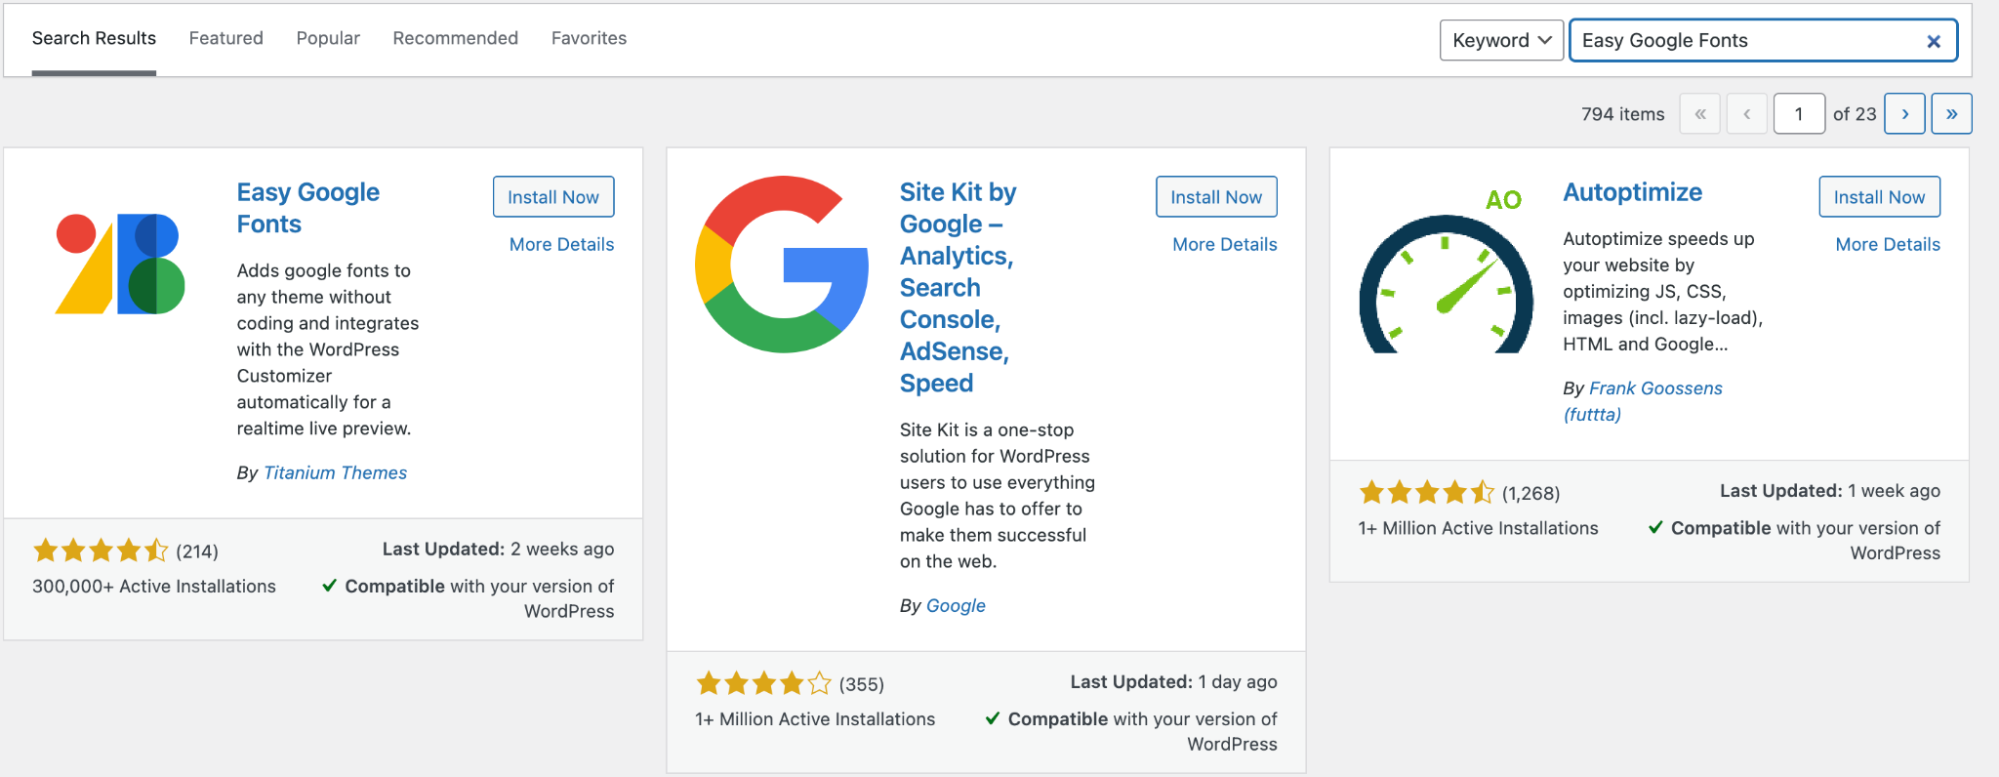
Search for “Easy Google Fonts” and, you should see a display of available plugins on your screen:
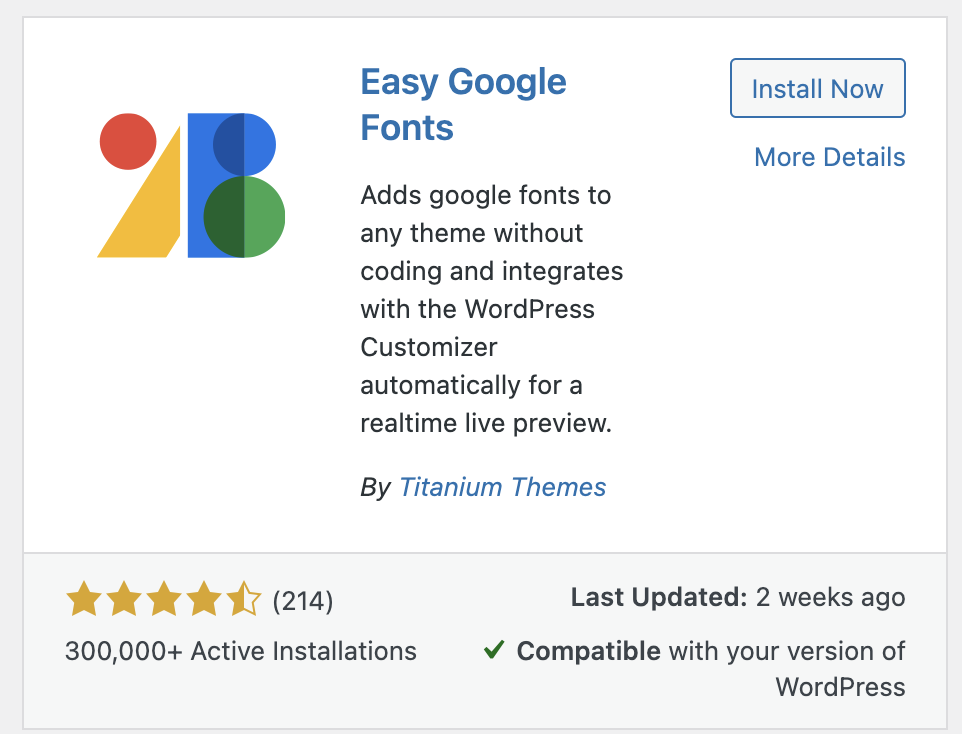
Click Install and then Activate the plugin:
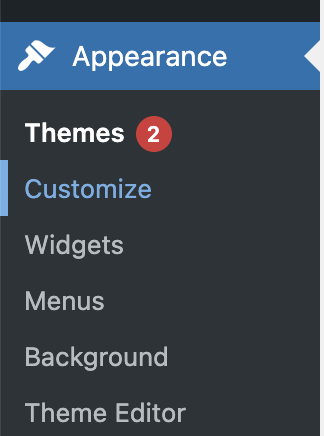
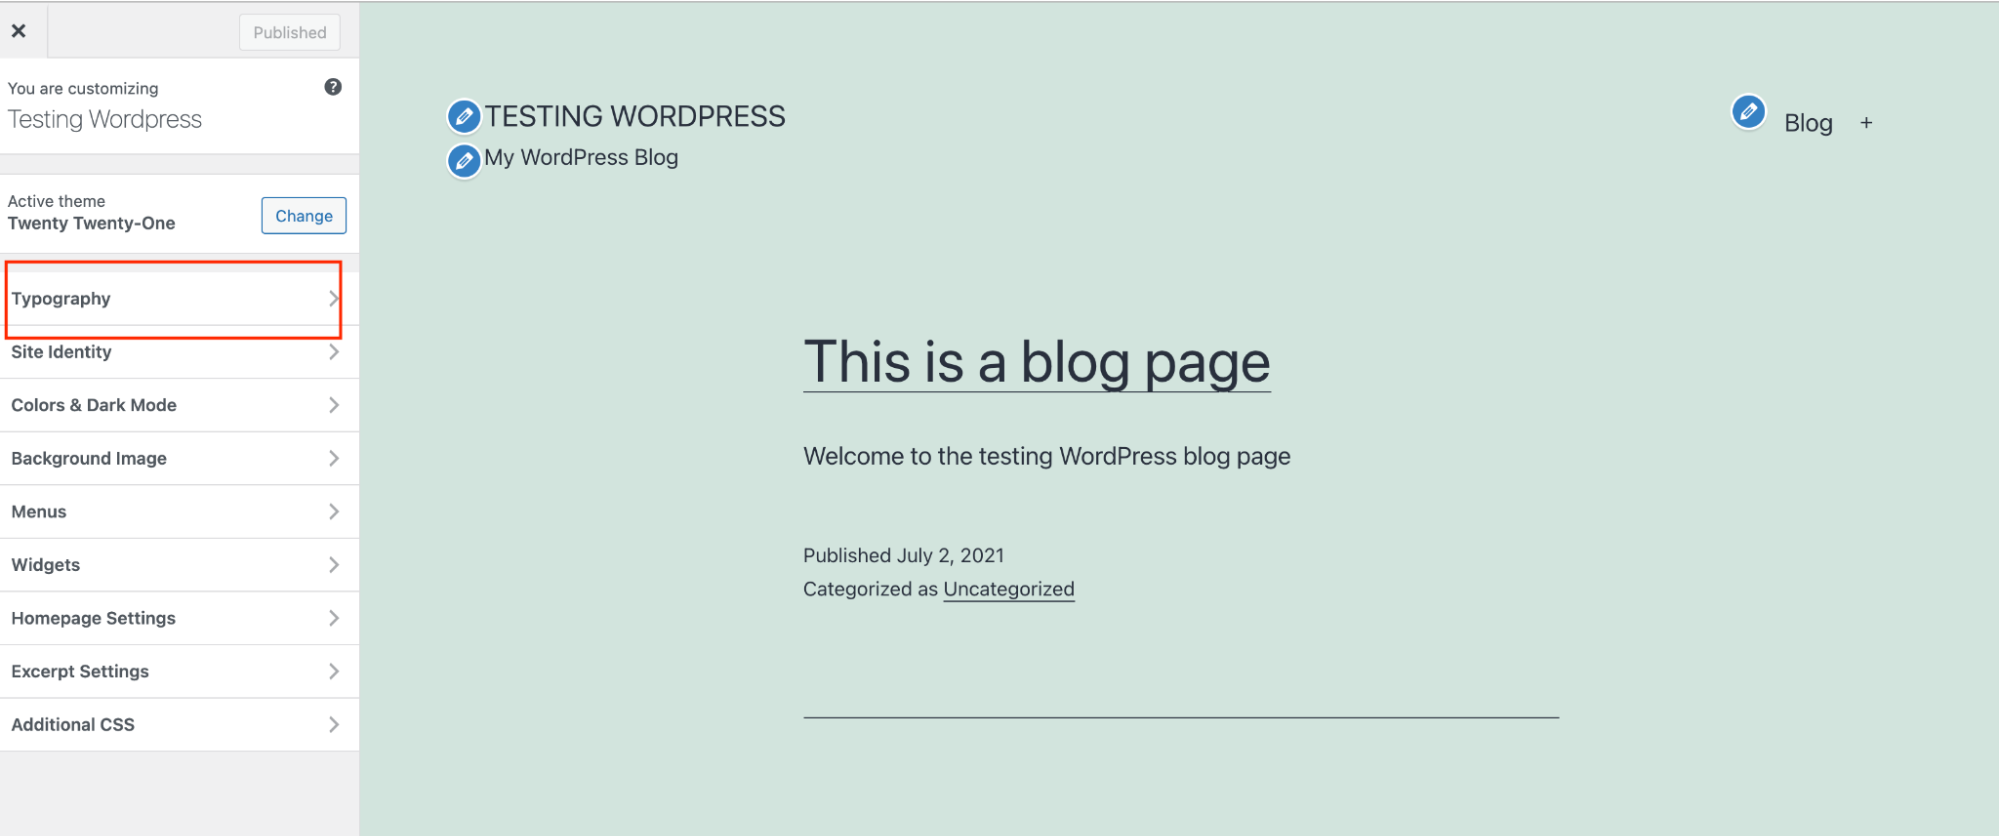
On the Dashboard in the left sidebar, click Appearance and then click Customize:
Click on the Typography tab on the page to customize the font styles:
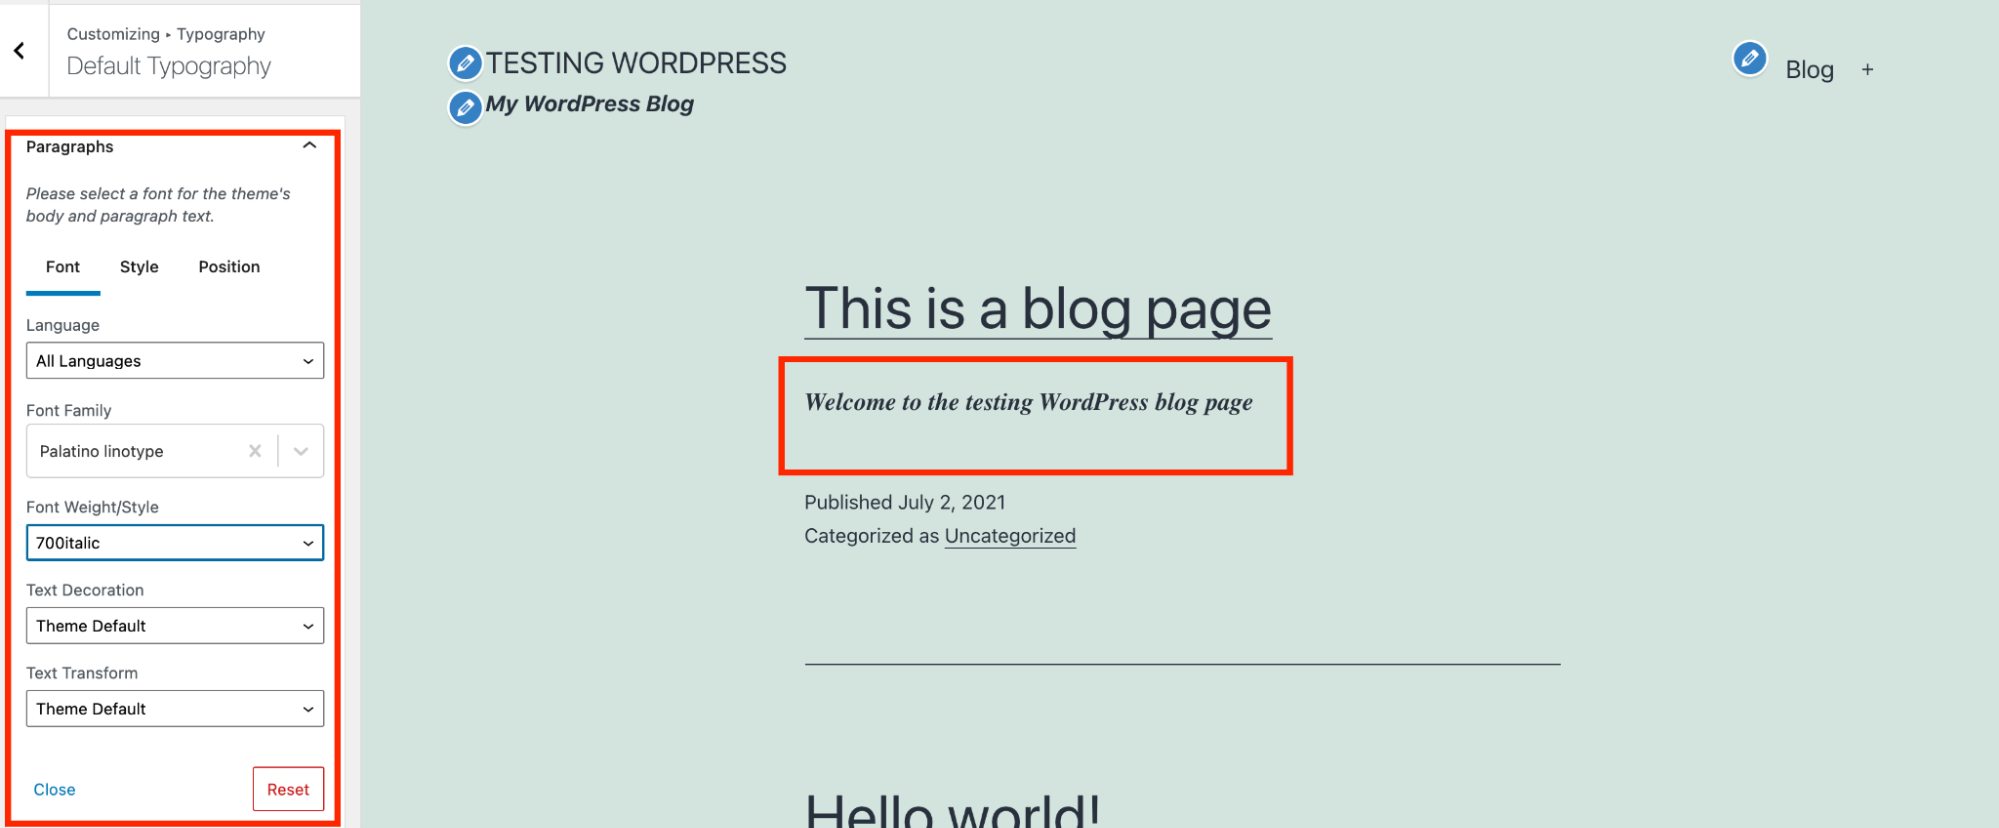
Click on Typography to set the Font language family, style or position for paragraphs and headings:
More Information
For more information about on Easy Google Fonts and Google Fonts please visit the following links:
Article Details
- Product: All accounts
- Level: Intermediate
- Level: Beginner
Grow Your Web Business
Subscribe to receive weekly cutting edge tips, strategies, and news you need to grow your web business.
No charge. Unsubscribe anytime.
Did you find this article helpful? Then you'll love our support. Experience the A2 Hosting difference today and get a pre-secured, pre-optimized website. Check out our web hosting plans today.