How to add a custom logo to WordPress
This article describes how to add a custom logo to a WordPress site. Adding a logo to your WordPress site is a great way to personalize a website or add branding information.
Table of Contents
Adding a custom logo
To enhance your site with a custom logo, follow these steps:
- Log in to the WordPress administration page.
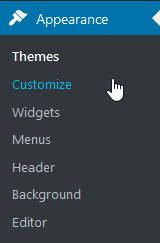
- In the left sidebar, click to expand the menu.
- In the section, click . The Customize page appears.
- In the left sidebar, click . The Site Identity panel appears.
On the Site Identity panel, click . The Media Library tab of the Select logo dialog appears:

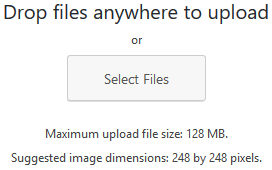
- To upload the logo file, click the Upload Files tab in the upper left corner of the Select logo dialog box.
To upload files, you can drag-and-drop them from your computer's file manager, or you can click . If you click , the File Upload dialog box appears. In the File Upload dialog box, navigate to the location of the image you want to use, and then double-click the image to upload it.
- After the file is uploaded, the Media Library tab appears with the uploaded file selected.
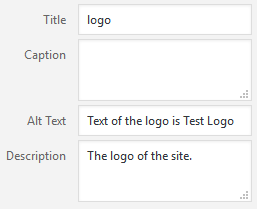
At the right side of the Medial Library, complete the Title, Caption, Alt Text, and Description text boxes, and then click . The Crop Image dialog box appears.
Use the sizing handles to select the portion of the uploaded image to be displayed as the logo, and then click . The Customize screen appears with the selected, cropped image displayed in the Logo image box:

Because custom logo images often contain the site or company name, as well as a slogan or tag line, you may want to remove the Site Title and Tagline that are part of the theme. In the Site Identity Panel, remove the Site Title and Tagline by clearing the Display Site Title and Tagline check box:

At the top of the Site Identity panel, click :
- After WordPress saves the settings, click the X in the upper left corner of the Site Identity panel to return to the WordPress administration page.
Article Details
- Product: All accounts
- Level: Beginner
Grow Your Web Business
Subscribe to receive weekly cutting edge tips, strategies, and news you need to grow your web business.
No charge. Unsubscribe anytime.
Did you find this article helpful? Then you'll love our support. Experience the A2 Hosting difference today and get a pre-secured, pre-optimized website. Check out our web hosting plans today.