How to customise WordPress login page
A customised login page gives a better user experience and a unique branding identity for your WordPress site. This article shows how to customise login pages further using the Login Press plugin.
Table of Contents
Installing LoginPress Plugin for WordPress
To install and configure Easy Appointments Plugin, follow these steps:
- Log in to your WordPress site with an administrator account.
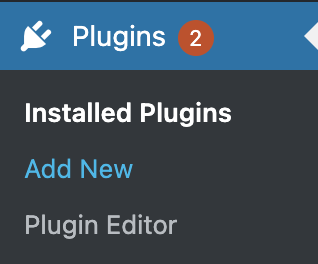
- On the Dashboard in the left sidebar, click Plugins, and then click Add New:
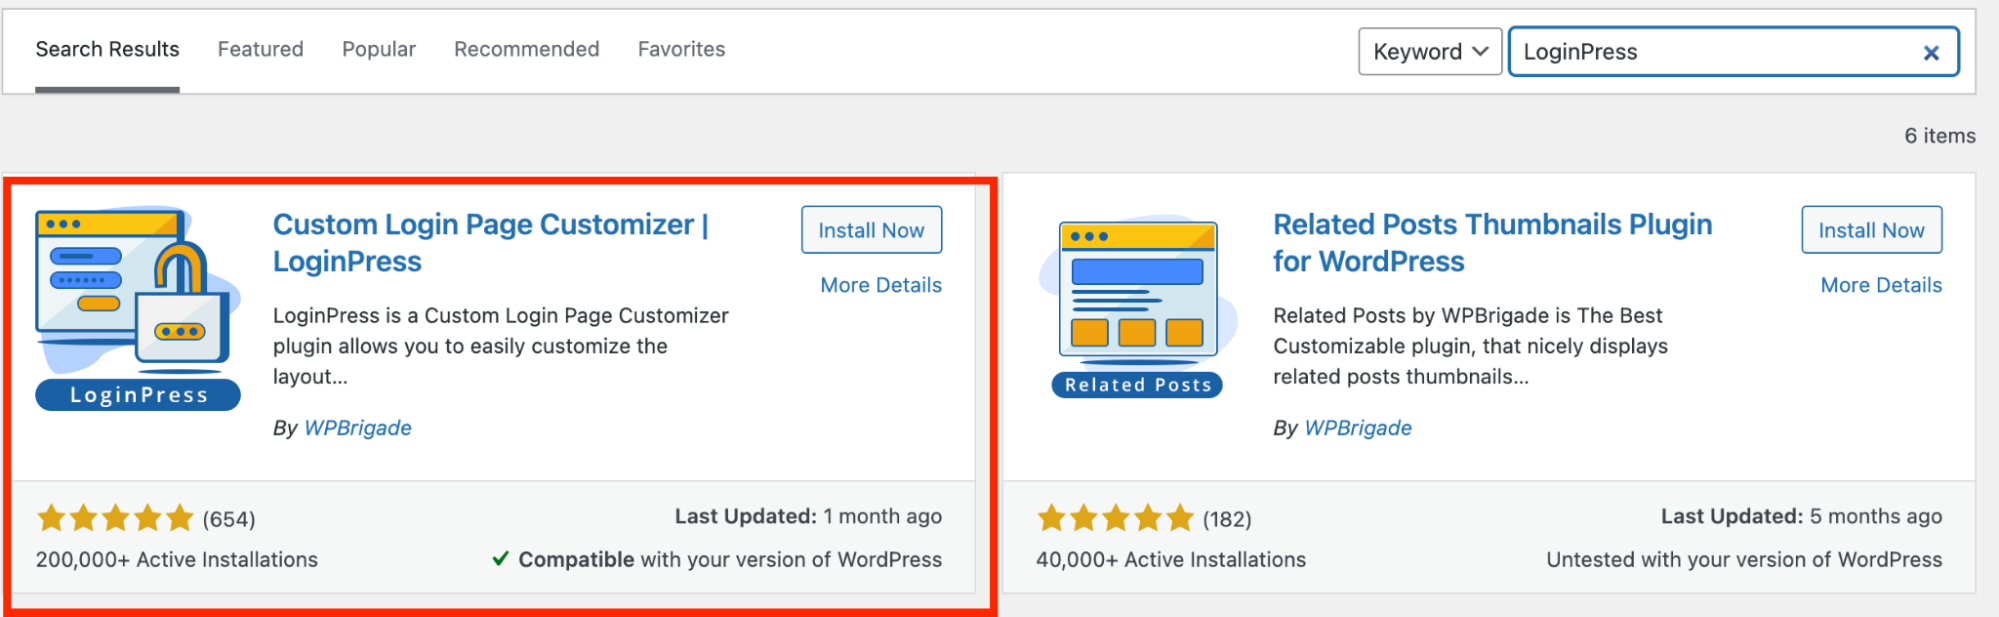
Search for “LoginPress” click Install, and then click Activate the plugin:
On the Dashboard in the left sidebar, click Appearance, and then click on LoginPress:
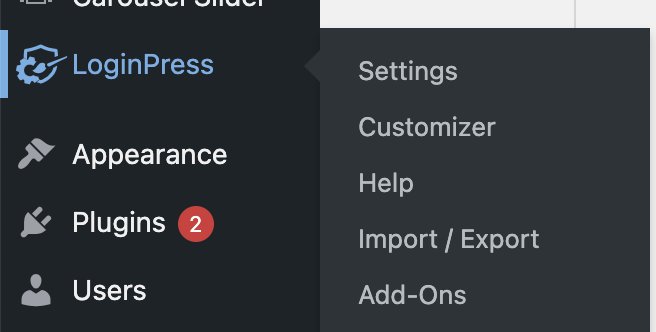
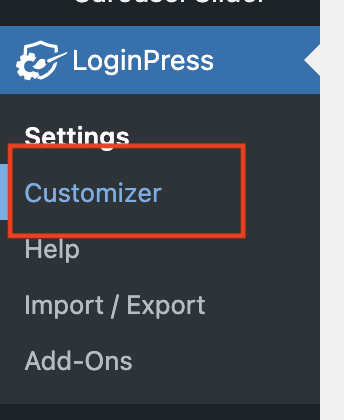
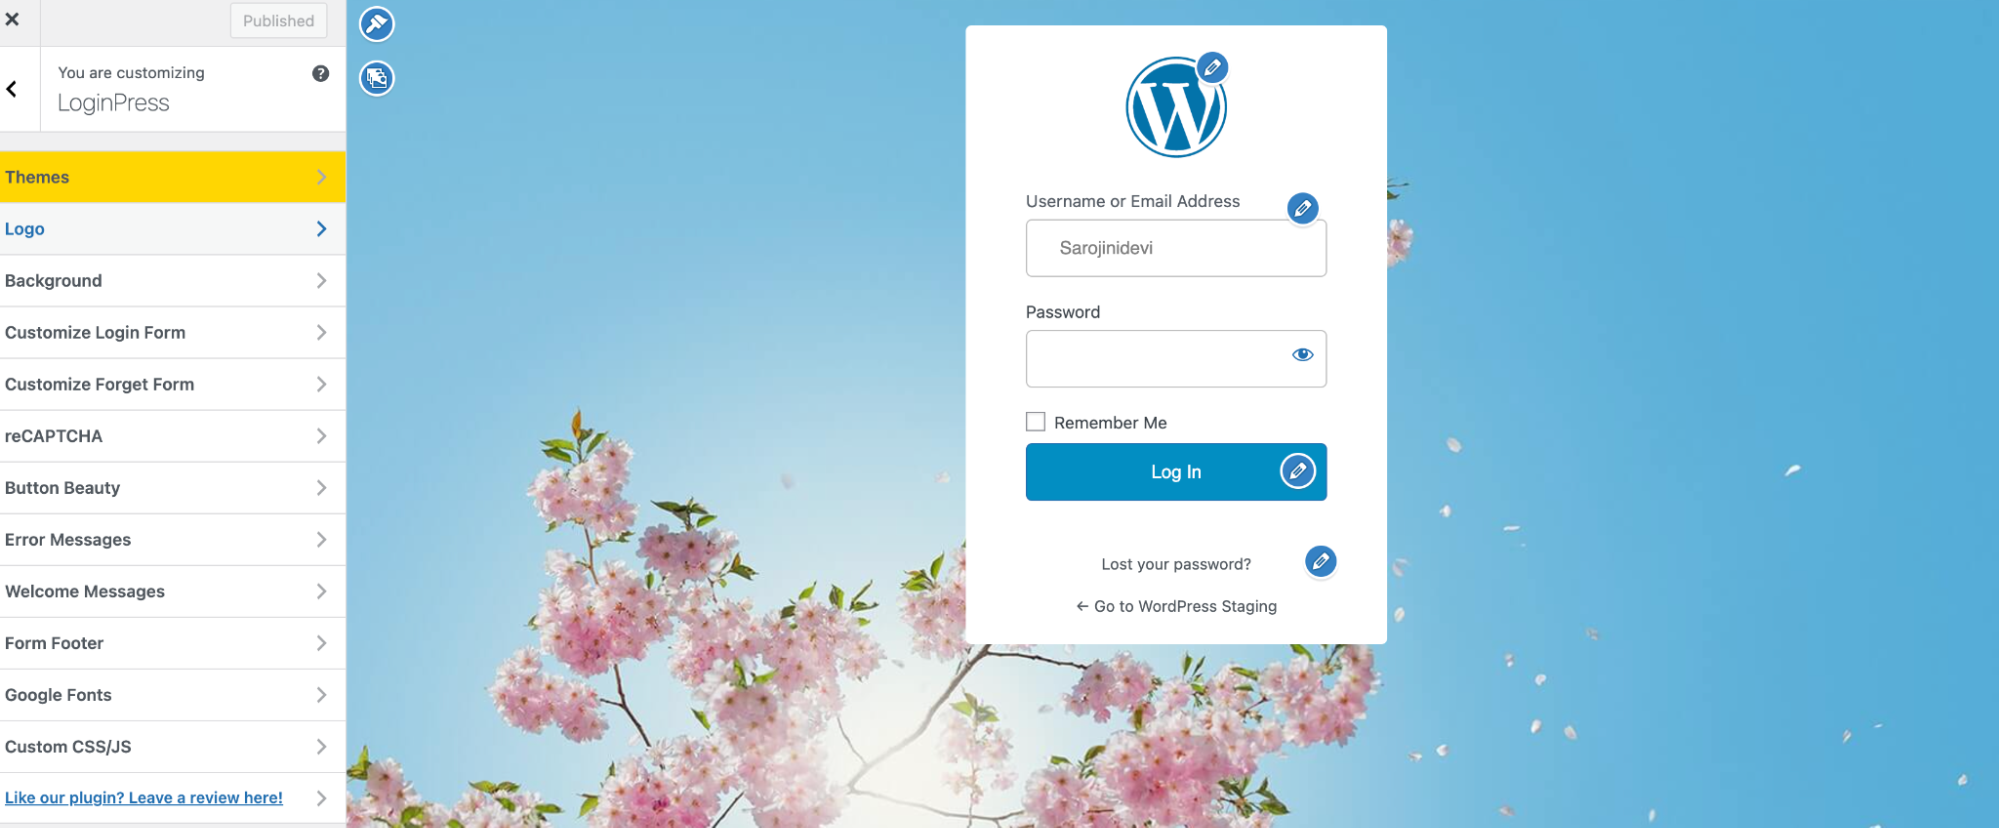
On the LoginPress menu, click on Customizer, to customize the the login page:

Click on the individual options to change to change logos, background, reCAPTCHA, Error Messages, Welcome Messages and others:
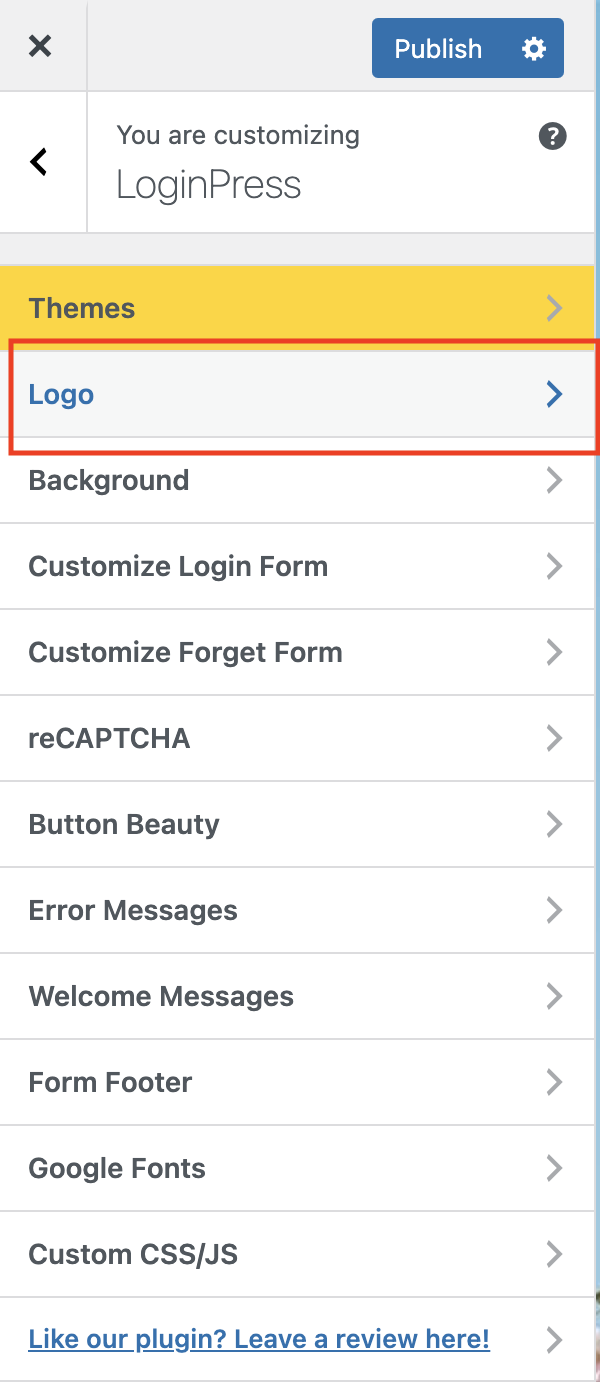
Click on Logo to change the Logo on the Login form:
’
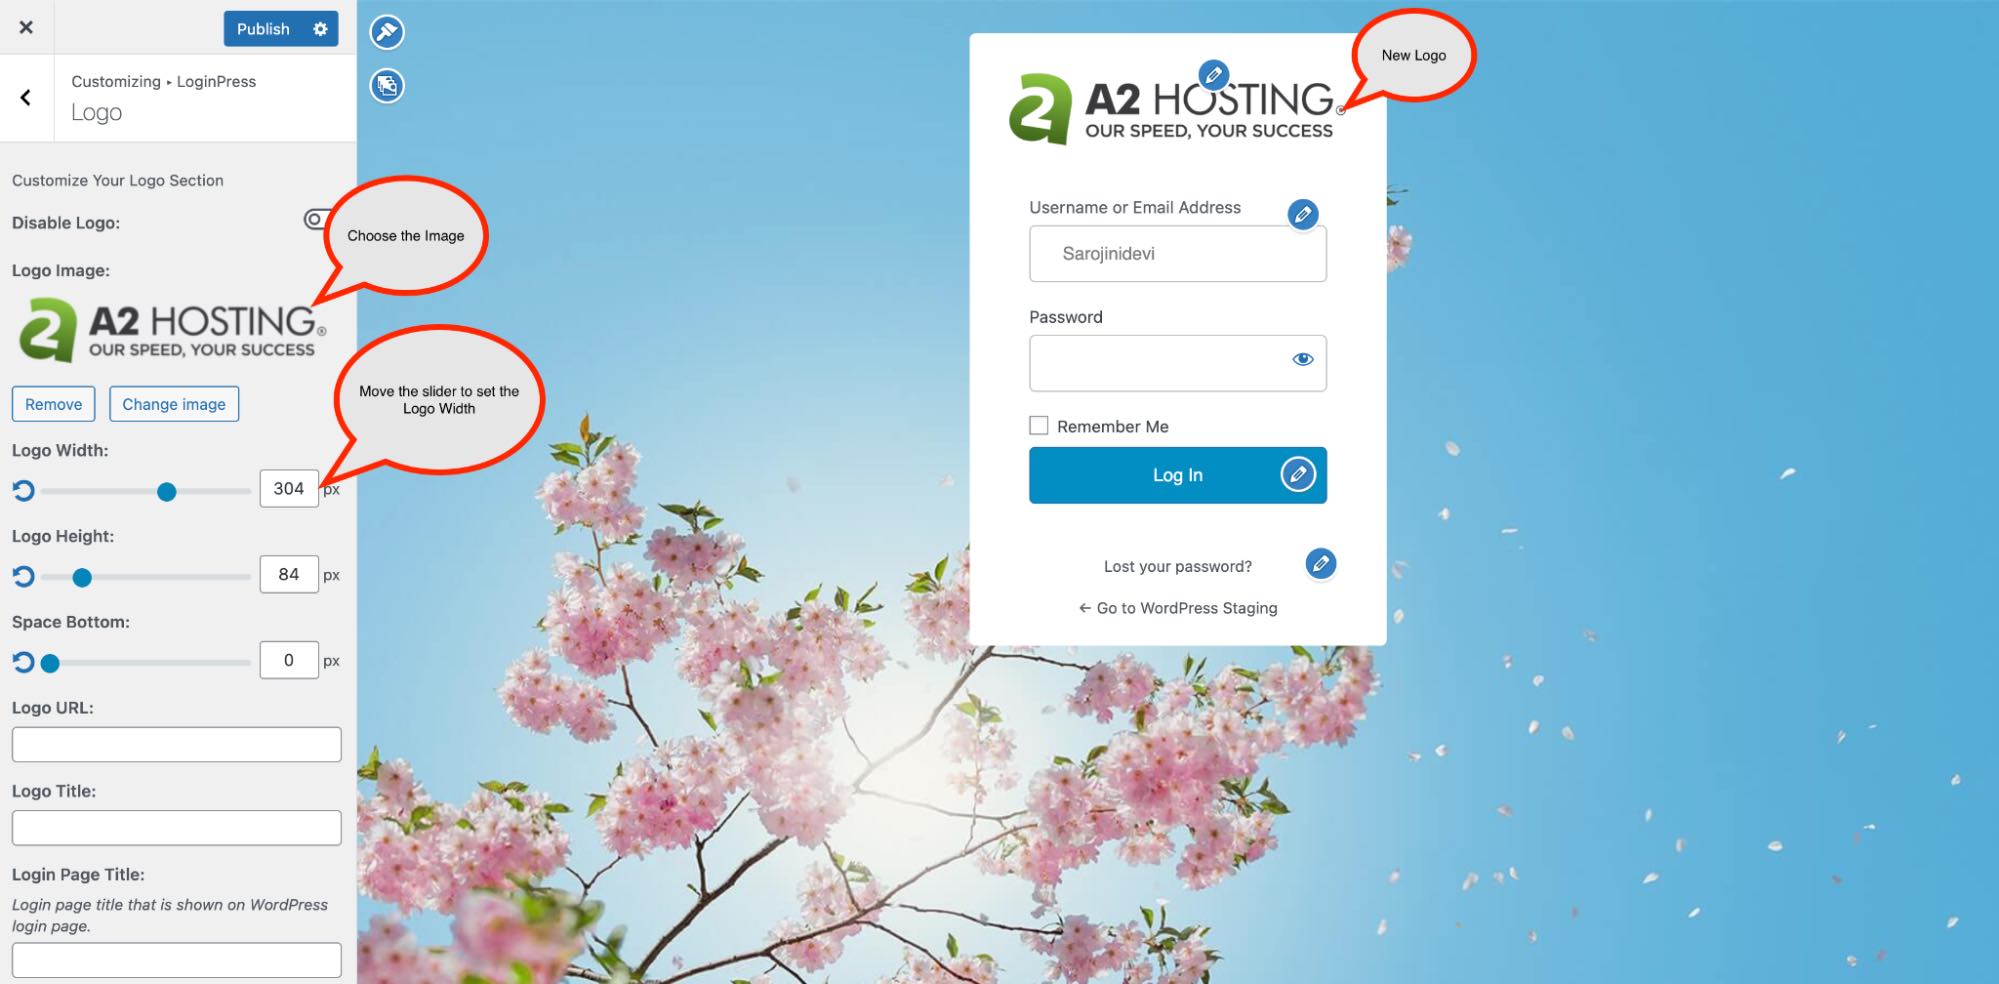
Set the parameter for the Logo on the login page:
Click on Background, and then select the background image from the gallery:
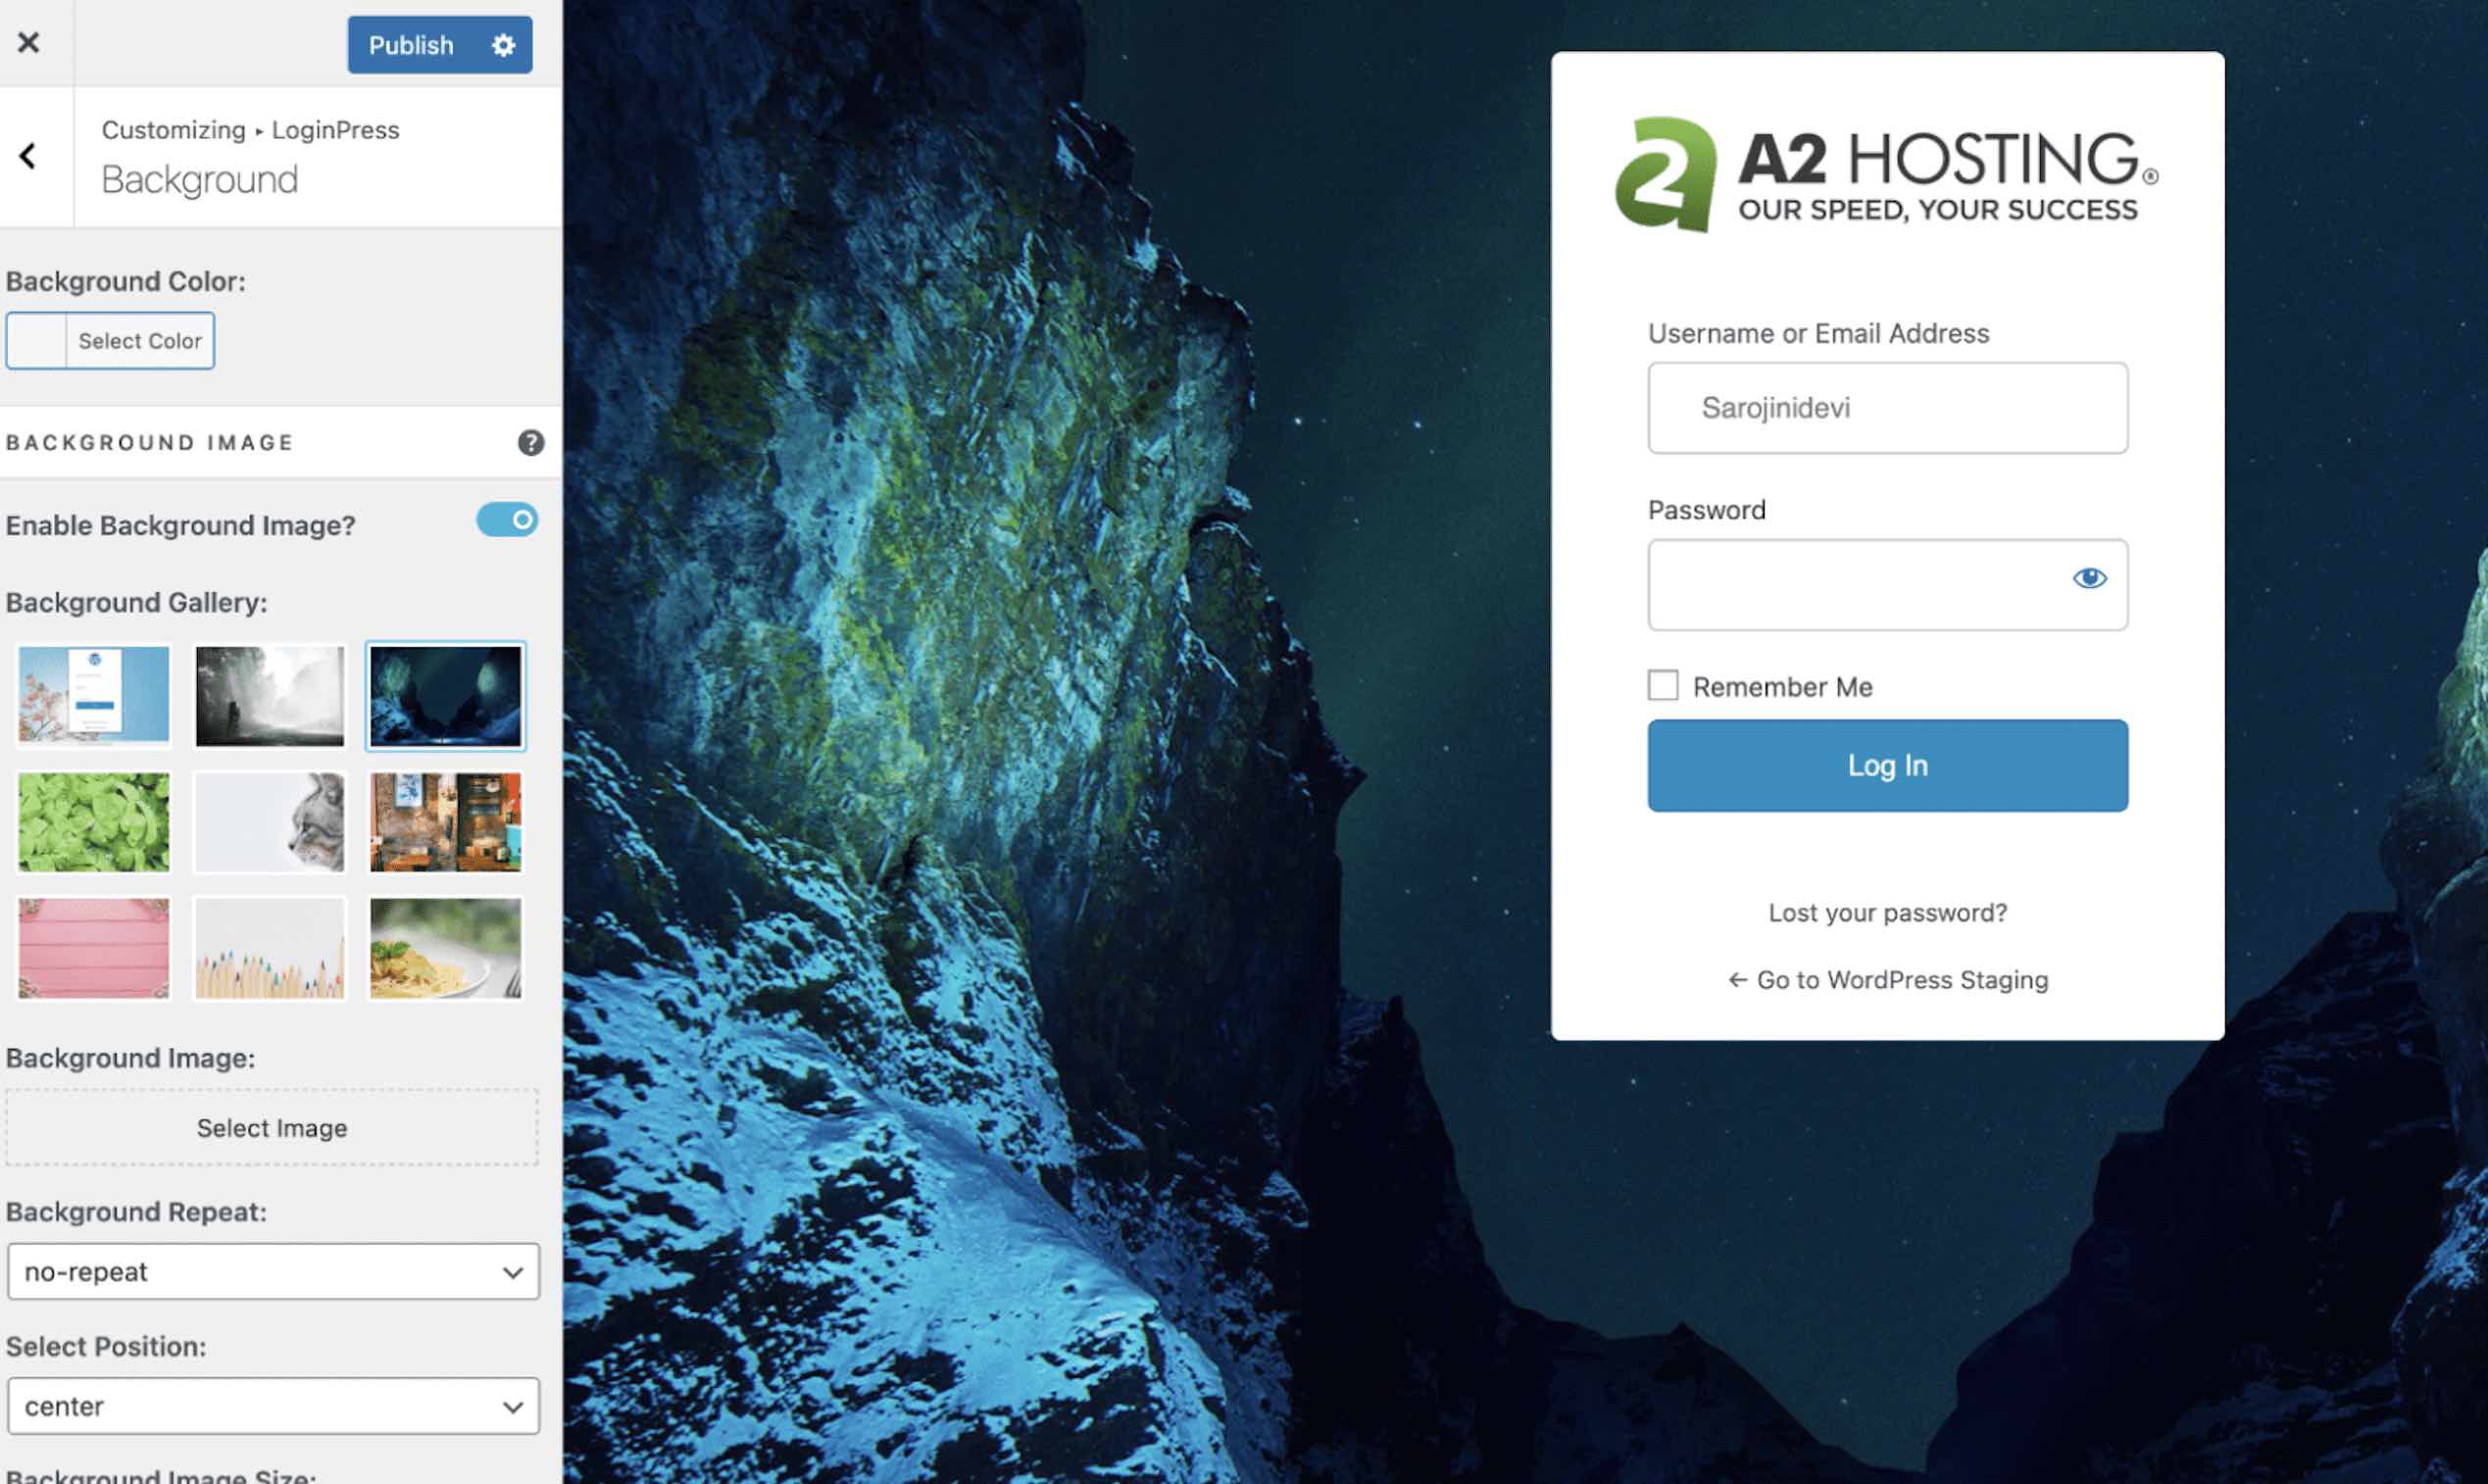
- Click on Publish to publish the page.
More Information
For more information about the LoginPress plugin please visit:
Article Details
- Product: All accounts
- Level: Beginner
Grow Your Web Business
Subscribe to receive weekly cutting edge tips, strategies, and news you need to grow your web business.
No charge. Unsubscribe anytime.
Did you find this article helpful? Then you'll love our support. Experience the A2 Hosting difference today and get a pre-secured, pre-optimized website. Check out our web hosting plans today.